Handwriting
Left-handed handwriting practice: setup and free sheets
By Jobi · Creator & Maintainer, PrintablesWorld · Updated 2026-07-30 · 7 min read
A left-handed writer meets a problem no right-hander ever has to solve: the writing hand travels straight over the words it has just made. The pencil marks smudge, and the wrist curls into a hook so the page stays in view at all. A few small changes, where the paper sits, how the pencil is held, how the page is laid out, make that far calmer, and the handwriting practice generator can produce sheets set up for exactly this. This guide walks through left-handed handwriting practice from first setup to printable pages for home or the classroom.
None of it treats being left-handed as something to fix. It is about comfort: letting a left-handed writer see their work and move their hand freely.
What makes left-handed handwriting different?
English runs left to right. A right-handed writer pulls the pencil away from finished words, so the hand never covers them. A left-handed writer pushes the other way, and the hand travels over what was just written. That single difference explains most of the friction lefties hit: smudged work, a hidden page, and a curled wrist. It says nothing about how well a left-handed child can write.
Why a left-handed setup matters for comfort
Around one in ten people are left-handed, yet most desks and worksheets are built around the right hand. Get paper position, grip and posture right early and a left-handed child tends to write more comfortably, with less fatigue. Education specialists and occupational therapists who work on handwriting keep returning to the same three levers: where the paper sits, how the wrist is held, and how the pencil is gripped.
How to set up left-handed handwriting practice
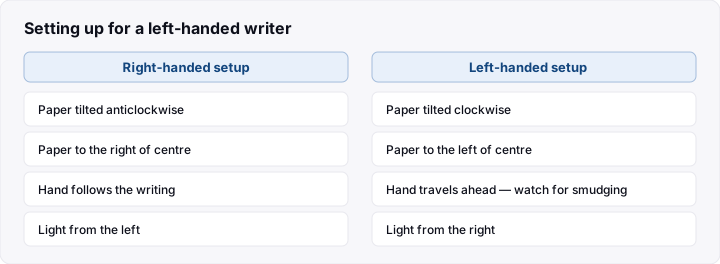
- Place the paper to the left. Keep the sheet on the left of the body, so the hand does not cross the desk.
- Angle the page to the right. Tilt the top of the paper to the right by about 30 to 45 degrees, keeping the hand below the line of writing.
- Grip a little higher. Hold the pencil about 2 to 3 cm (roughly an inch) above the point, so the hand stays clear of the words.
- Keep the touch light. A gentle grip reduces both smudging and fatigue.
- Show the model on the right. Place any letter to copy on the right or above, never under the hand.
A sample left-handed practice page setup
Here is a concrete page you could reproduce on the generator.
Page size: A4 or US Letter
Line style: dotted thirds (top, dotted middle, baseline)
Letter style: clear print, upright or gently slanted
Paper angle: top tilted right, about 30 to 45 degrees
Grip mark: band or dot about 2 to 3 cm (about an inch) above the point
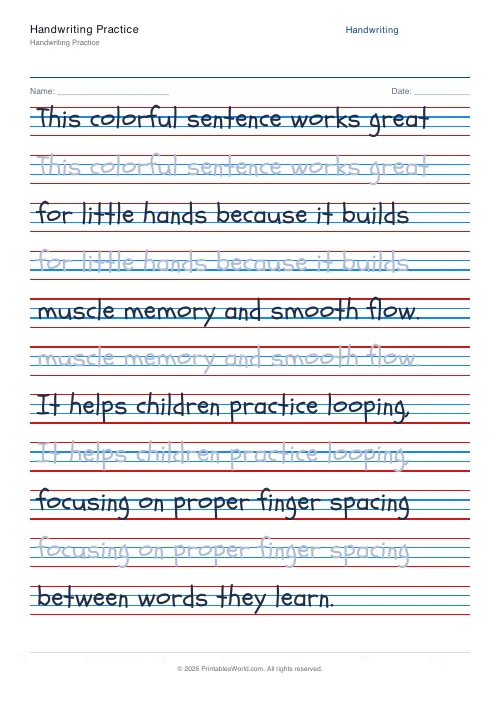
Set the sheet angled to the right, with the grip marker showing where the fingers sit. Cross strokes are easy for a left-handed writer to pull from right to left, so there is no need to force a stroke order. Start with the trace row, then the copy row, and print extra blank rows on lined practice paper for free writing afterwards.
How to use the Handwriting Practice Generator
The handwriting practice generator turns those choices into a printable PDF, with no sign-up.
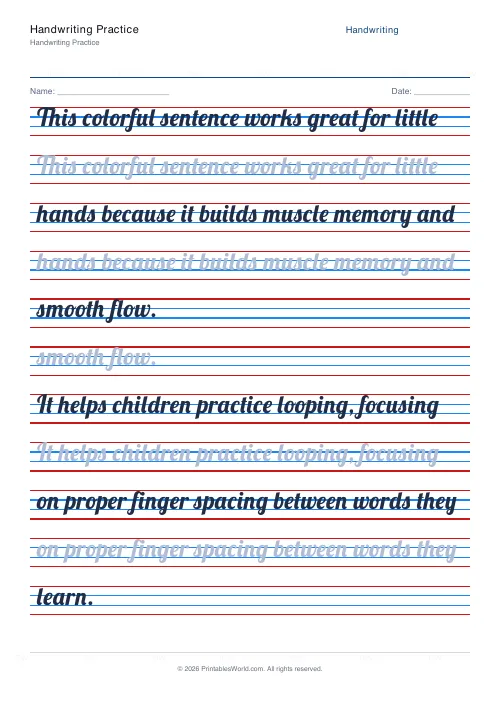
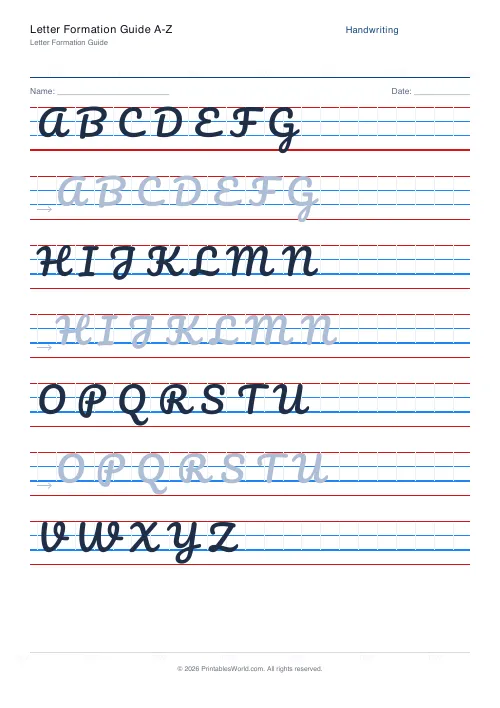
The inputs that matter are page size (A4 or US Letter), line style (single rule or dotted thirds), letter style (print or cursive), and the content itself: a letter, a few words, or a short sentence to trace and copy. A trace row followed by a blank copy row suits a young writer building muscle memory. The output is a clean PDF you can print and reprint as often as you like. For more styles, the full library of printable handwriting practice sheets covers both print and cursive.
Situations lefties often run into
Starting school as an early writer
A child meeting letters for the first time is also forming habits. Setting paper angle and grip from the start helps a left-handed beginner avoid the hooked wrist before it becomes automatic.
Moving on to joined writing
Joins ask the hand to flow across the page, which is where smudging shows up most. A right tilt and a higher grip both help, and cursive sheets with clear joins keep the smearing down.
Copying from a model on the left
When the example sits in the left margin, a left-handed child has to lift or twist to see it. The quick fix is a second copy of the model on the right.
Common mistakes to avoid
- Forcing a strong right slant. Upright or a gentle left lean is fine; a forced slant just twists the wrist.
- Leaving the paper straight. An unangled page keeps the hand dragging across the words.
- Gripping too low. Fingers near the point hide the writing; a marker higher up settles it.
- Putting the model only on the left. Copy or mirror it to the right.
- Using ink that dries slowly. A pencil, or a quick-drying pen, avoids most smudging.
Frequently asked questions
Should a left-handed child slant their letters to the right?
A right slant is not required. Education and occupational therapy sources note that upright or gently left-leaning letters are perfectly acceptable, and that forcing a strong right slant often makes the hand twist. What matters more is that the page is angled so the writer can see their work, with the grip high enough above the point. Aim for legible, comfortable writing rather than a particular angle, and let slant follow naturally from good position and grip.
How should I angle the paper for a left-handed writer?
Tilt the top of the page to the right, roughly 30 to 45 degrees, and keep the whole sheet to the left of the body. This lets the hand sit below the line of writing instead of dragging across it, which reduces smudging and helps the writer see what they have just done. A simple way to set the habit is to mark the paper outline on the desk with tape, so the child places the page the same way each time.
Why does my left-handed child smudge their writing?
Smudging happens because a left-handed writer moves their hand across words they have just made, dragging over wet ink or fresh pencil. Angling the page to the right, holding the pencil a little higher so the hand stays clear, and using a pencil or a quick-drying pen all help. Writing on a slightly raised surface can keep the wrist relaxed rather than hooked. Many teachers find that once paper and grip are sorted, the smudging eases on its own.
At what age should a left-handed child start handwriting practice?
There is no single right age, but the early school years, around ages five to seven, are when most children build their first writing habits. Starting comfort-focused practice early can help a left-handed child avoid a hooked wrist before it becomes automatic. If an older child has already settled into an awkward grip, gentle practice over a few weeks can still help, often with short daily sessions of around ten minutes. The aim is never to rush a young writer.
Sources and further reading
The guidance above reflects established education and occupational therapy practice. Two useful starting points, one from the UK and one from the US:
- National Handwriting Association, a UK education charity with resources on teaching handwriting, including left-handed children.
- Real OT Solutions, an occupational therapy guide on paper position, grip and posture for left-handed writers.
The bottom line
Comfortable left-handed writing comes down to a few repeatable choices: the page tilted to the right, the pencil held a little higher, the model kept in view, and a light, unhurried touch. None of it corrects a left-handed child. It just clears away the small obstacles a standard right-handed setup leaves in the way. Once those habits settle, the writing tends to follow more calmly. When you are ready, set your options and print a sheet from the handwriting practice generator, then adjust the page until your young writer can see their work and move freely.
Related tools
Continue reading
Handwriting
How to teach handwriting to kids: a step-by-step guide
A practical order for teaching handwriting: get the body and the pencil right first, then teach letters in stroke families rather than alphabetically, and keep sessions short enough that the hand never tires.
7 min read
Handwriting
The best age to start handwriting practice
Age is the wrong question. Three readiness signs predict whether handwriting practice will help or frustrate. And what to do with the child who is not there yet.
5 min read