What this tool does
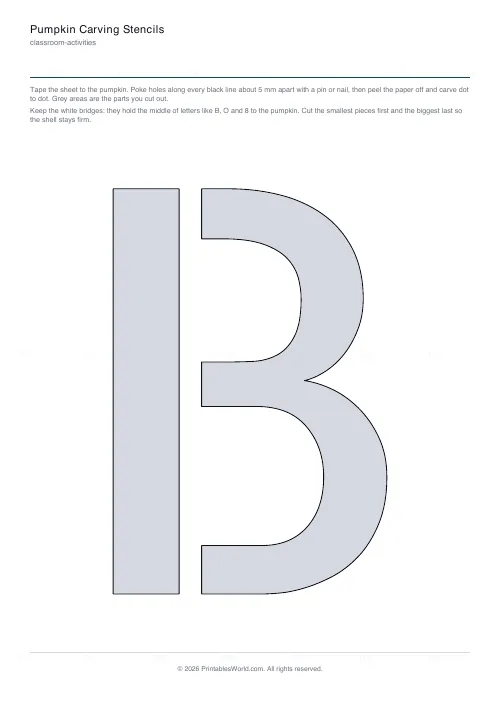
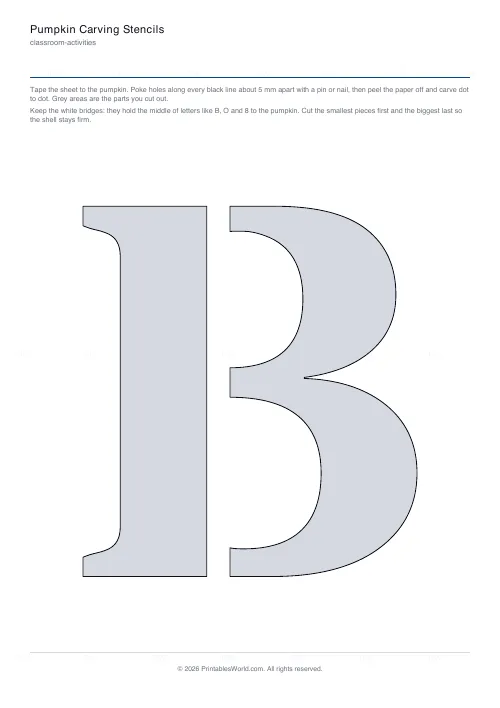
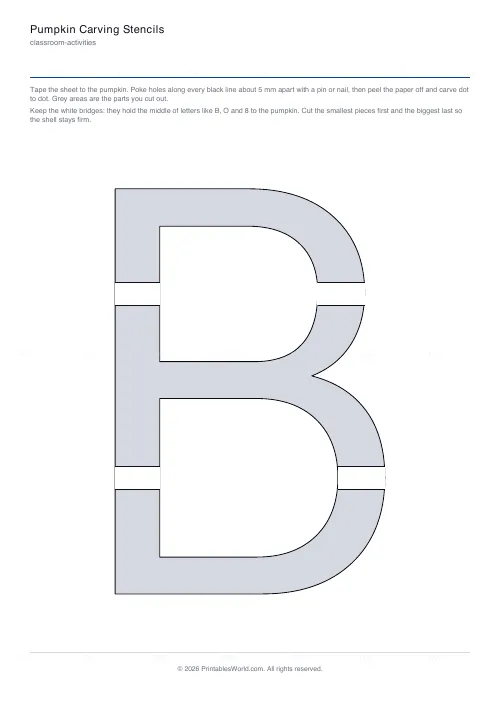
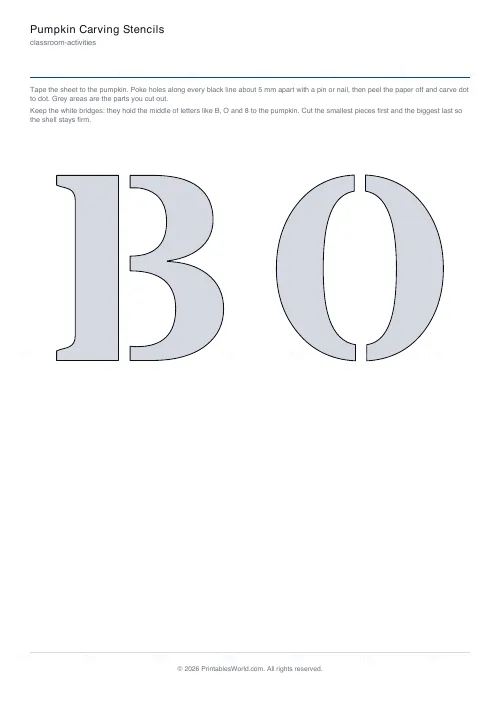
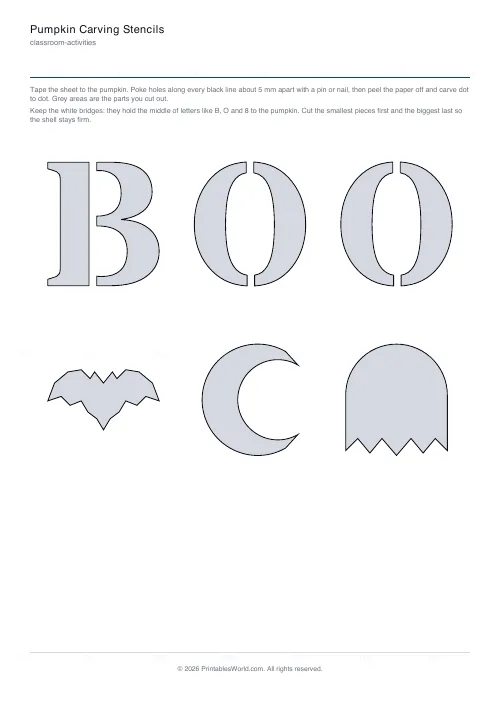
Carving templates built on the letter stencil engine: bold bridged letters at one per page, the Halloween shapes, and a note at the top of the sheet on how to transfer the design to the pumpkin. Type a word or a name, add shapes, print.
People also used
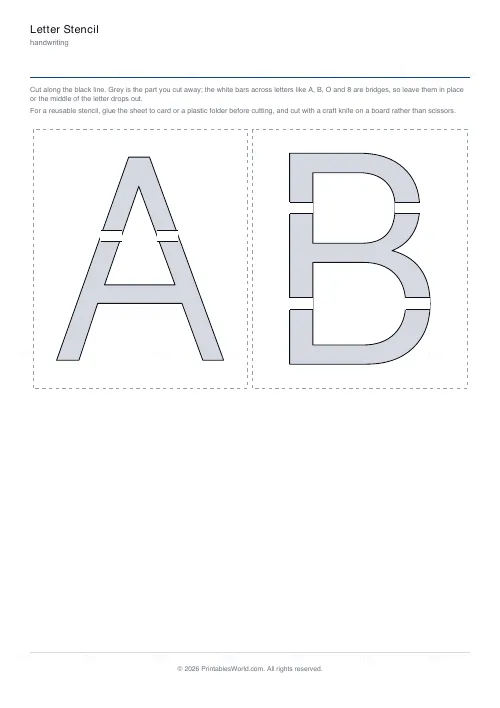
Letter Stencil Generator
Cut-out letter, number and shape stencils with bridged counters, from any word.
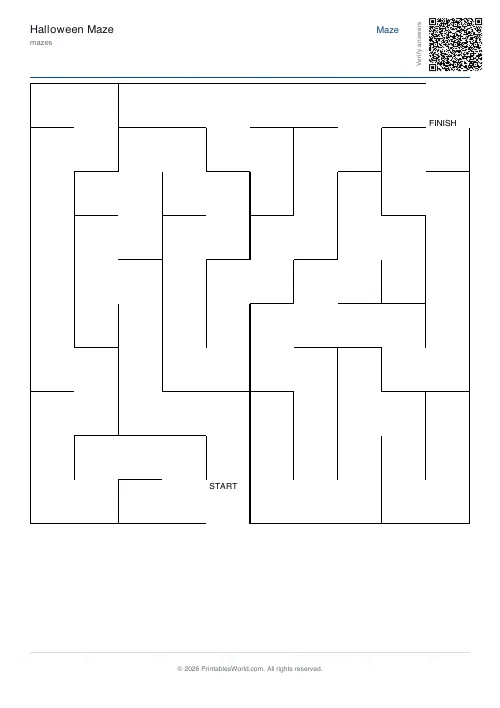
Halloween Maze
A maze carved into a pumpkin. 164 mask cells, the densest of the seasonal shapes and the longest solve at any scale.
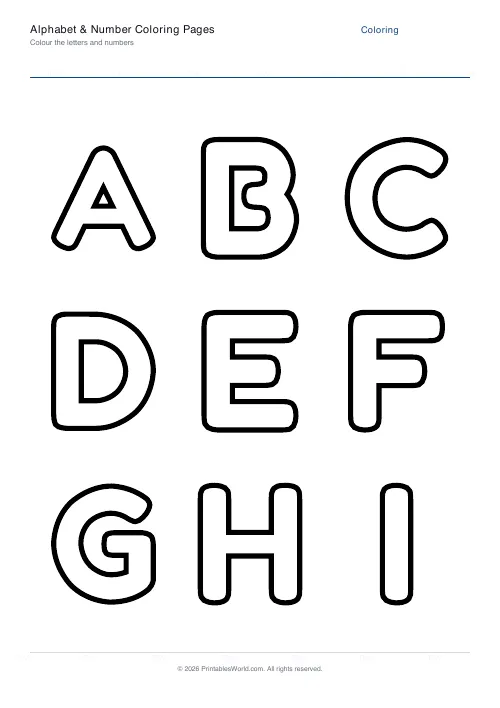
Bubble & Block Letters Template
Large outlined block letters to trace and colour in.
Feedback
Spotted something off with this tool?
Names, words and the shapes that go with them
The pumpkin templates that get printed most are not faces. They are words: BOO, a house number, a child's name, EEK across three pumpkins on a step. This generator prints those. Type the text and each letter comes out one to a page in a bold stencil face, the size a medium pumpkin can take. Then add the shapes: a bat, a crescent moon, a ghost with a wavy hem, a star. They print after the letters at the same size.
How the transfer works
Tape the sheet to the pumpkin, bending it to the curve as best you can (cutting a few slits into the margin helps). With a pin, nail or the poking tool from a carving kit, prick holes along every black line about half a centimetre apart. Peel the paper off and the outline is on the pumpkin as dots. Carve dot to dot. The grey areas are the parts that come out.
The white bars across letters like B, O and 8 are bridges. On paper they stop the middle falling out; on a pumpkin they are what keeps the centre of the letter attached to the shell. Carve around them, not through them.
Order of cutting
Small pieces first, big pieces last, so the pumpkin stays rigid while you work. Angle the knife slightly outwards so pieces push out from the inside rather than falling in. A thin serrated blade turns corners better than a kitchen knife.
Bigger or smaller
This page defaults to one letter per page. For a small pumpkin or a long word, switch to two or three per row and the letters shrink to match. For a sign rather than a pumpkin, the letter stencil generator has the same faces with cutting instructions instead of carving ones.
Get it printed early
Print the week before, not the night of. Pumpkins carved more than three or four days ahead go soft, so the sheets can wait but the carving cannot.
FAQs
Quick answers
How do I get the design onto the pumpkin?
Tape the sheet on, prick holes along the black lines every 5 mm or so, remove the paper and carve from dot to dot. The instructions print at the top of the sheet.
Which shapes are included?
Bat, crescent moon, ghost and star by default. Heart, circle, triangle, hexagon, diamond and arrow are available too.
What are the white bars in the letters?
Bridges that keep the middle of an O, B or 8 attached to the pumpkin shell. Carve around them.
Can I carve a name?
Yes. Type it and each letter prints on its own page. Line the pages up on the pumpkin, or spread the letters over several pumpkins.
How big are the letters?
At one per page a letter is about 16 cm tall on A4, which suits a medium pumpkin. Choose two or three per row for smaller pumpkins.
Is it the same tool as the letter stencils?
Same engine with Halloween defaults: bold face, one per page, the shapes pre-selected and carving instructions instead of cutting ones.
Related tools
Letter Stencil Generator
Cut-out letter, number and shape stencils with bridged counters, from any word.
Halloween Maze
A maze carved into a pumpkin. 164 mask cells, the densest of the seasonal shapes and the longest solve at any scale.
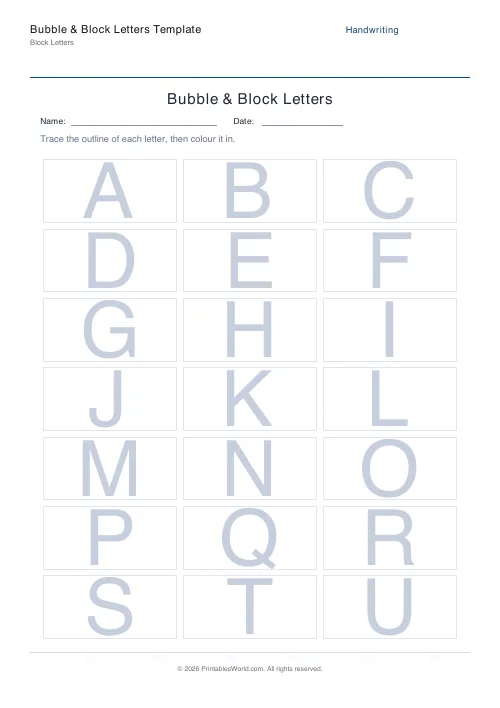
Bubble & Block Letters Template
Large outlined block letters to trace and colour in.
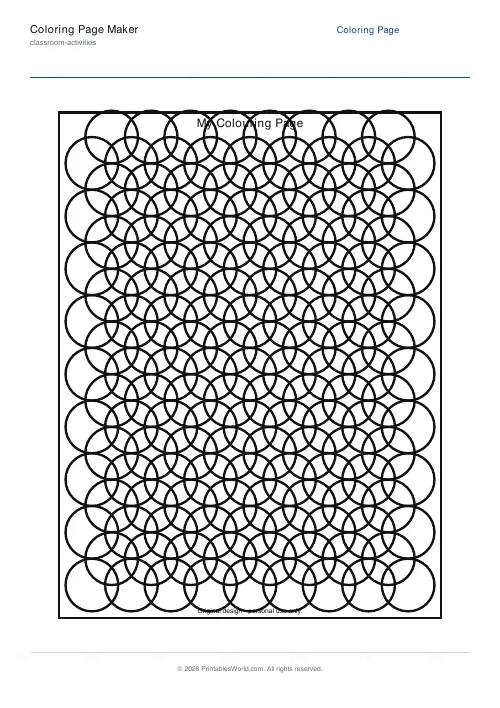
Coloring Page Maker
Create printable coloring pages with mandala, geometric, and animal templates in any line thickness.
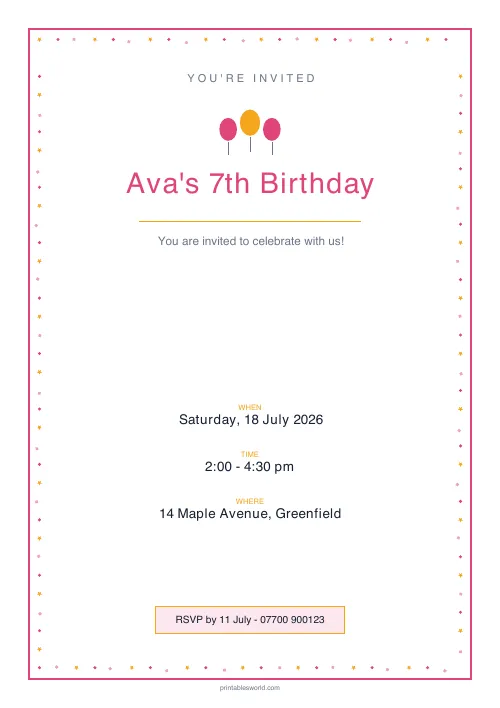
Party Invitation Generator
Clean, typographic printable party invitations. Pick a design, add the details, download a PDF.
Further reading