What this tool does
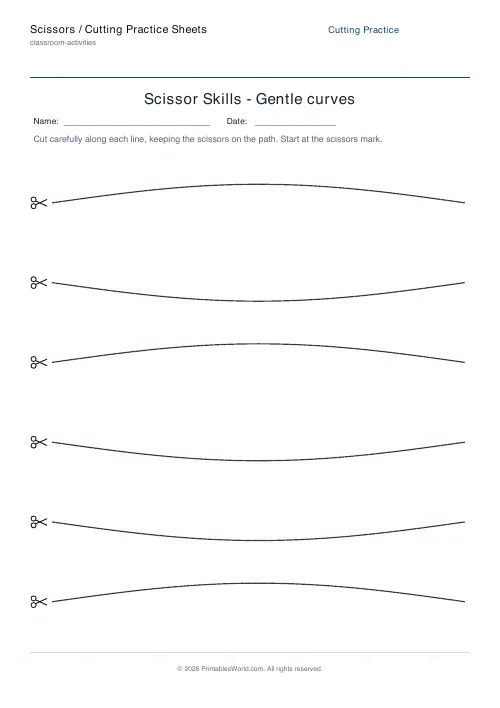
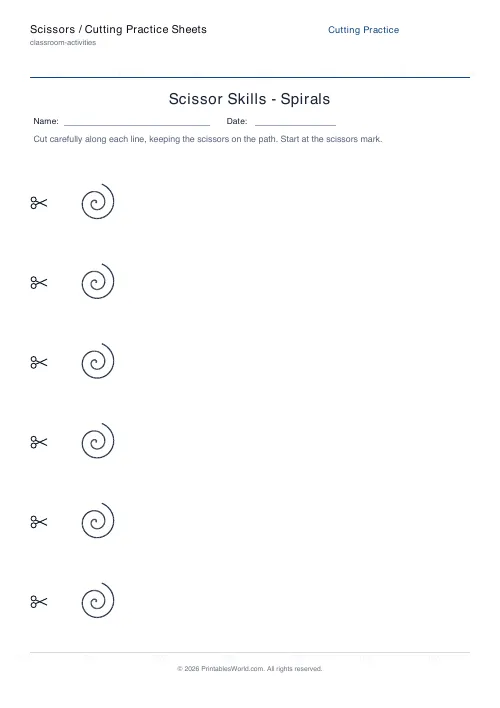
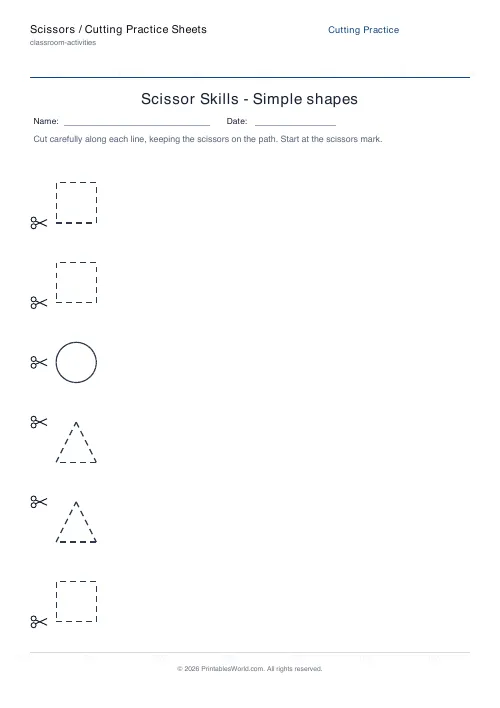
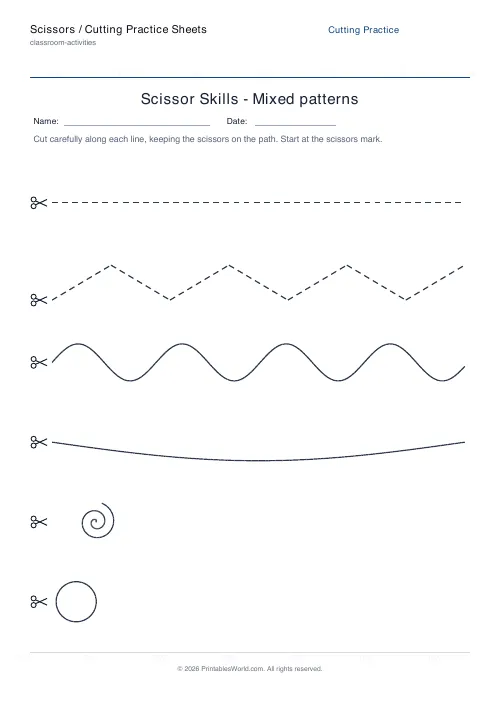
Printable scissor-skills practice on one branded page. Lanes run left to right in whatever pattern you pick, and there are seven: straight lines to begin with, zig-zags once corners stop being frightening, then waves and gentle curves, then spirals, then simple shapes for anyone approaching real cut-outs. Three to ten lanes fit a sheet. Fewer means wider. Dashed guides are the default and solid ones are the harder setting, a small scissors mark shows where each lane starts, and the name and date fields come off entirely if the sheet is not coming back to you. It is all geometry, so it prints crisp and costs almost nothing in ink.
People also used
Feedback
Spotted something off with this tool?
Cutting lanes, drawn rather than illustrated
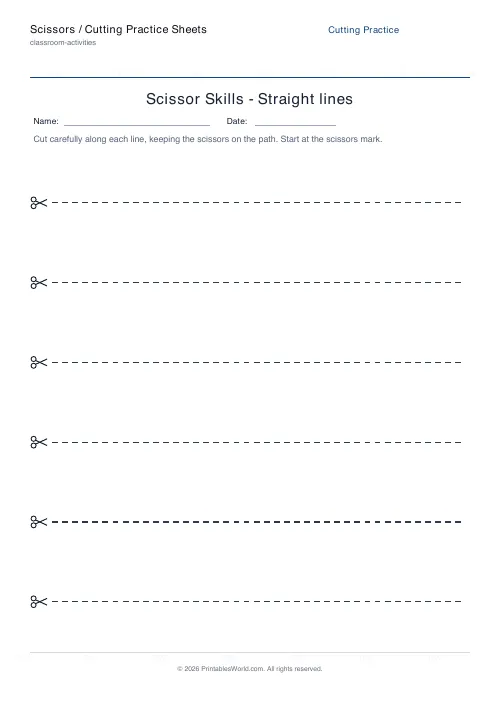
A page of left-to-right lines for a child to cut along. A small scissors mark sits at the start of each one, so there is never a question about which end to begin from, and between three and ten lanes fit on a sheet depending on what you ask for.
Six is the default. Fewer lanes means wider lanes, and lane width is the single setting that matters most for a beginner, which is why it is worth changing before anything else on the page.
Everything here is geometry. No clip art, nothing to colour in first, no illustration competing with the line the child is supposed to be following. It prints crisp at any size and costs almost nothing in ink, which starts to matter around the fourth sheet of a session.
Seven patterns, in the order a hand learns them
Straight lines ask for open, close, forward. Nothing else. That is genuinely the whole skill at the start, and it is worth staying there longer than it feels reasonable to.
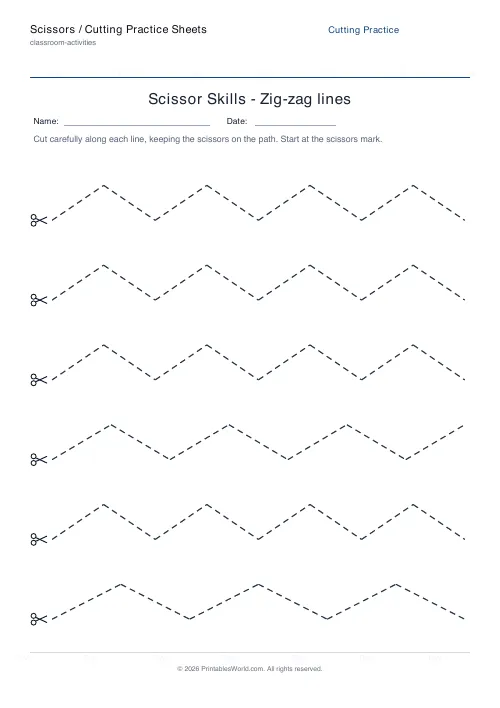
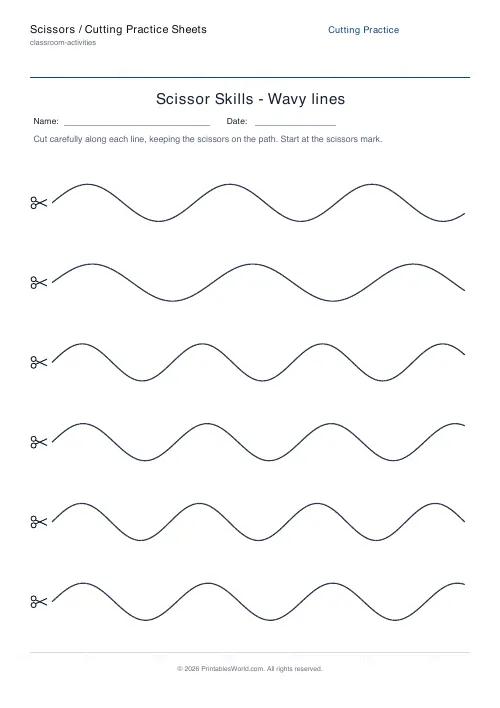
Zig-zags add the stop-and-turn at each corner, which is where most children first wander off the line, and wavy lines and gentle curves then swap those discrete turns for a continuous stream of small corrections that the hand has to make without being told to.
Spirals are the real step up. They force the child to rotate the paper instead of the scissors, and that habit is what carries over into cutting anything out. Simple shapes come last: squares and circles, with a triangle to make the corners honest. There is also a mixed sheet with one of each pattern on it, which is the quickest way to find out where a child actually is rather than where you had assumed.
Dashed or solid, and why dashed is the default
A dashed guide is easier to follow, because the eye reads where the line is going rather than only where it currently is. Solid is harder. Switch to it once a pattern is comfortable and you have a second difficulty step without changing the pattern at all.
The scissors marker can also come off. Leave it on for anyone still working out which end of the lane to start from, and that is a longer stretch of childhood than most adults remember it being.
What cutting practice is actually for
Scissors work builds the small muscles at the base of the thumb, and it makes the two hands do different jobs at the same moment: one cuts while the other turns the paper. Both of those turn up again in handwriting a year or two later, which is the reason occupational therapists care about it as much as reception teachers do.
Short and often beats long and occasional. That is the whole argument for a sheet you can print in ten seconds rather than a craft activity you have to set up, clear away and photograph.
Supervision, and the left-handed problem
Child-safe scissors, adult in the room. Thumb on top, helper hand flat on the paper, and turn the paper rather than the scissors when the line curves. One or two lanes in a sitting is plenty at the start, and a sheet does not have to be finished to have done its job.
Left-handed children need left-handed scissors, and this is not a matter of preference or comfort. On right-handed blades the upper blade sits over the cutting line from a left-handed child's point of view, so they cannot see where they are cutting and are working blind. It looks exactly like poor control. Swap the scissors before you conclude anything at all about the child.
Headings, and the paper it lands on
Add a heading if the sheet is going into a folder. Add name and date fields if it is coming back to you. Both are off the page entirely when you do not want them, and the sheet is built for A4 and US Letter out of one file. Print at full scale, or the lane widths stop being the widths you chose.
FAQs
Quick answers
What age are these cutting practice sheets for?
They suit children roughly 3 to 6 years old, from toddlers learning to snip straight lines up to kindergarteners cutting curves, spirals and shapes. Start with straight lines and move to harder patterns as the child's control improves.
Which pattern should a beginner start with?
Begin with straight lines, which only require opening and closing the scissors while moving forward. Once that is comfortable, progress to zig-zags, then waves and curves, and finally spirals and shapes.
Should I choose dashed or solid lines?
Dashed lines are a clear cutting guide that is easy for young children to follow. Solid lines look a little tidier and can be used once a child is confident. You can switch between them in the settings and see the result in the live preview.
What paper should I print on?
Standard printer paper on A4 or US Letter works well. Slightly heavier paper is a little easier for small hands to control while cutting, but it is not required.
Related tools
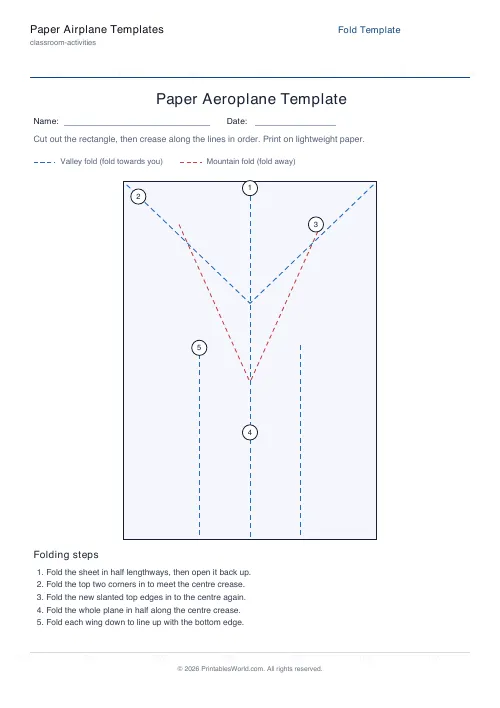
Paper Airplane Templates
Printable fold-line templates for a dart or glider paper aeroplane.
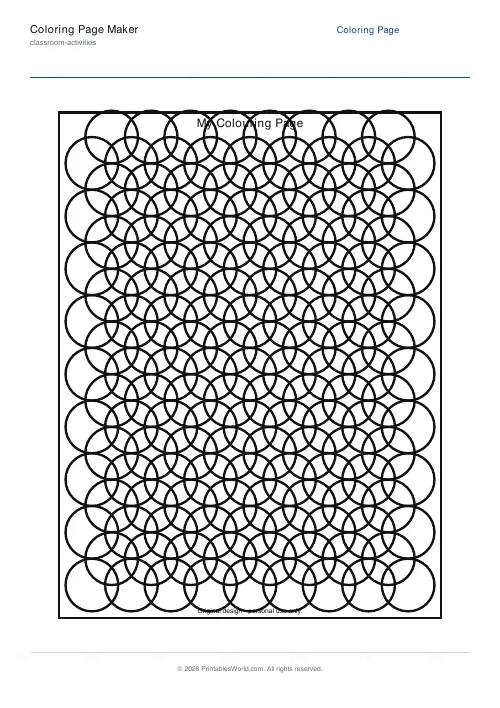
Coloring Page Maker
Create printable coloring pages with mandala, geometric, and animal templates in any line thickness.
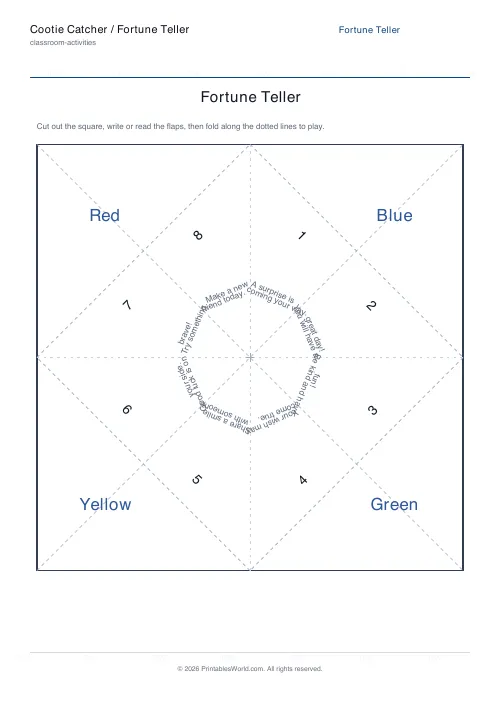
Cootie Catcher / Fortune Teller
Fold-and-play paper fortune teller template.
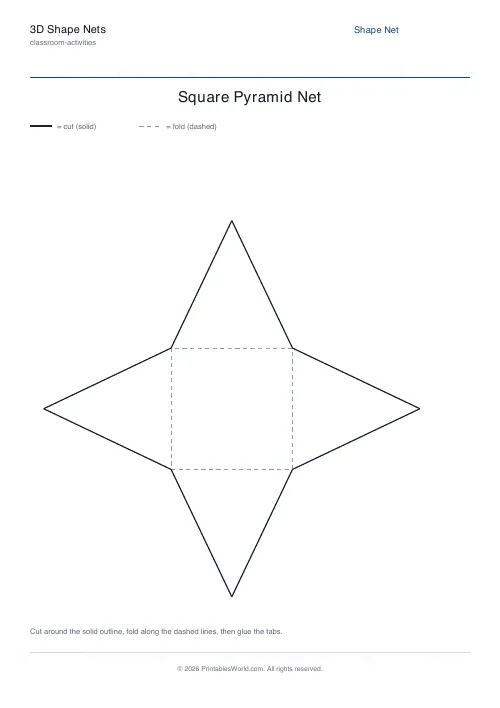
3D Shape Nets
Cut-and-fold nets for cubes, cuboids, pyramids and prisms.
Further reading
Classroom Activities
Positive reinforcement in the classroom: charts that work
Reward charts work when they name a specific behaviour and fade over time. They backfire when they rank children publicly. Here is the difference in practice.
5 min read
Classroom Activities
Bingo in the classroom: 10 subjects, one game
Bingo works in almost every subject because the mechanic never changes. Only the call does. Ten variations, and the one rule that turns it from a filler into retrieval practice.
4 min read