What this tool does
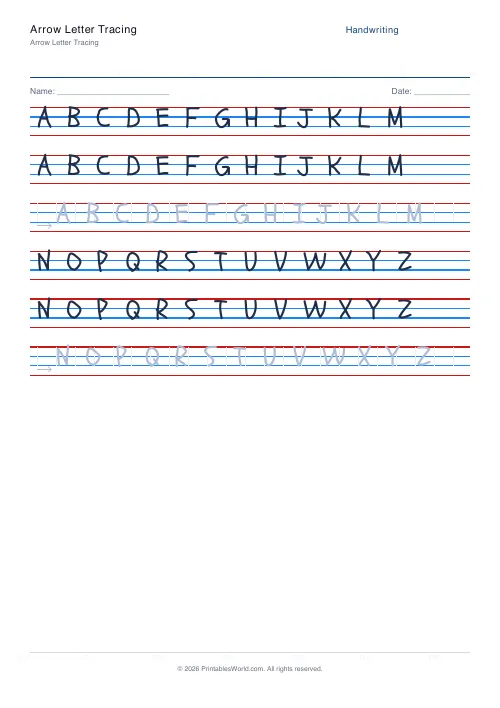
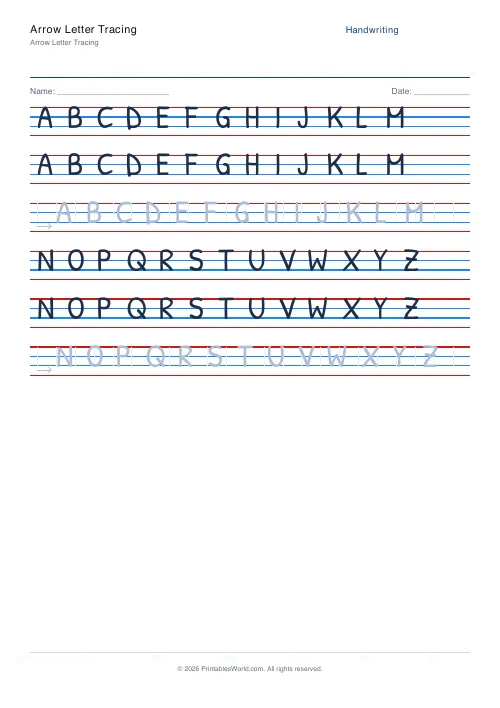
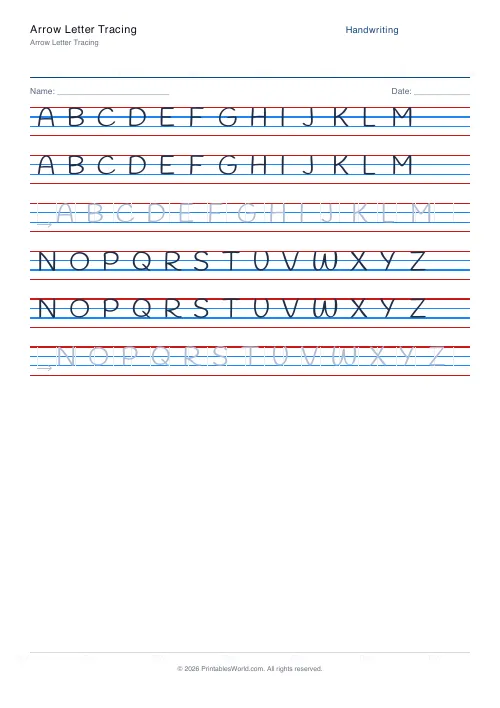
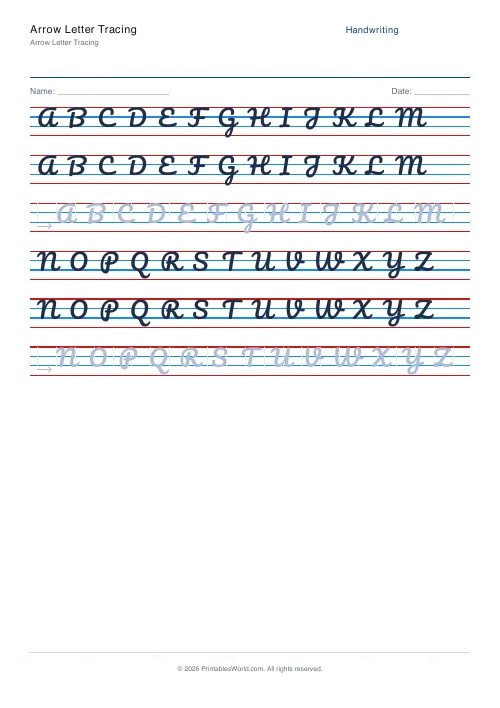
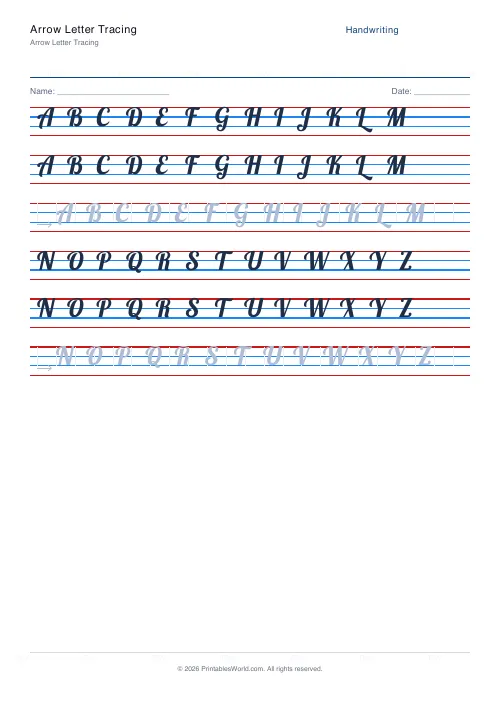
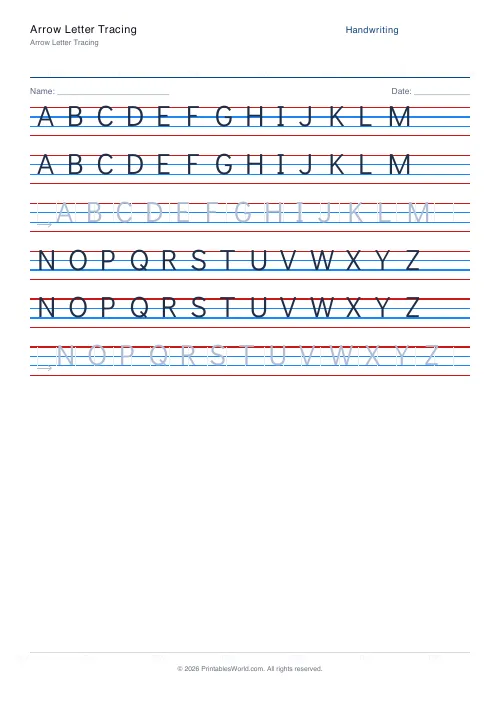
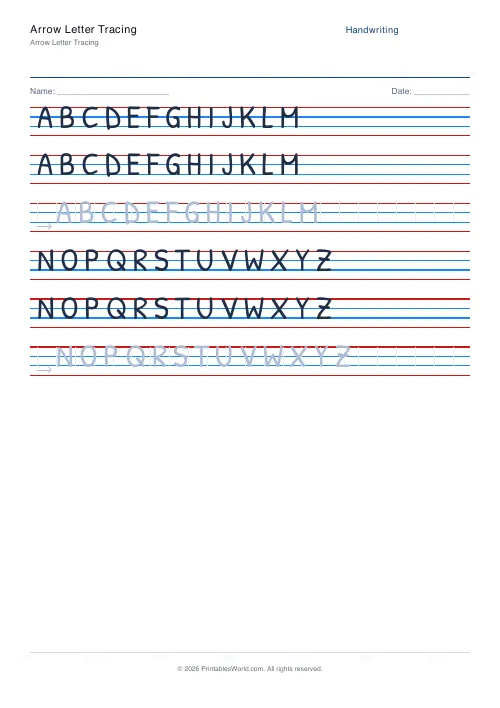
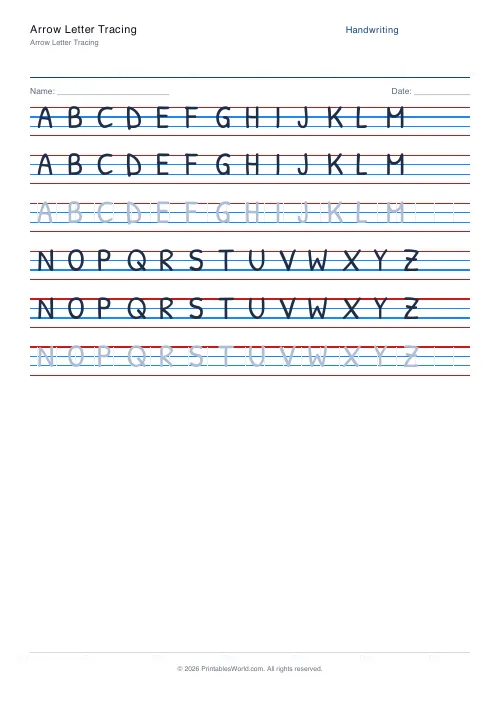
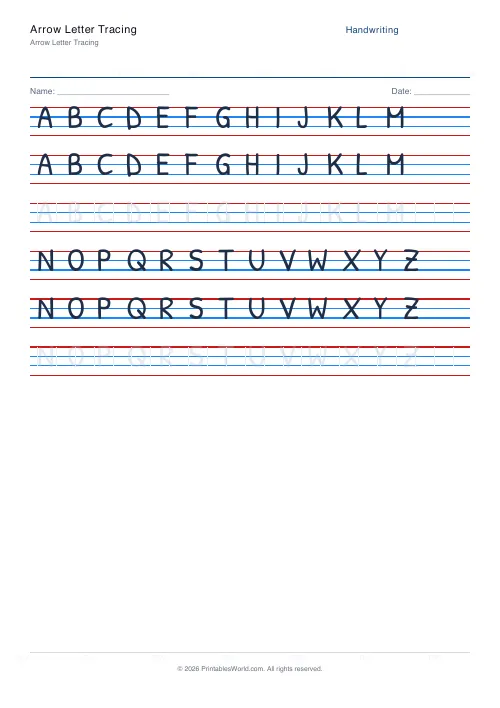
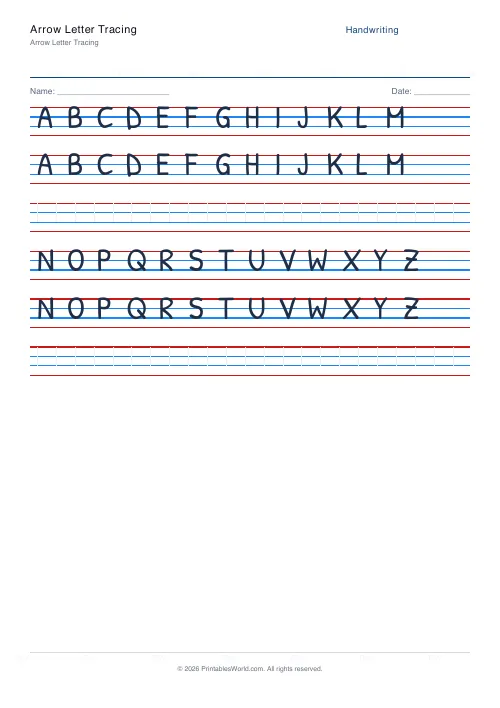
Letters printed with start dots and directional arrows on every stroke, so the child can see where each one begins and which way it goes.
People also used
Feedback
Spotted something off with this tool?
The sheet that shows the movement
Same four-line ruling. Same trace-and-copy rows. What differs is the model itself: every letter carries a dot marking where the pencil starts, and arrows showing which way each stroke travels.
Why a correct-looking letter can still be wrong
This is the thing arrows exist to catch, and nothing else on a finished page reveals it.
A child can produce a perfect o by drawing it clockwise, or an l from the bottom up, or an e in two separate pieces. On paper all three look correct. In practice all three are dead ends: they cannot be joined, they cannot be sped up, and they have to be unlearned later, which is considerably harder than learning them right.
By the time the problem shows — usually when writing has to get faster around age eight — the habit is years old.
Start at the top, and go anticlockwise
Those two rules cover most of the alphabet.
Nearly every letter begins at or near its highest point, so a child who defaults to starting high gets most of them right without being told individually. And the round family — c, a, d, g, o, q, s — all begin with the same anticlockwise curve, which is why a child who draws circles clockwise has seven letters to fix rather than one.
Watch the pencil, not the page
The arrows tell the child what to do. Only you can tell whether they did it.
Sit where you can see the pencil tip. Thirty seconds of watching beats marking the whole finished sheet, because the sheet records only the result and what you actually need to see is the process that produced it.
Turn them off once formation is right
Arrows are scaffolding. They clutter the page, they slow a child down, and the moment the movement is automatic they are simply in the way.
Use them while a letter is being fixed, then move to a plain solid or hollow model. A child still tracing arrows in Year 3 is being held back by them.
What the generator asks for
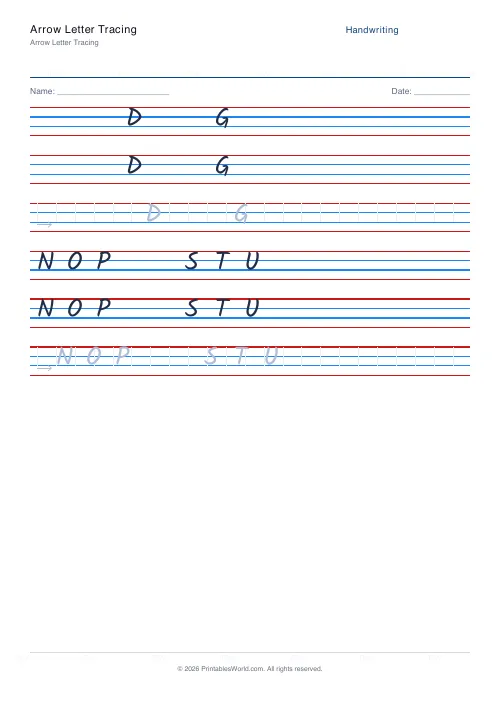
The practice text is the field to use — cut the alphabet down to the four or five letters actually being corrected, rather than working through all 26 with arrows on. Also: font, rows per line, character boxes, ruling colour and line height. A4 or US Letter at 100%.
Note that arrows draw over the chosen display font, so they follow that font's letterforms. If the school teaches a specific style, pick the font closest to it before worrying about the arrows.
FAQs
Quick answers
What do the arrows mean?
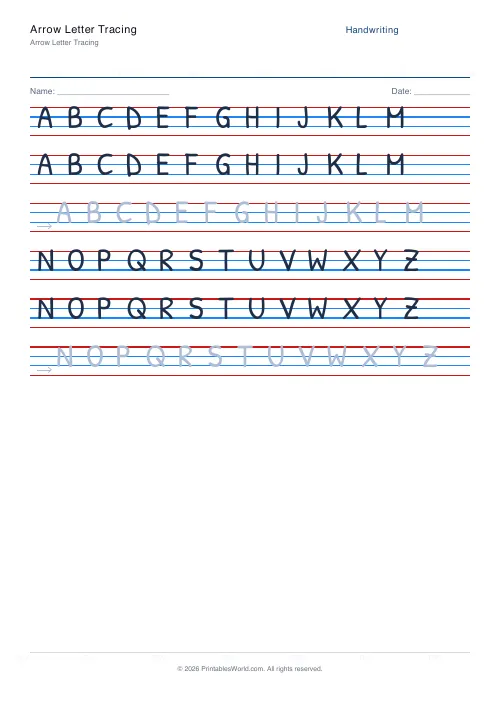
Each trace row begins with a small left-to-right arrow chip showing which direction to start. It cues left-handed and right-handed writers alike to move the pencil correctly across the page.
Are the trace letters in normal style?
Yes. The trace text is the standard grey trace style. The arrow is an extra cue that prints just before the first letter of each trace row.
Can I use it for whole words?
Yes. Edit the practice text to enter words or short sentences instead of single letters and an arrow will appear at the start of each trace row.
Is this the same as a stroke-order guide?
Not quite. The standalone Letter Formation Guide gives full numbered stroke arrows on each letter. This sheet is for everyday tracing with a directional cue at the row start.
Related tools
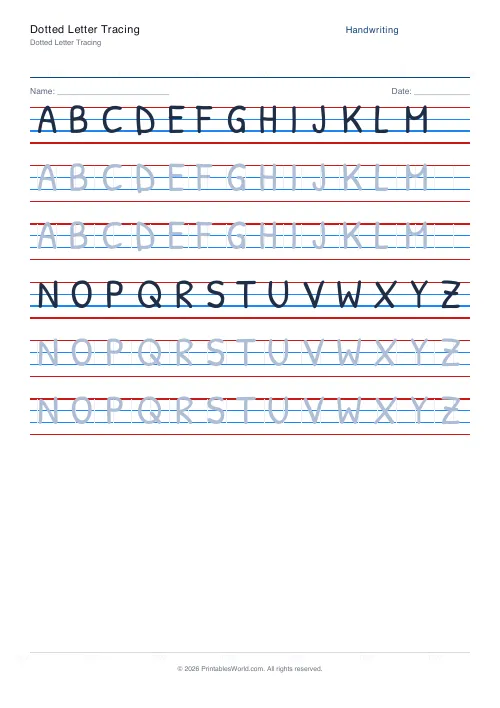
Dotted Letter Tracing
Large dotted letters for fine motor development and letter formation.
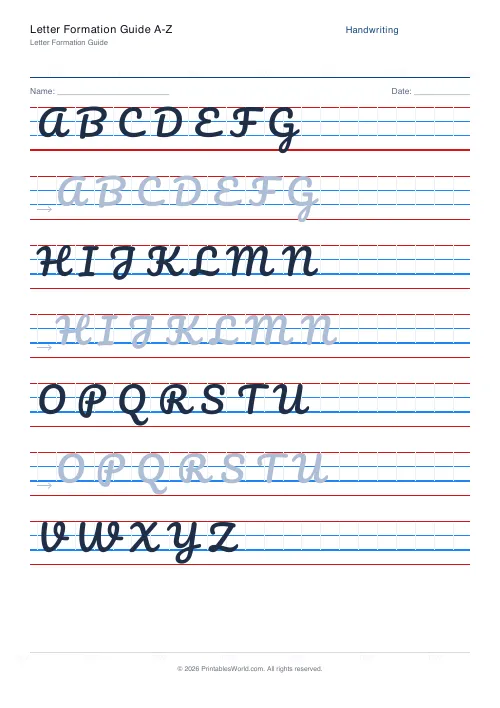
Letter Formation Guide A-Z
Full alphabet with directional arrows for stroke-order learning.
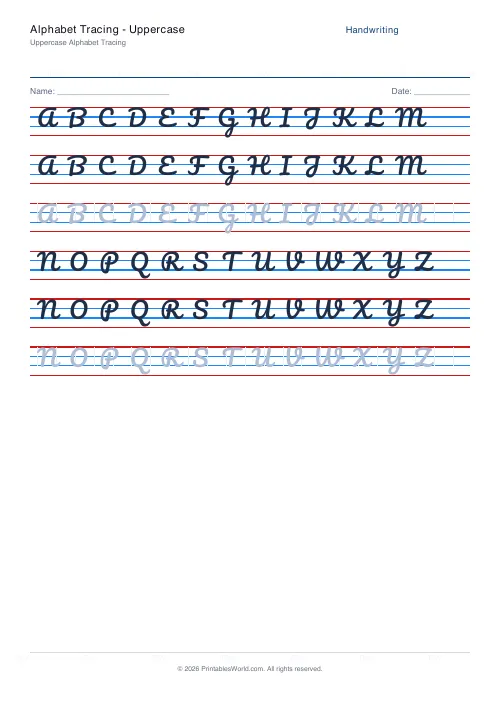
Alphabet Tracing: Uppercase
Trace all 26 uppercase letters with practice lines beneath each row.
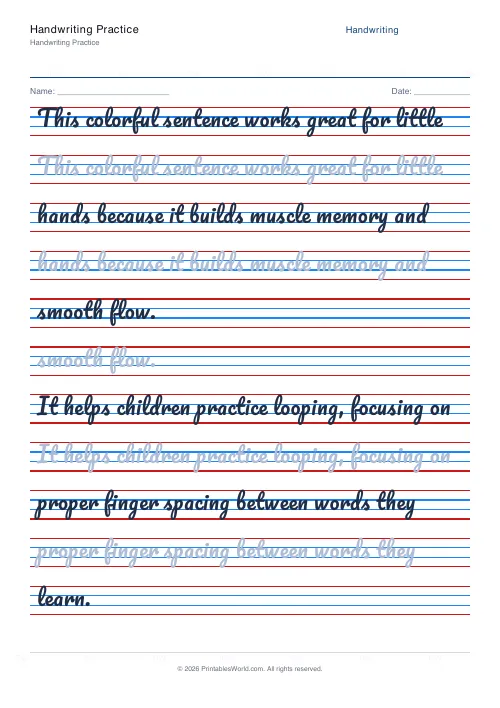
Handwriting Practice Generator
Create custom 4-line handwriting practice sheets with trace rows, adjustable guides, and your own text.
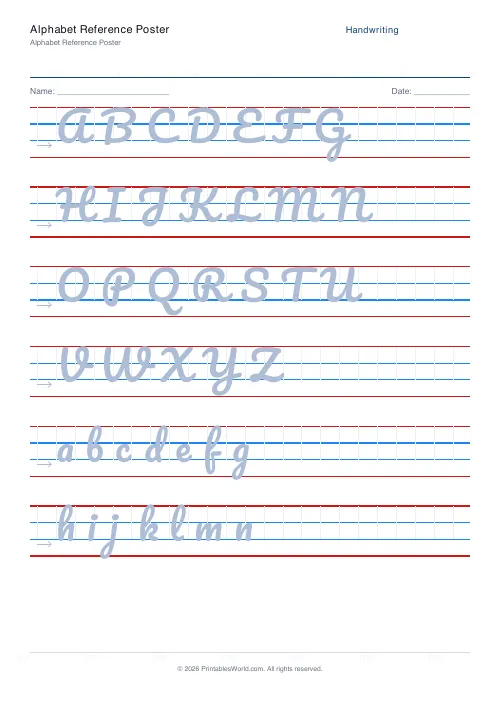
Alphabet Reference Poster
Full A-Z formation reference with directional arrows and letter boxes.
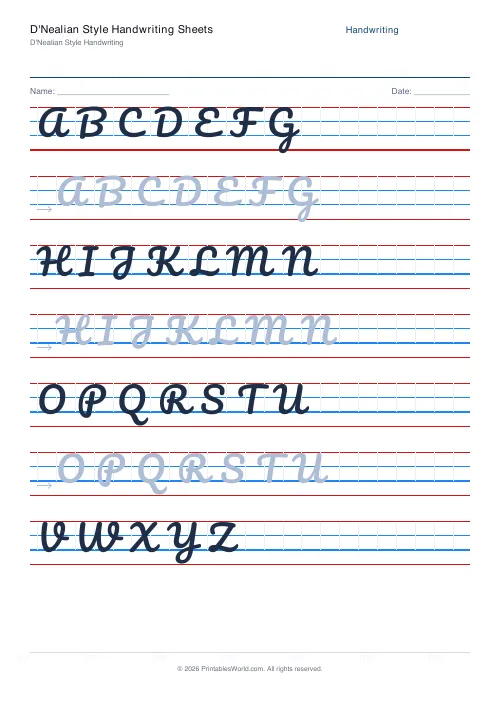
D'Nealian Style Handwriting Sheets
Slanted manuscript letters with stroke arrows. The bridge to cursive.
Further reading
Handwriting
How to fix reversed letters (b and d) in young writers
Reversing b and d is normal up to around seven. The fix is not more practice of both together. It is teaching them apart, by movement rather than by shape.
5 min read
Handwriting
How to teach handwriting to kids: a step-by-step guide
A practical order for teaching handwriting: get the body and the pencil right first, then teach letters in stroke families rather than alphabetically, and keep sessions short enough that the hand never tires.
7 min read
Handwriting
How to teach cursive at home: a step-by-step plan
A simple step-by-step plan for teaching cursive at home, with letter families grouped by stroke, a four-week practice sequence, and free printable sheets to download.
8 min read
More like this
- Handwriting Practice Generator
- Alphabet Tracing: Uppercase
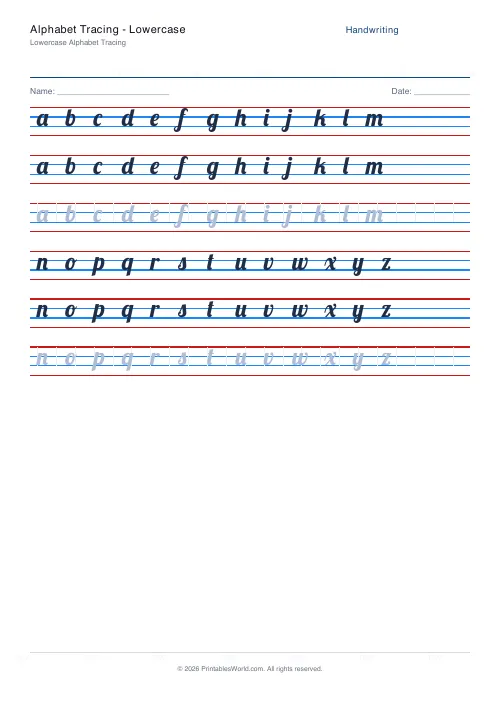 Alphabet Tracing: Lowercase
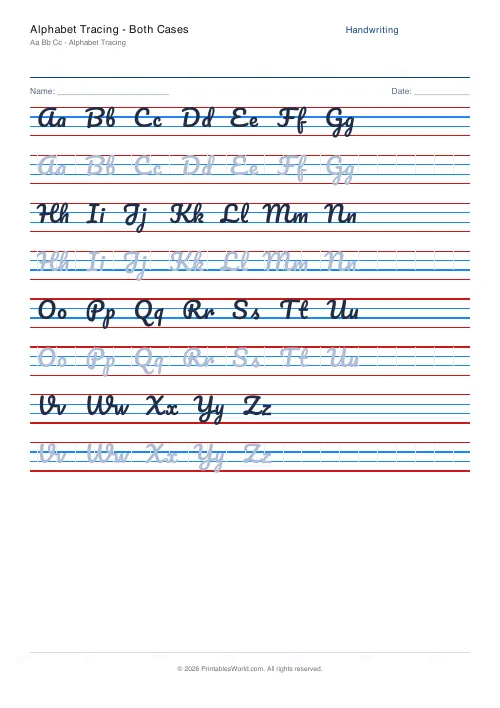 Alphabet Tracing: Both Cases
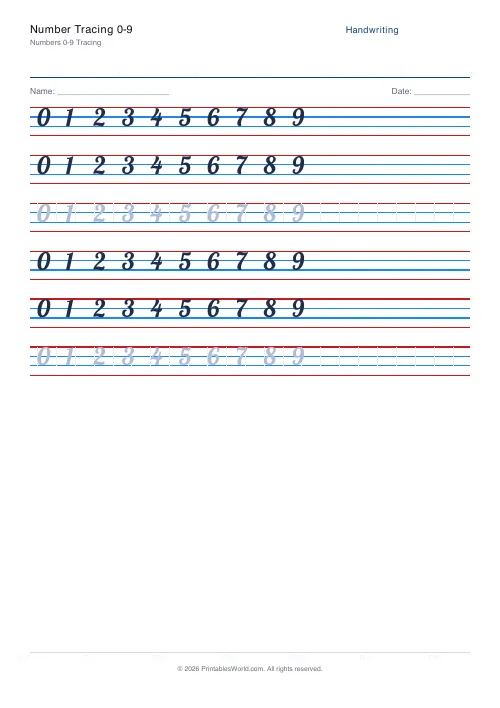 Number Tracing 0-9
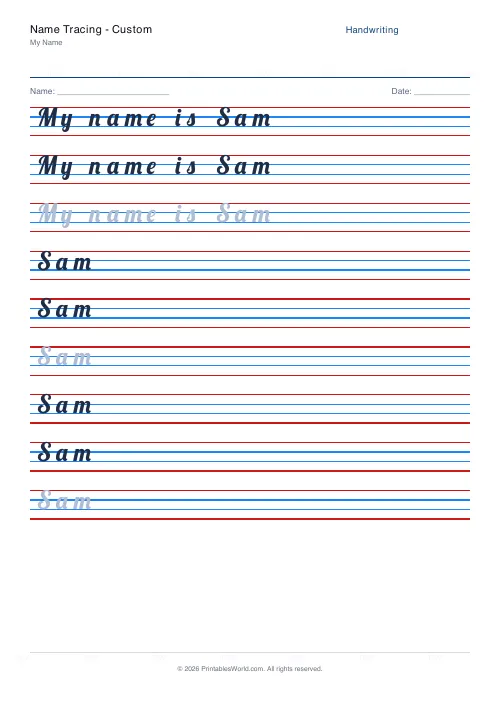 Name Tracing: Custom
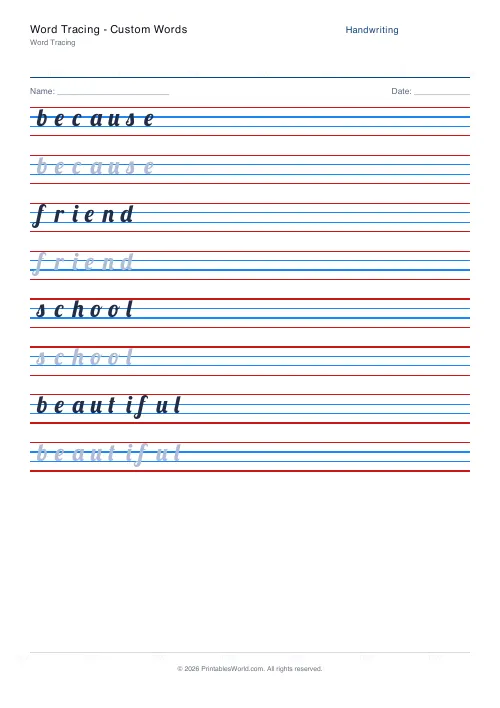 Word Tracing: Custom Words
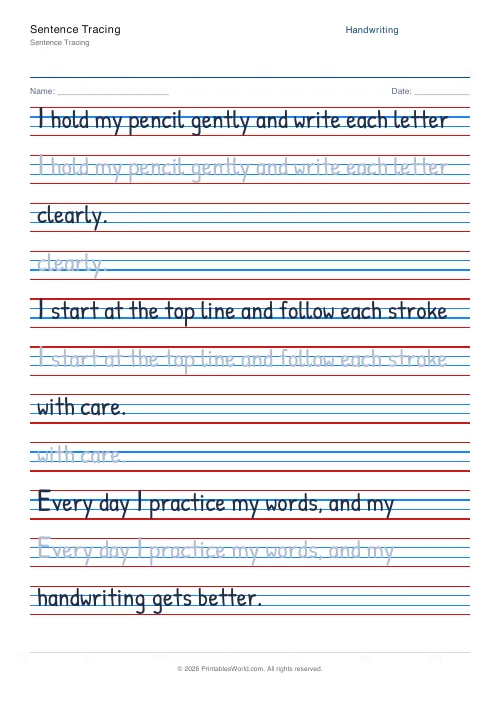 Sentence Tracing
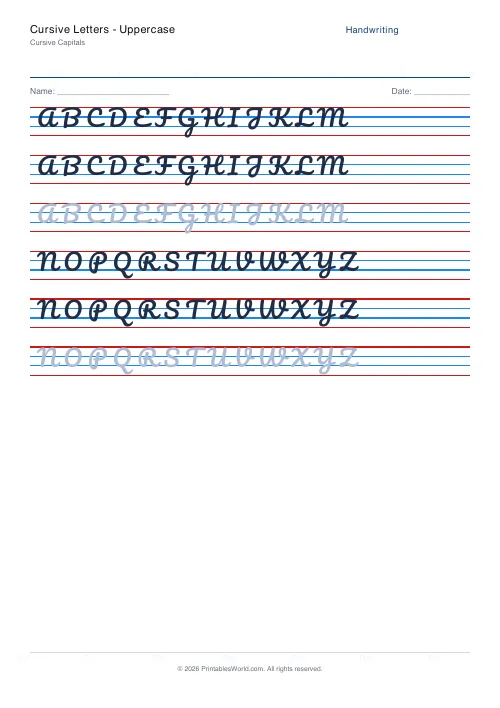 Cursive Letters: Uppercase
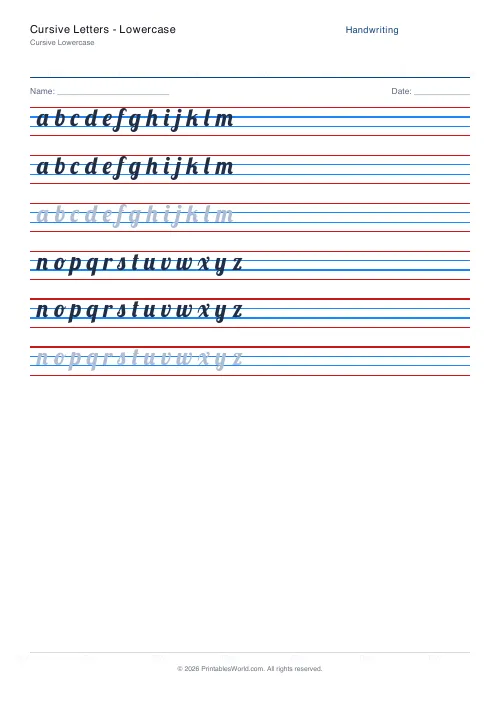 Cursive Letters: Lowercase
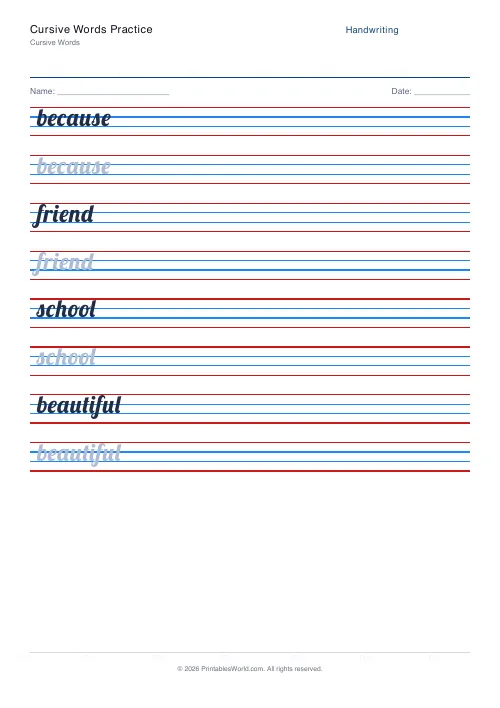 Cursive Words Practice
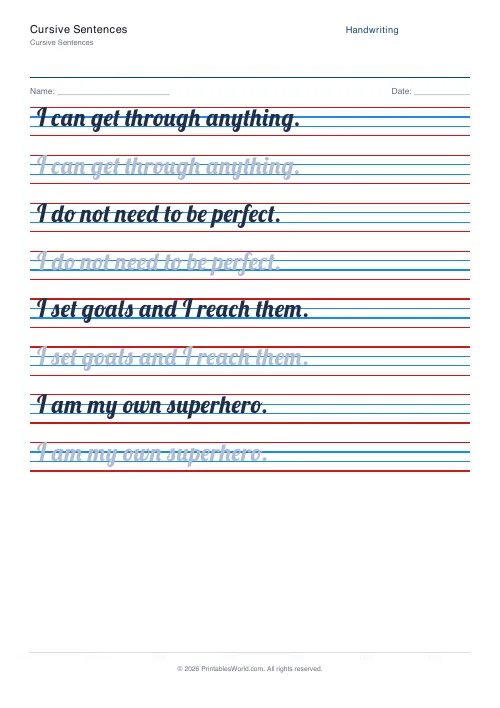 Cursive Sentences
- Dotted Letter Tracing
 Blank Handwriting Lines