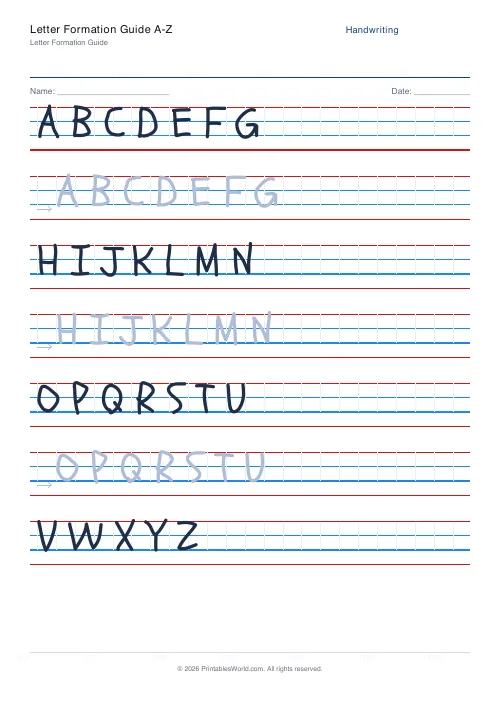
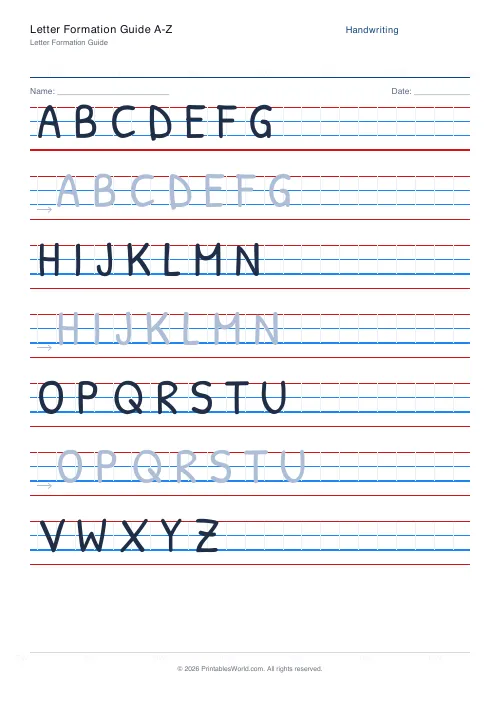
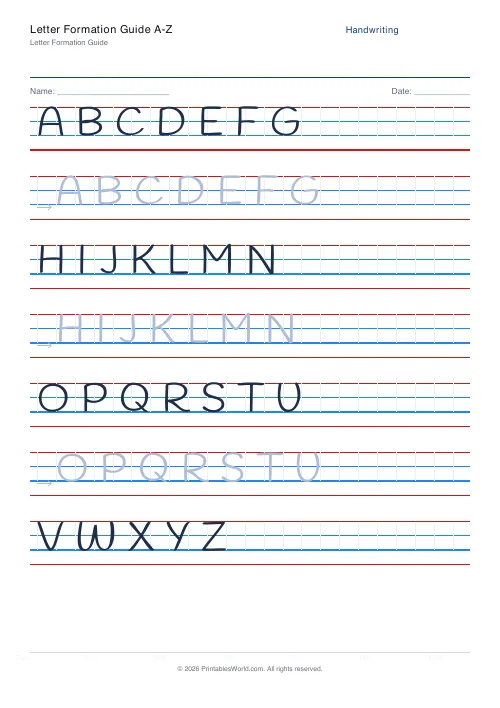
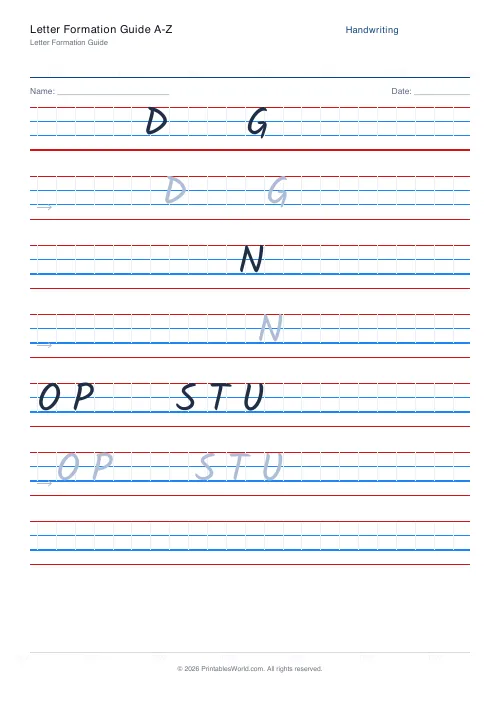
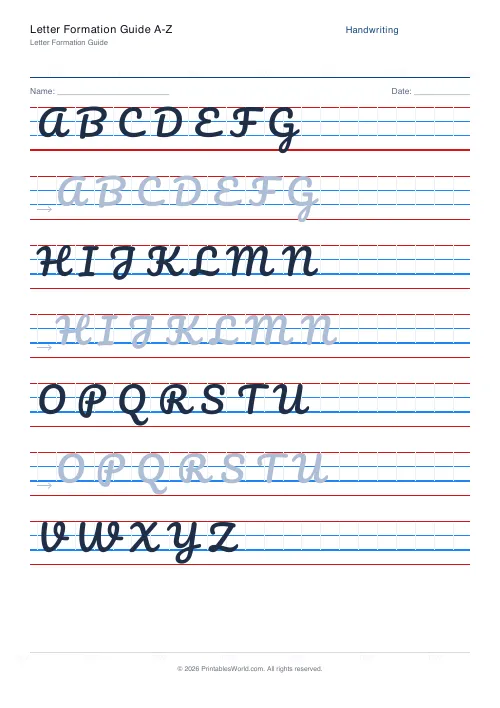
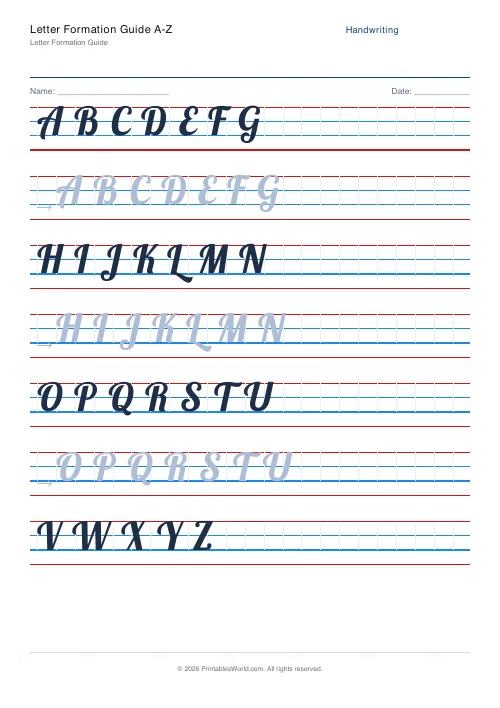
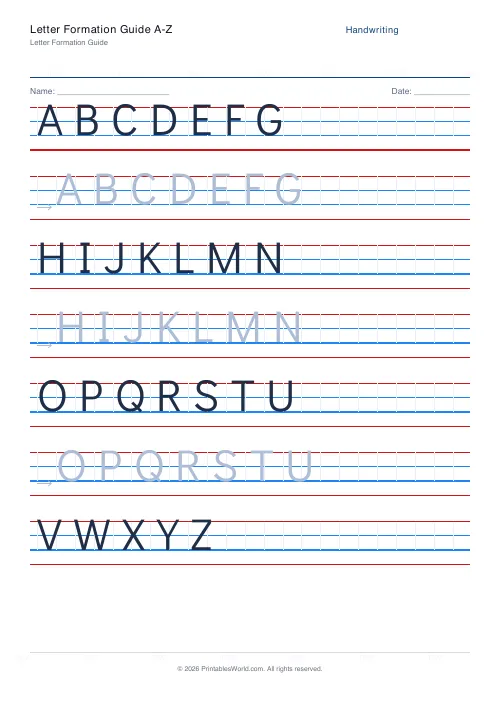
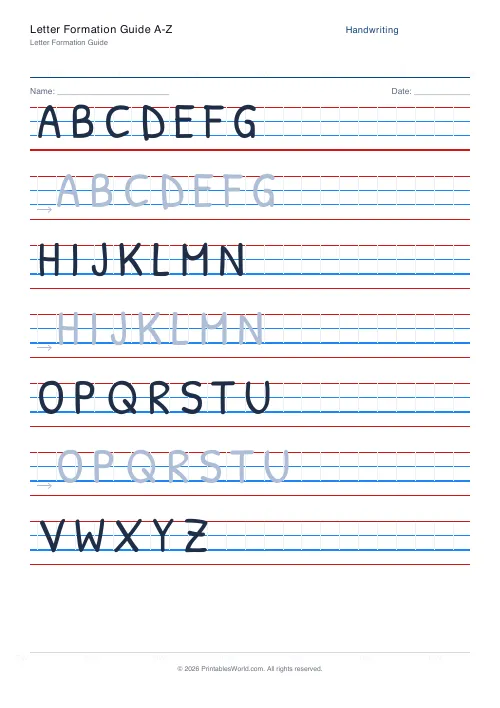
What this tool does
Every letter, capitals then lowercase, laid out in short rows so the whole alphabet fits on one sheet in both cases.
People also used
Feedback
Spotted something off with this tool?
Both cases, seven letters to a row
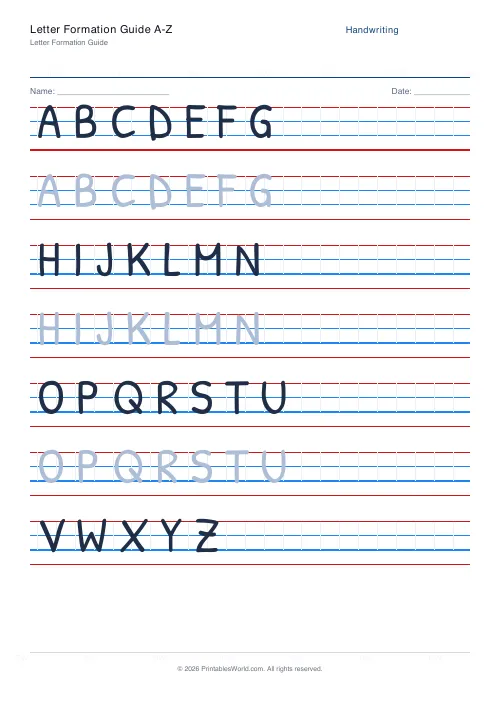
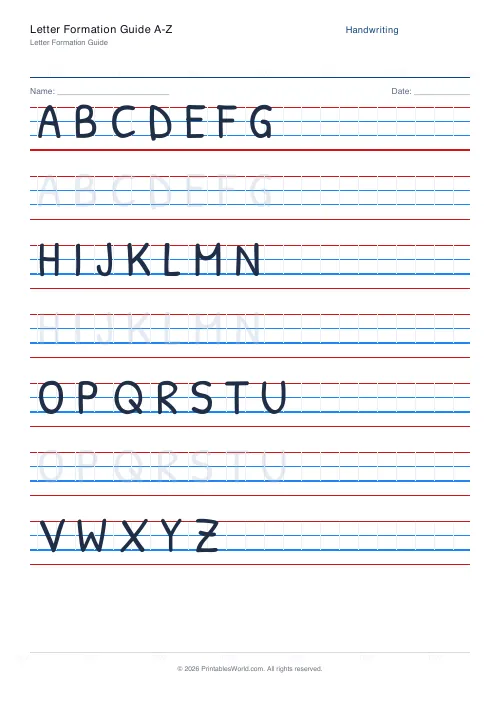
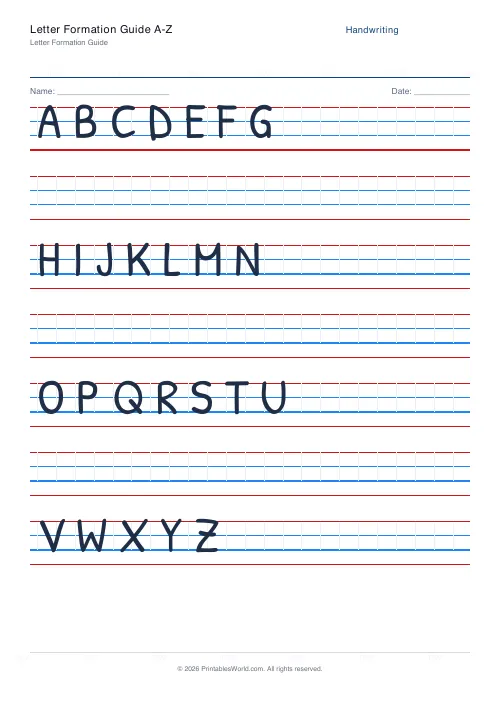
Capitals across four rows, lowercase across four more, on the standard four-line ruling with a model row and a copy row for each.
Short rows are the design. Seven letters is a line a child can finish with the same care they started with; twenty-six is a line where the last six are scribbled.
Formation is not the same as shape
Two children can produce identical-looking letters and only one of them has learned to write.
A letter drawn in the correct sequence, in the correct direction, from the correct starting point becomes automatic and eventually fast. The same letter drawn bottom-up, or in two disconnected halves, looks fine at five and falls apart the moment speed is required — which is usually around the time writing starts being assessed.
So watch the pencil, not the page. It is the only way to see this, and the finished sheet cannot tell you.
The two rules that cover most letters
Start at the top. Almost every letter in both cases begins at or near its highest point, and a child who defaults to that gets most letters right without being taught each one.
Anticlockwise for the round ones. c, a, d, g, o, q and s all begin with the same anticlockwise curve, and a child who forms circles clockwise has to relearn seven letters rather than one.
Where reversals fit
b and d, p and q, and to a lesser extent n and u. These are the letters children mix up, and mixing them up is developmentally normal well into Year 2.
They are worth practising apart rather than together. Teaching b and d on the same sheet, side by side, gives a child two competing shapes at exactly the moment they are trying to fix one, and the standard result is that the confusion gets stronger.
Secure one. Wait. Then introduce the other.
Use it as a check, not a lesson
All fifty-two letters on one sheet is a lot to work through in one sitting, and grinding through it produces tired handwriting rather than better handwriting.
The better use is diagnostic. Hand it over and watch, marking which letters come out hesitant or wrongly formed. Then print a sheet of only those, using the practice text field.
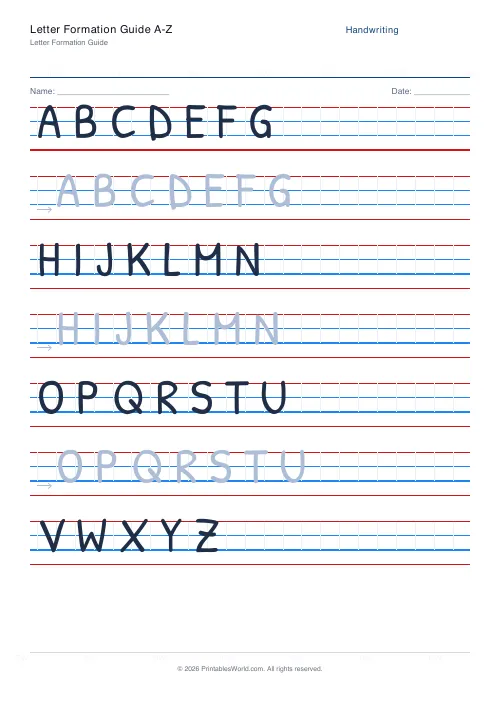
Settings: practice text, font, trace style including arrows for stroke direction, rows per line, character boxes, ruling colour. A4 or US Letter at 100%.
FAQs
Quick answers
Does it cover the whole alphabet?
Yes. Both uppercase and lowercase A-Z, grouped by row so children can practise each set in turn.
What do the arrows show?
Each trace row begins with a small directional arrow chip indicating the standard left-to-right writing direction.
Why are character boxes shown?
Vertical guide boxes between the top and base lines help children space each letter consistently. Useful at the early-formation stage.
Can I use it as a wall poster?
Yes. Print the sheet, laminate it and pin it up for class reference. The full alphabet with stroke direction is visible at a glance.
Related tools
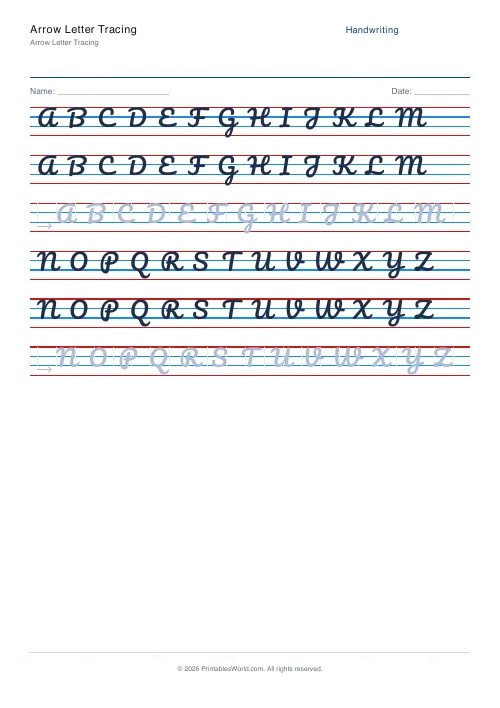
Arrow Letter Tracing
Letters shown with directional arrows indicating correct stroke order.
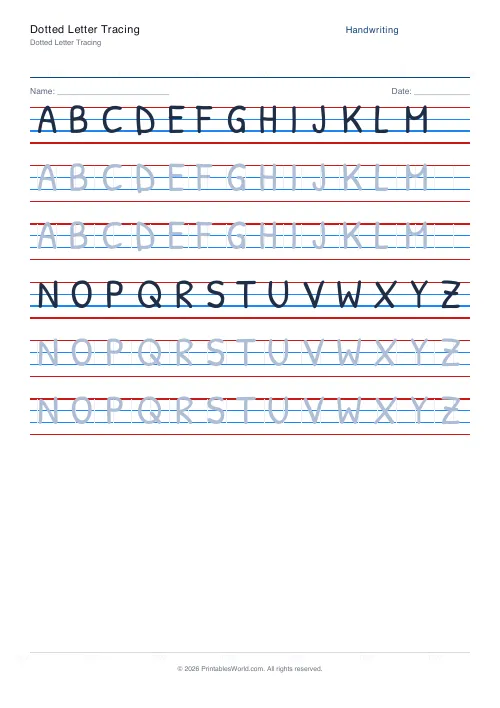
Dotted Letter Tracing
Large dotted letters for fine motor development and letter formation.
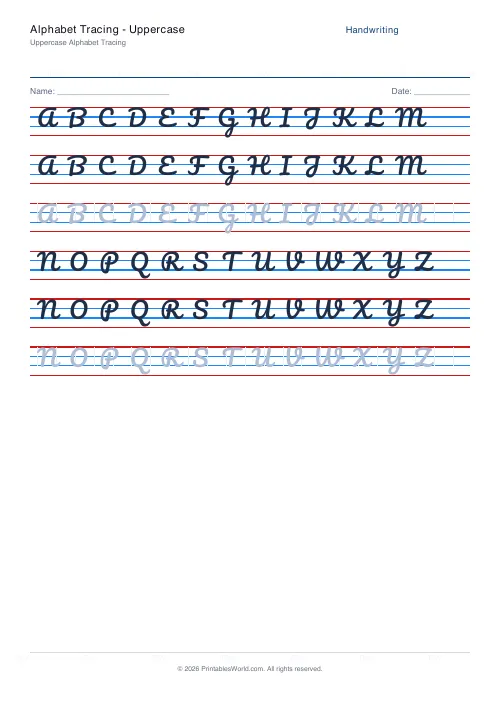
Alphabet Tracing: Uppercase
Trace all 26 uppercase letters with practice lines beneath each row.
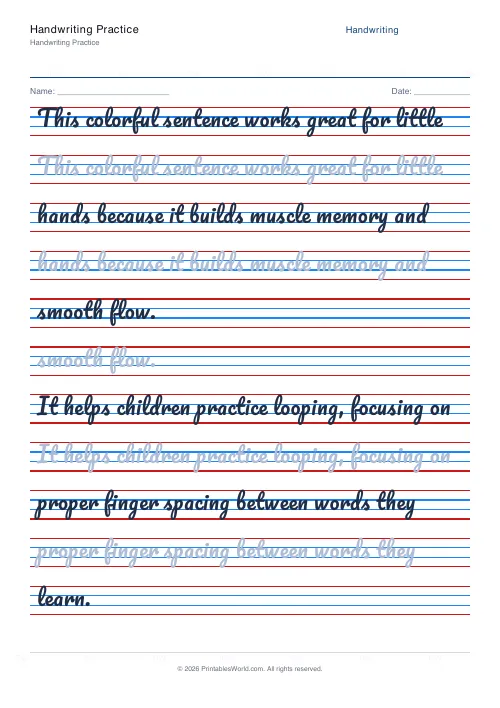
Handwriting Practice Generator
Create custom 4-line handwriting practice sheets with trace rows, adjustable guides, and your own text.
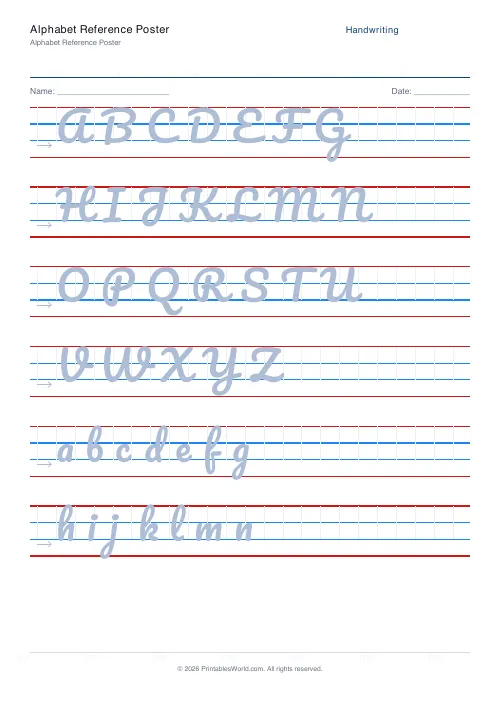
Alphabet Reference Poster
Full A-Z formation reference with directional arrows and letter boxes.
Further reading
Handwriting
Dotted vs solid trace lines: what works best for beginners
Each trace style removes a different amount of support. The mistake is staying on one too long. Tracing feels productive and teaches less than copying.
4 min read
Handwriting
How to fix reversed letters (b and d) in young writers
Reversing b and d is normal up to around seven. The fix is not more practice of both together. It is teaching them apart, by movement rather than by shape.
5 min read
Handwriting
Print vs cursive: which should children learn first?
Countries disagree, schools disagree, and the research is thinner than either side suggests. Here is what print and cursive each actually do well, and a practical way to decide for one child.
6 min read
More like this
- Handwriting Practice Generator
- Alphabet Tracing: Uppercase
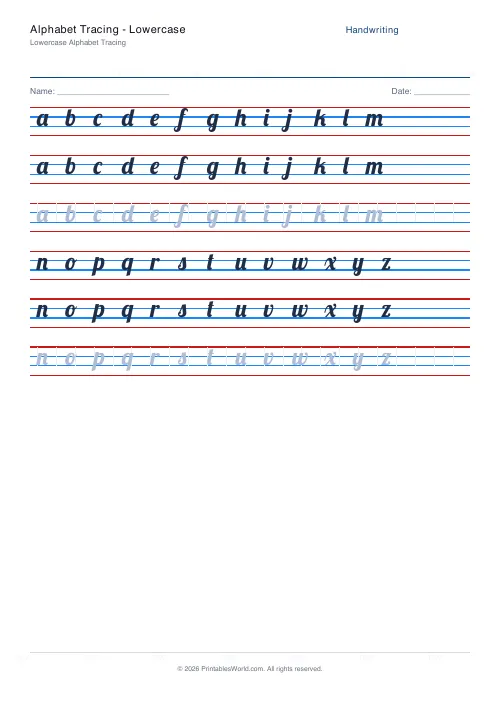 Alphabet Tracing: Lowercase
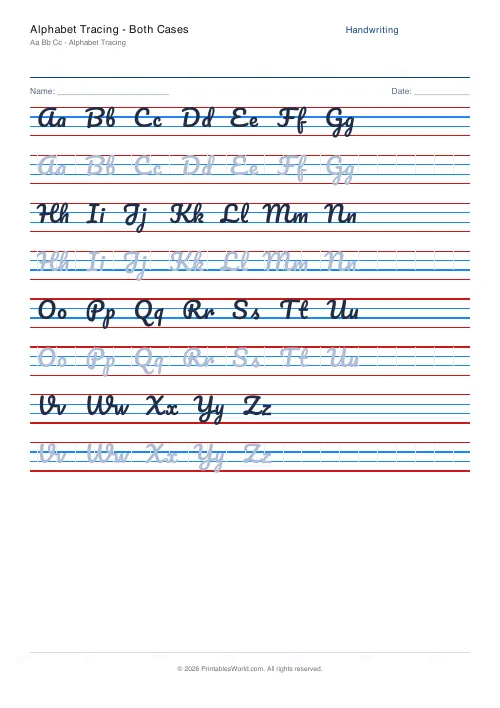 Alphabet Tracing: Both Cases
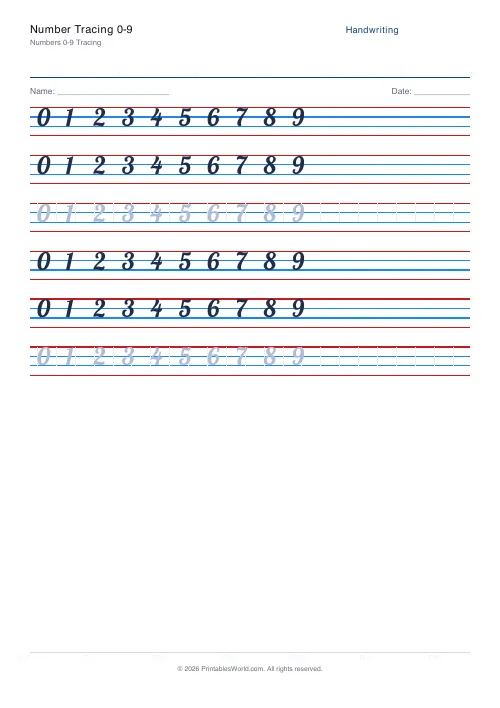 Number Tracing 0-9
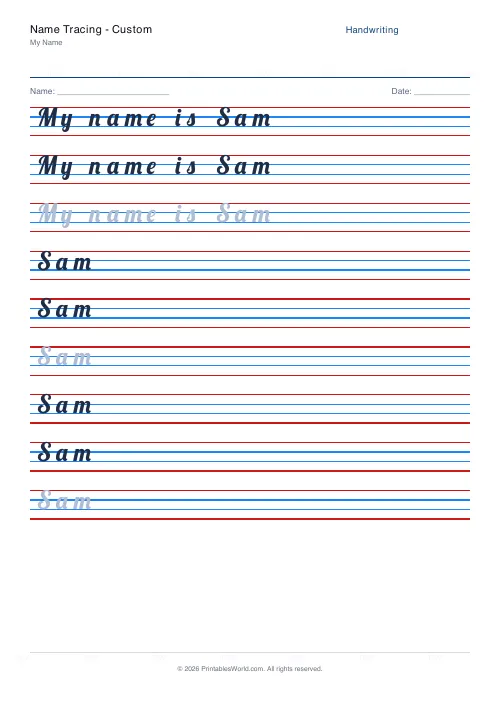 Name Tracing: Custom
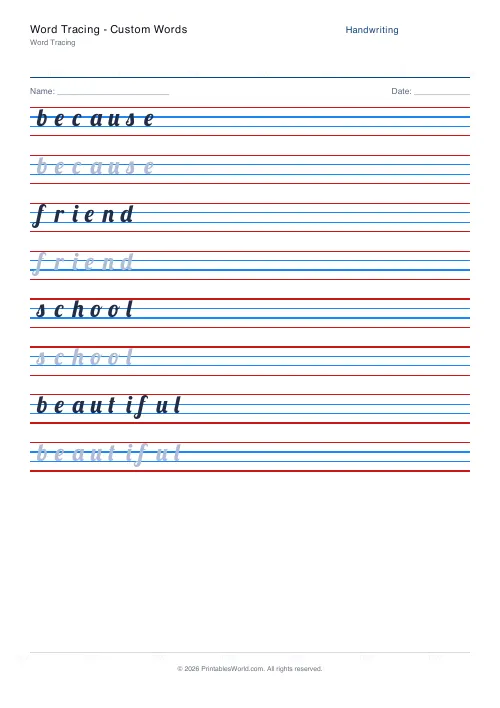 Word Tracing: Custom Words
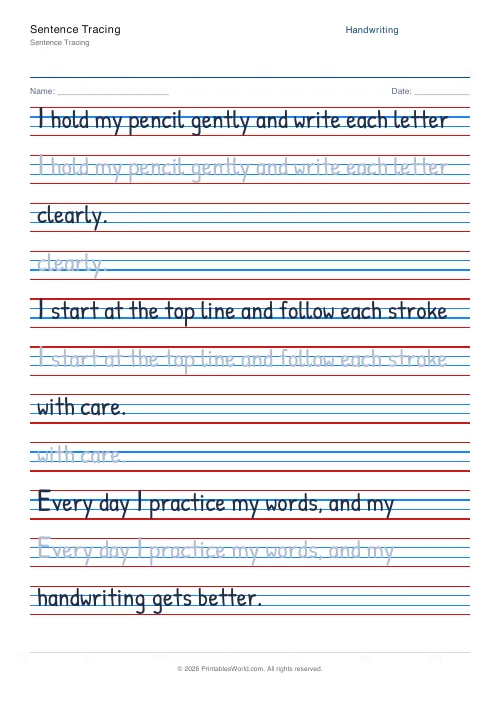 Sentence Tracing
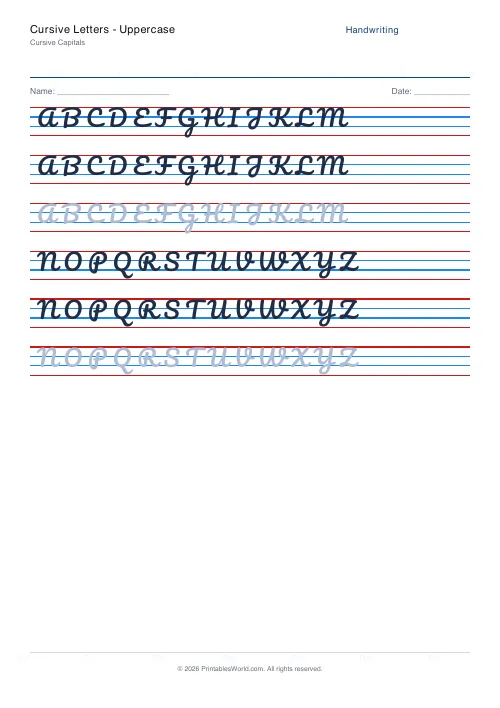 Cursive Letters: Uppercase
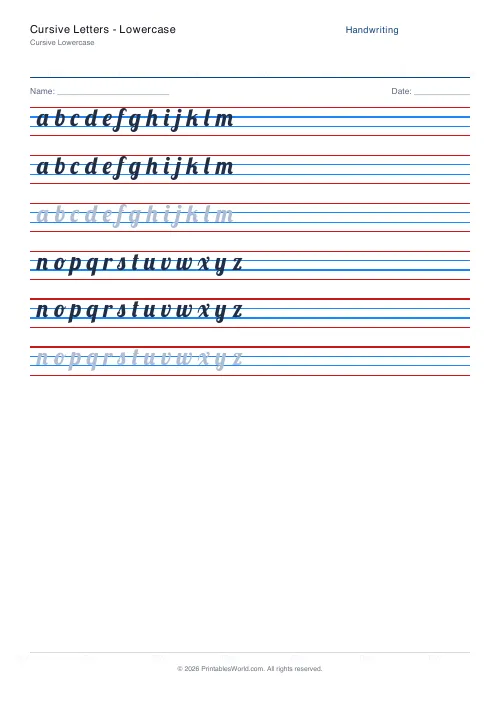 Cursive Letters: Lowercase
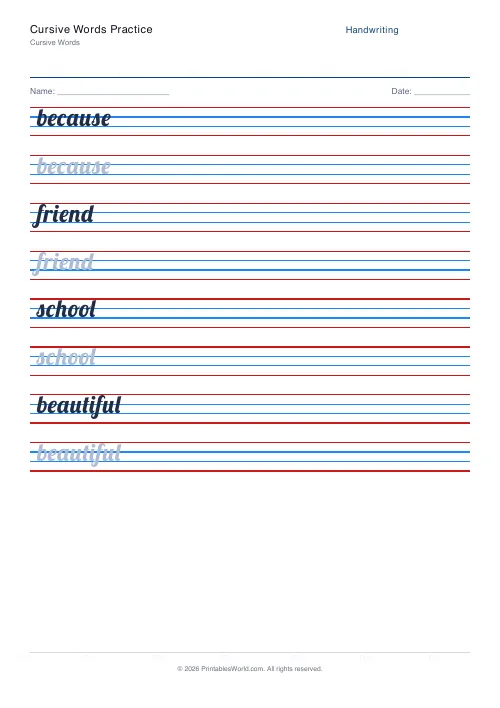 Cursive Words Practice
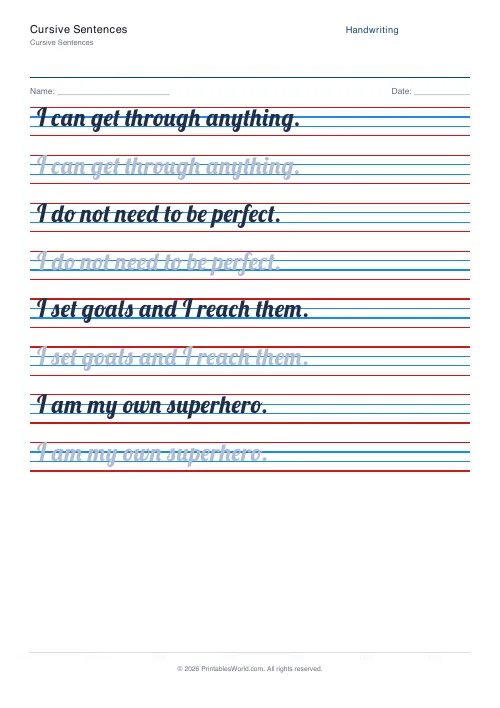 Cursive Sentences
- Dotted Letter Tracing
- Arrow Letter Tracing