What this tool does
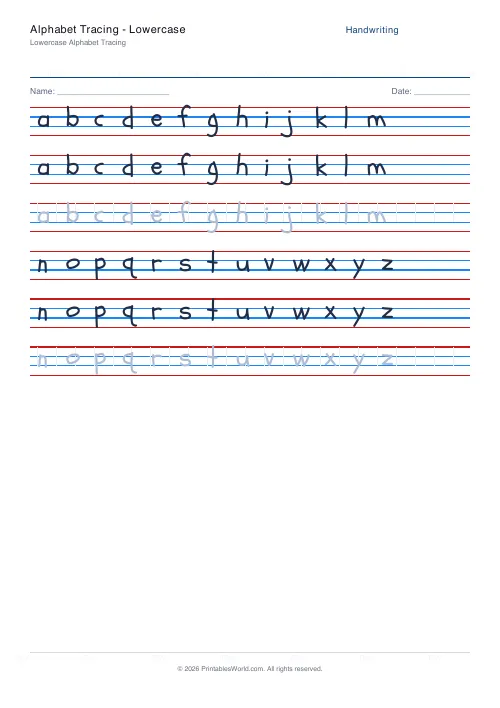
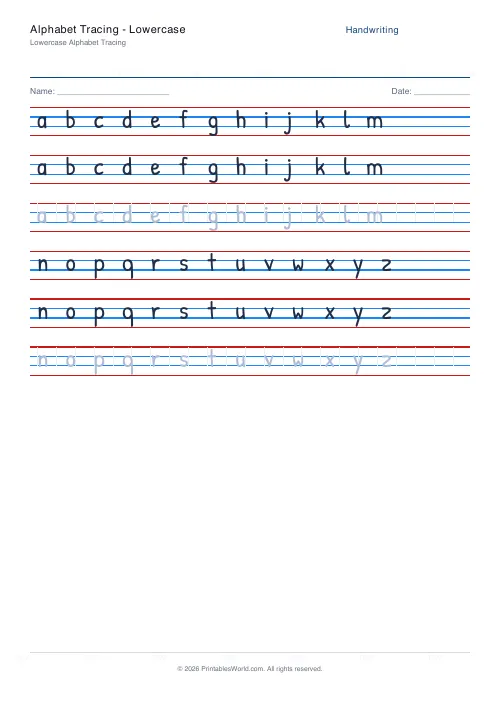
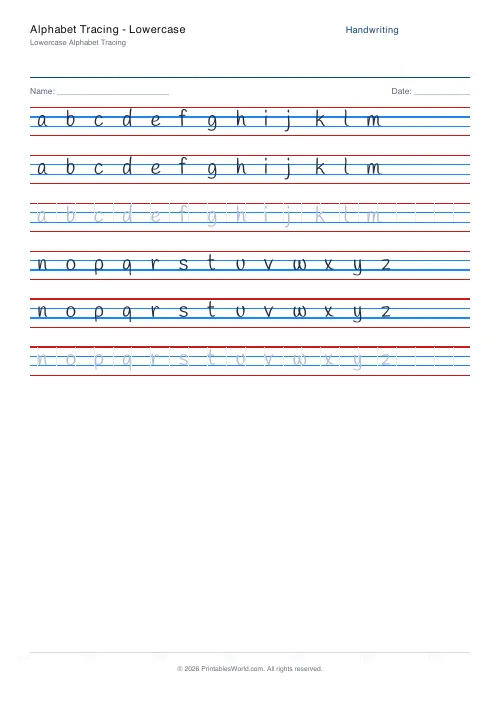
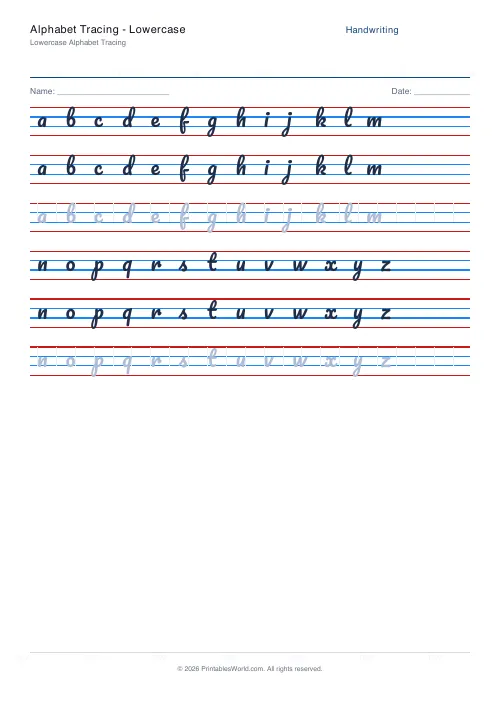
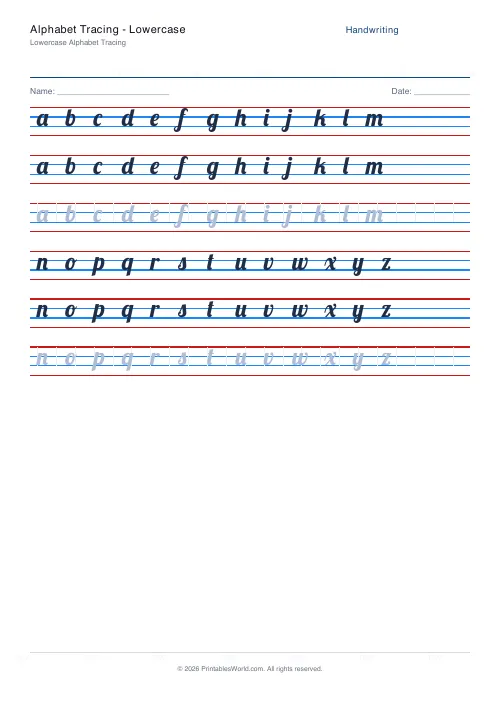
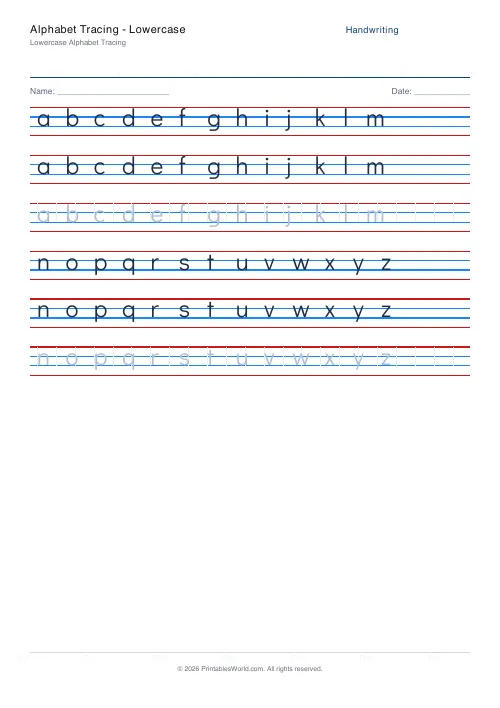
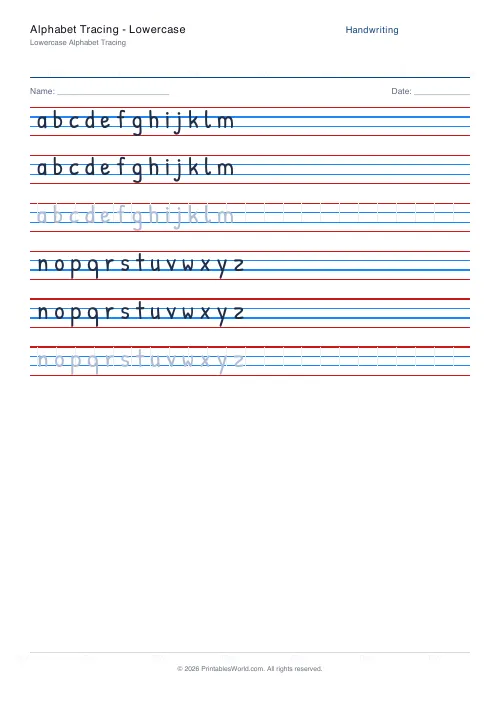
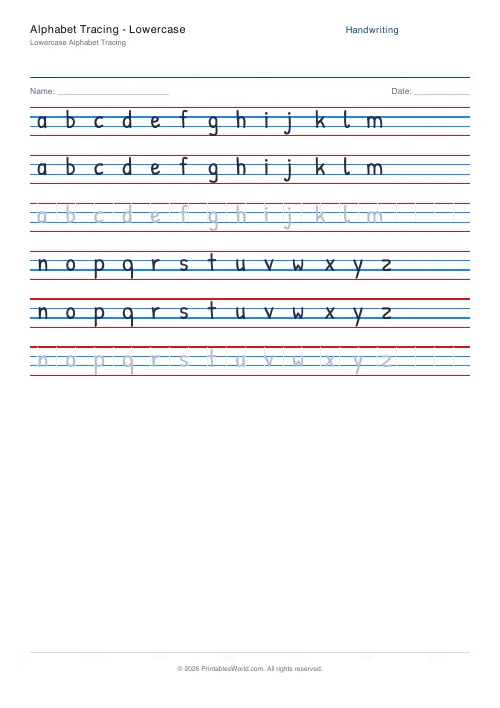
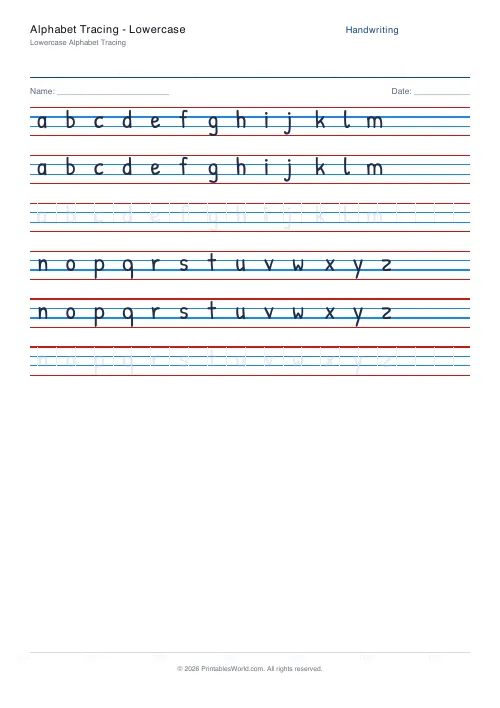
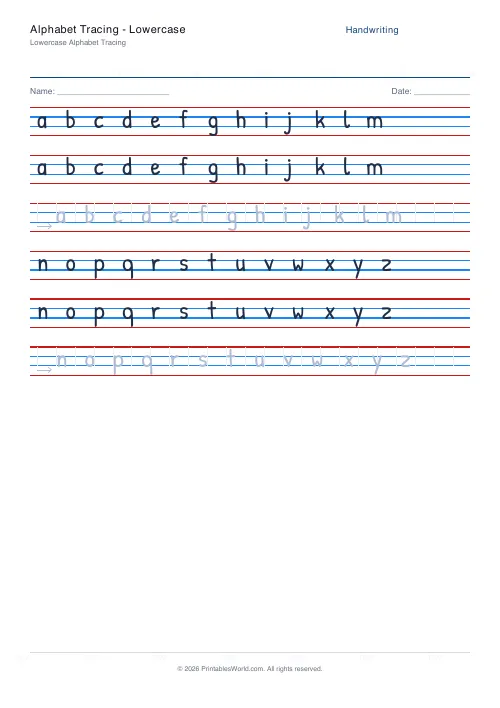
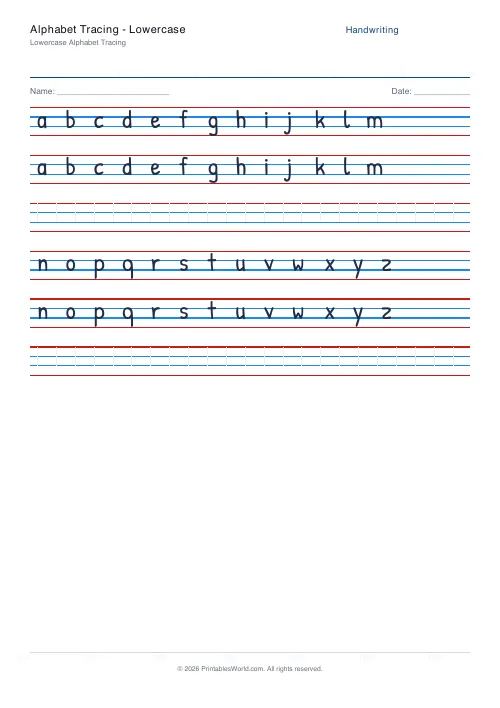
All 26 lowercase letters on four-line ruling, as trace rows followed by a clean copy line. Everything on the handwriting generator stays adjustable.
People also used
Feedback
Spotted something off with this tool?
The alphabet children actually write in
a to z across two lines, on the standard four-line ruling, with a traceable model followed by an empty row.
This is the more important of the two case sheets, and it is the one that gets less attention. Almost everything a child writes for the rest of their life is lowercase.
Why lowercase is harder than capitals
Capitals are straight lines and simple curves, all starting at the top. Lowercase is not.
There are ascenders that reach the top line, descenders that drop below the baseline, a dot on the i and the j, a tail on the g and the y, and closed loops that have to close. Several letters are the same shape rotated or flipped — b and d, p and q, n and u — which is why reversals persist for years and are entirely normal until about seven.
None of that exists in the capitals, which is why children write their name in capitals first and why it is not worth fighting.
The four lines, explained
Worth saying out loud, because children treat the ruling as decoration otherwise.
Most letters occupy the middle band, between the midline and the baseline. Ascenders — b, d, f, h, k, l, t — go up to the top line. Descenders — g, j, p, q, y — drop to the bottom one. A child who understands that has a rule for letter height rather than twenty-six separate memories.
Group the letters by movement
Teaching a to z in alphabetical order is the least efficient possible sequence, because consecutive letters share nothing.
Grouping by how they are formed works far better: the c-shaped family (c, a, d, g, o, q), the down-and-up family (i, l, t, u, y, j), the arch family (n, m, h, r, b, p), and the rest. Every letter in a group starts the same way, so learning the second one is nearly free.
Cut the practice text down to one family at a time. That is the setting worth using.
Arrows, if formation is the problem
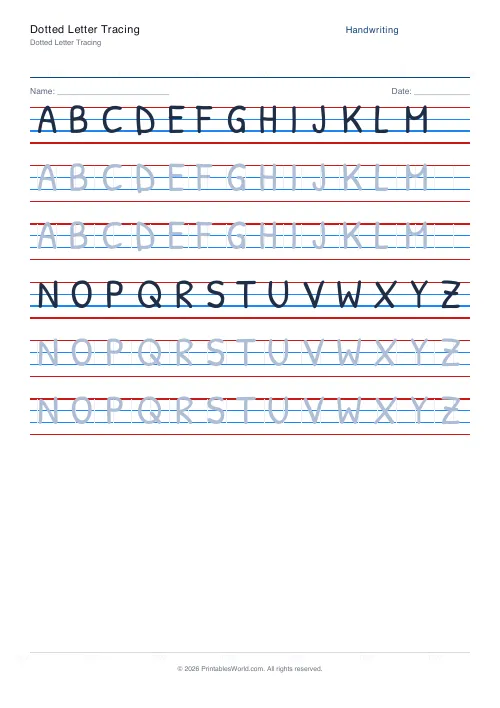
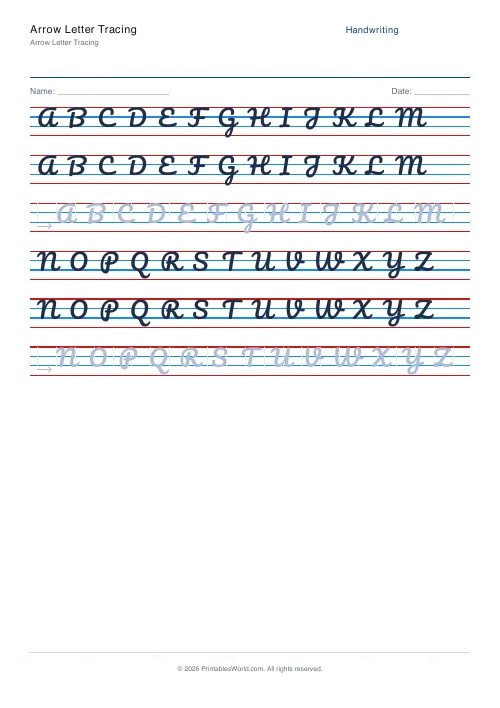
The trace style can show start dots and directional arrows. A letter drawn bottom-up looks correct on the page and will not join or speed up later, and arrows are the only thing on the sheet that catches it.
Turn them on for any child whose letters look right and take too long.
What the generator asks for
Practice text, the font, trace style, rows per line, character boxes, ruling colour, and the option to make every row a practice row. A4 or US Letter, printed at 100%.
FAQs
Quick answers
What is the difference vs the uppercase version?
This sheet covers small letters with descenders (g, j, p, q, y) so children practise sitting them correctly between the base and descender lines.
How does the 4-line ruling help?
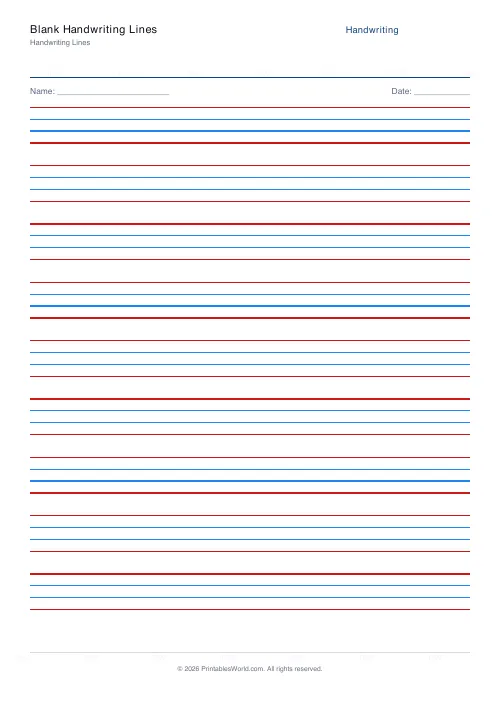
It shows top (red), midline (dashed blue), base (blue), and descender (red) so children learn correct letter heights and tails.
Can I focus on one letter?
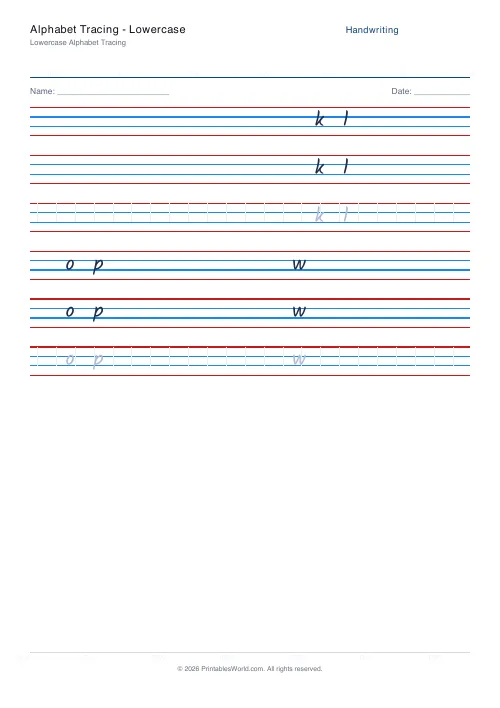
Yes. Edit the practice text to repeat a tricky letter many times.
Which font is used?
Patrick Hand. A clear print-style font ideal for early writers.
Related tools
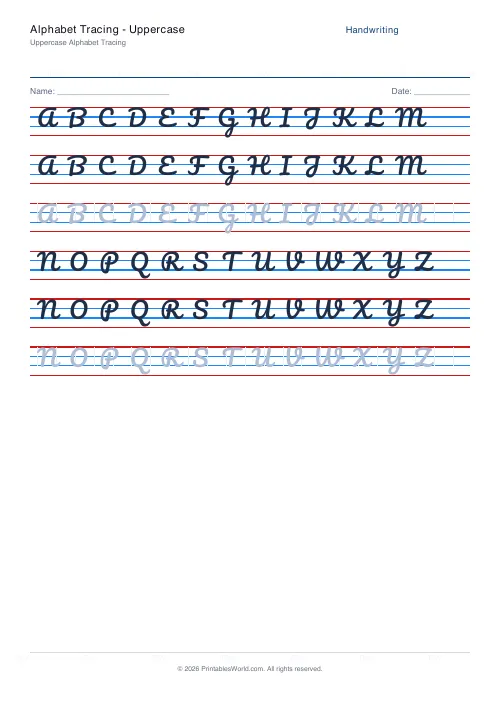
Alphabet Tracing: Uppercase
Trace all 26 uppercase letters with practice lines beneath each row.
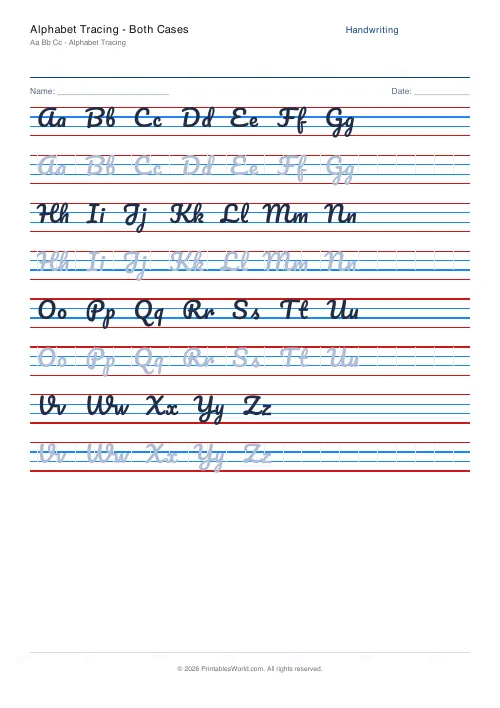
Alphabet Tracing: Both Cases
Uppercase and lowercase letters paired on one sheet for comparison.
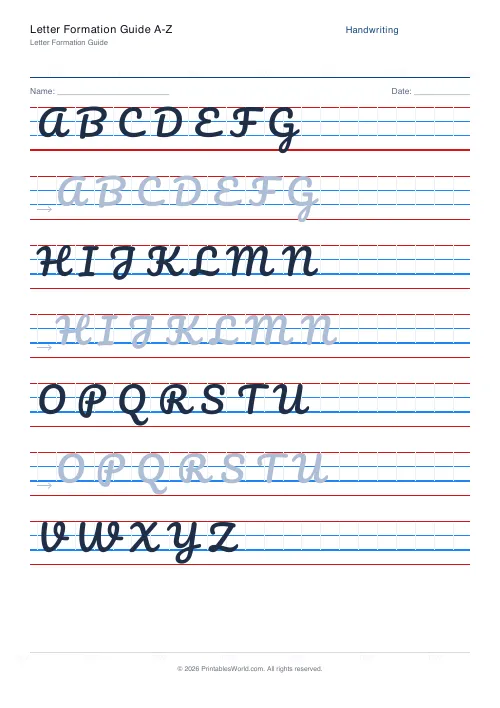
Letter Formation Guide A-Z
Full alphabet with directional arrows for stroke-order learning.
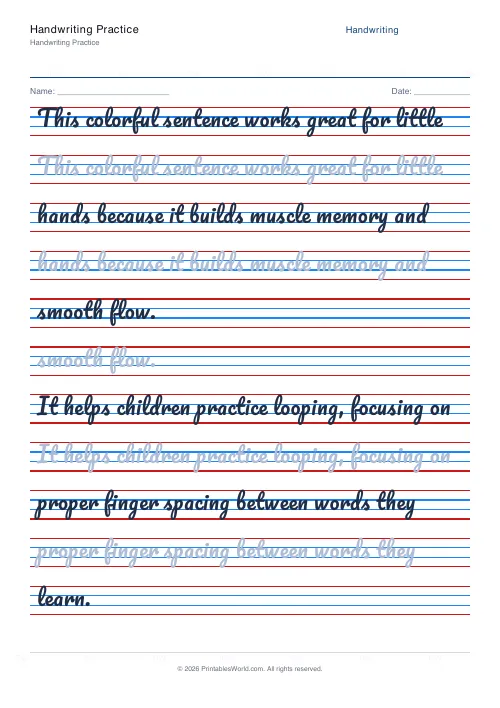
Handwriting Practice Generator
Create custom 4-line handwriting practice sheets with trace rows, adjustable guides, and your own text.
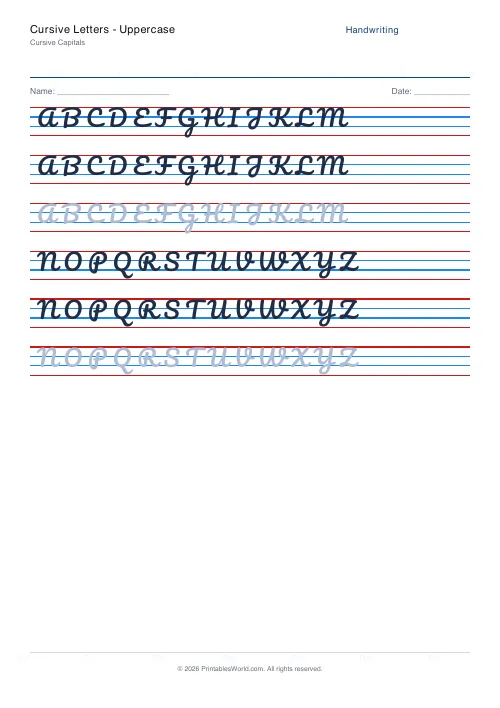
Cursive Letters: Uppercase
Trace and practise cursive uppercase letters with join guides.
Further reading
Handwriting
Dotted vs solid trace lines: what works best for beginners
Each trace style removes a different amount of support. The mistake is staying on one too long. Tracing feels productive and teaches less than copying.
4 min read
Handwriting
How to fix reversed letters (b and d) in young writers
Reversing b and d is normal up to around seven. The fix is not more practice of both together. It is teaching them apart, by movement rather than by shape.
5 min read
Handwriting
Left-handed handwriting practice: free printable sheets
How to set up left-handed handwriting practice for comfort: paper angle, grip and page layout, plus free printable sheets designed for lefties.
7 min read
More like this
- Handwriting Practice Generator
- Alphabet Tracing: Uppercase
- Alphabet Tracing: Both Cases
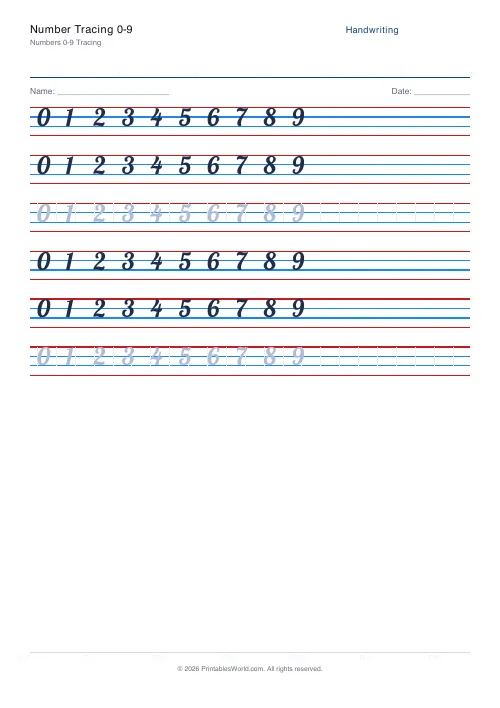 Number Tracing 0-9
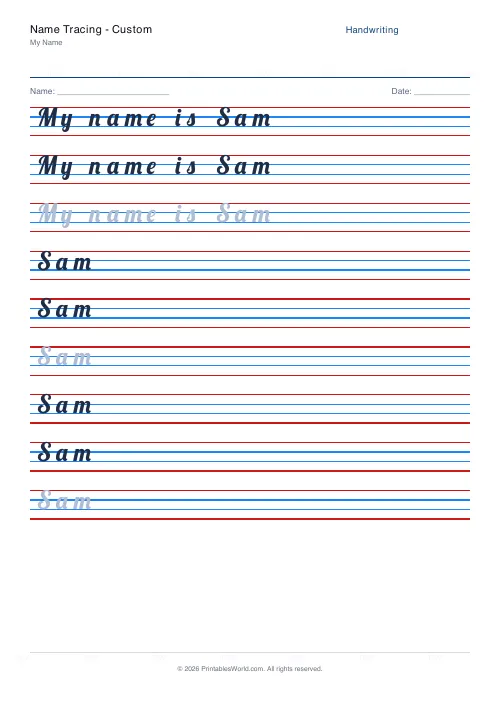 Name Tracing: Custom
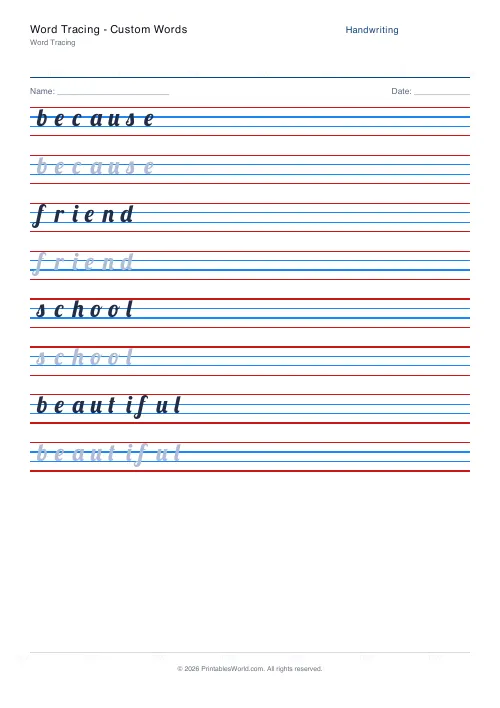 Word Tracing: Custom Words
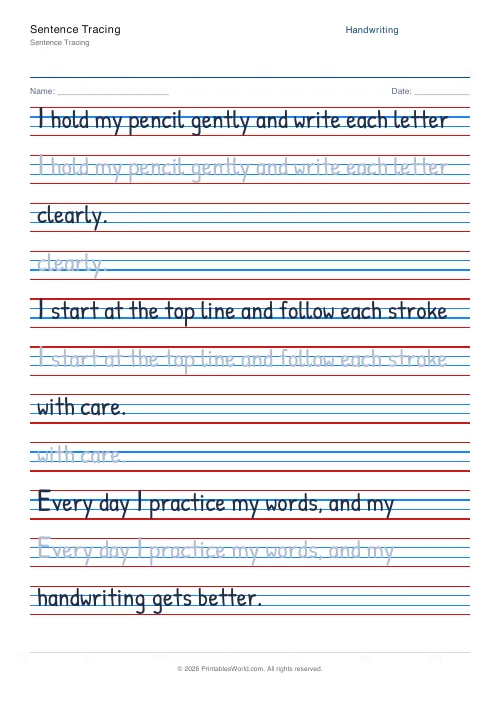 Sentence Tracing
- Cursive Letters: Uppercase
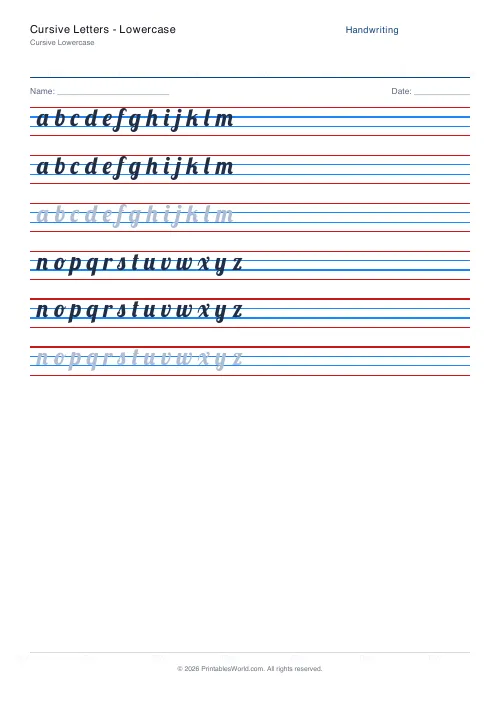 Cursive Letters: Lowercase
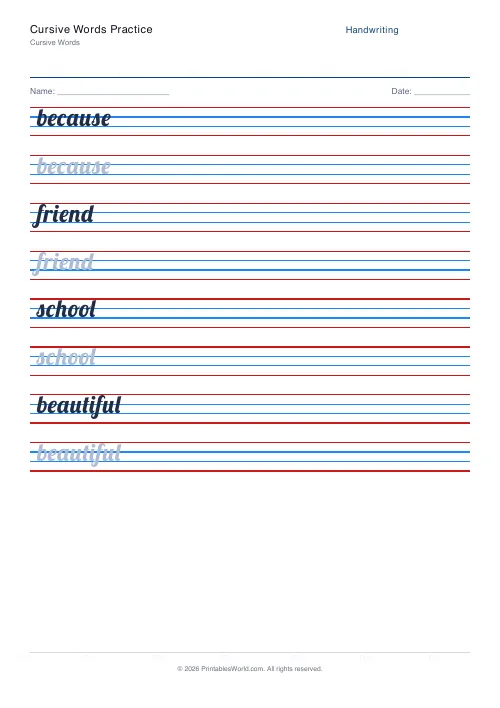 Cursive Words Practice
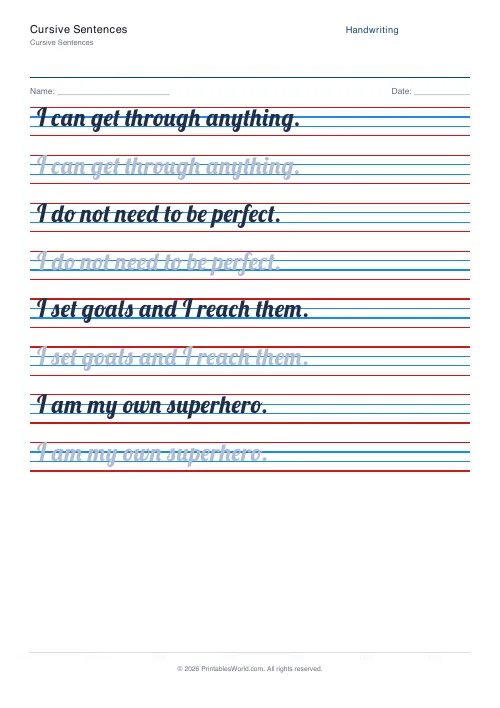 Cursive Sentences
 Dotted Letter Tracing
 Arrow Letter Tracing
 Blank Handwriting Lines