
What this tool does
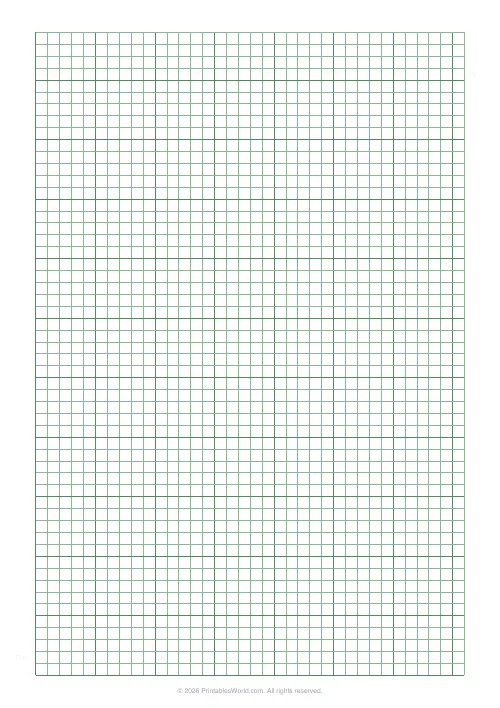
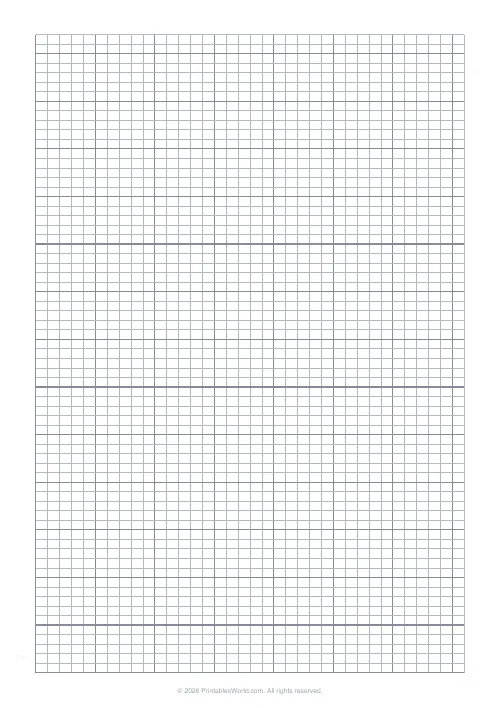
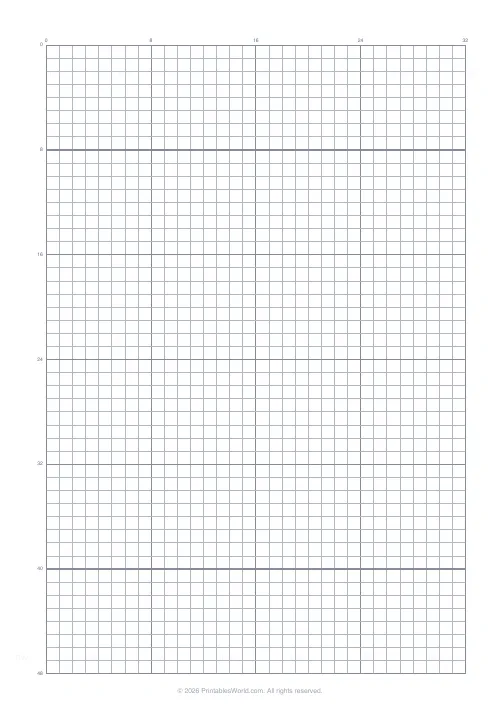
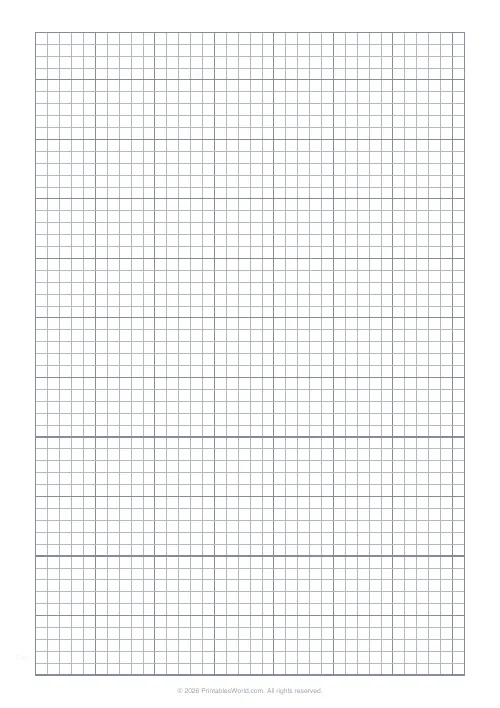
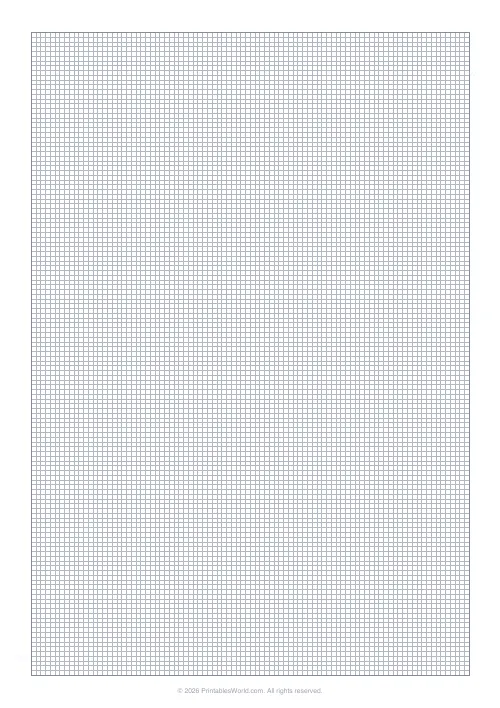
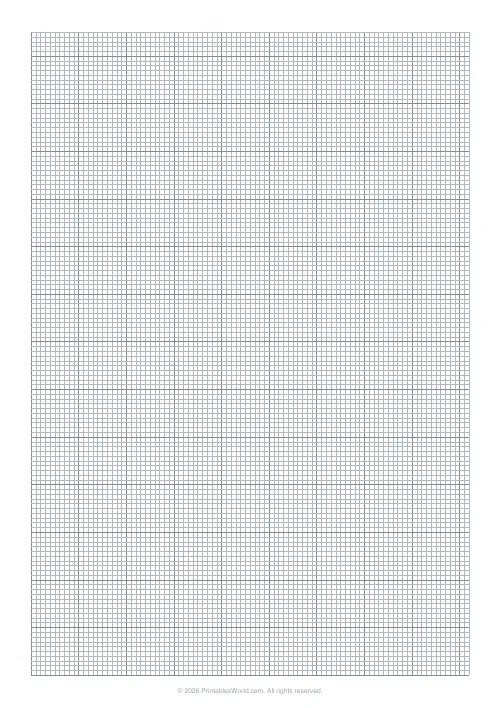
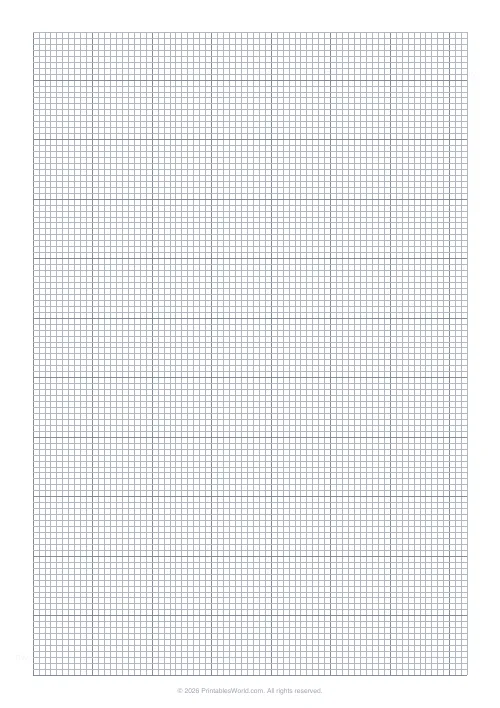
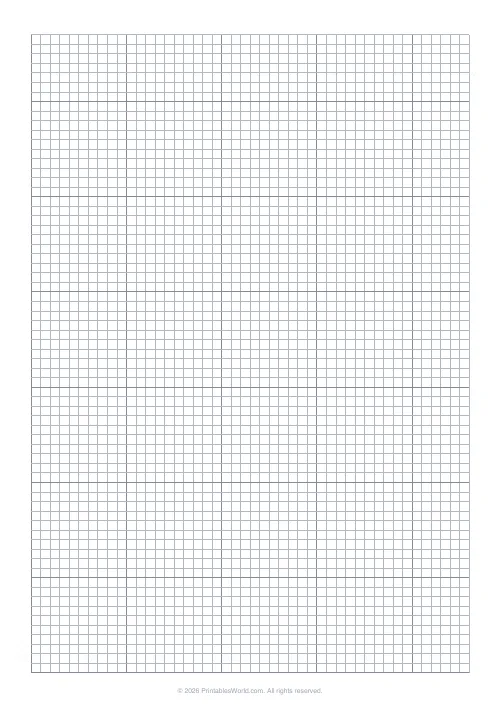
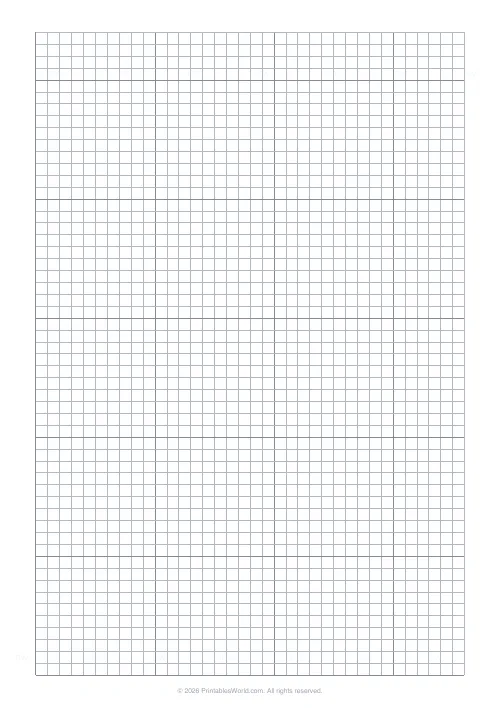
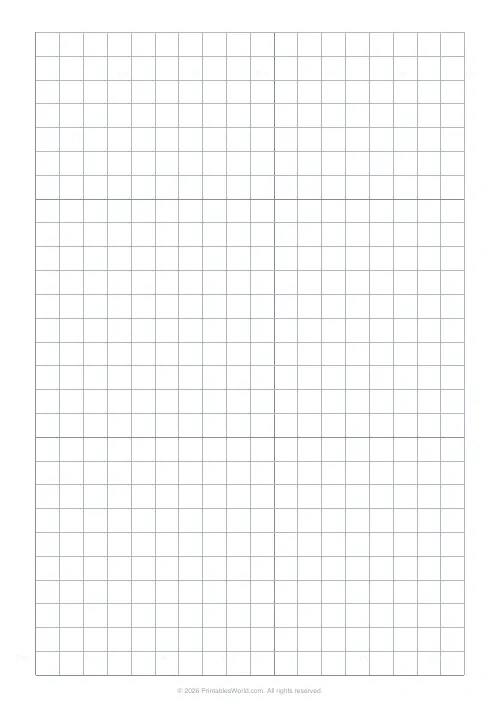
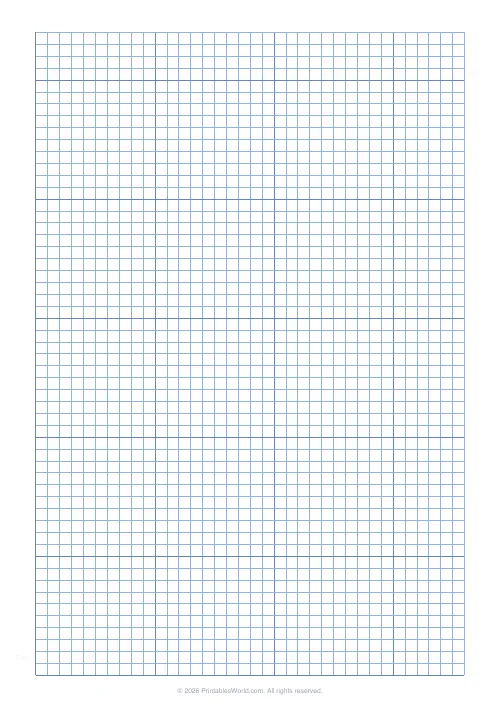
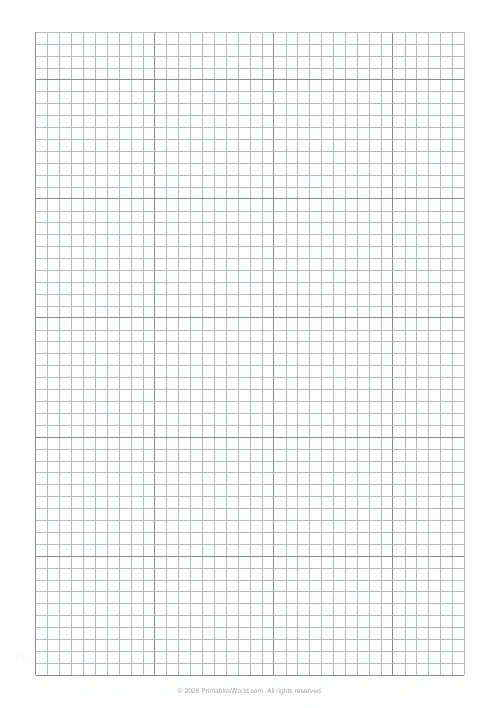
Pegboard planning paper for fuse beads. Perler and Hama, Artkal, anything else that sits on a midi board. The grid is 5 mm, which is the real peg pitch, so one square is exactly one bead. Bold lines every ten squares for counting, printed in grey so coloured pencil still reads clearly over the top of them.
People also used
Cross Stitch Grid
Square grid with every 10th line highlighted for charting cross stitch patterns.
Pixel Art Grid: Small (16×16)
Compact 16×16 pixel grid with numbered axes for sprite design.
Graph Paper Generator
Create custom graph paper PDFs with square or rectangular grids, dot styles, and axis numbering.
Feedback
Spotted something off with this tool?
One square, one bead
The grid is 5 mm because that is the actual peg pitch of a standard midi board. Perler, Hama midi and Artkal midi all sit on 5 mm spacing, so a square here is not approximately a bead. It is a bead.
That one-to-one relationship is the entire reason to use this rather than any squared paper. A design drawn here counts straight onto the board with no scaling, and a finished piece can be measured against the printout with a ruler.
Mini beads sit at 2.6 mm, so set the grid to 2.5 mm, which is near enough to count against. The large-format boards take 10 mm.
Bold every ten, because that is how you count a board
Ten squares make a 5 cm heavy-lined block, and that rhythm is the one your eye already uses on the pegboard itself.
A standard square board is 29 pegs across, so a bold line every ten gives you two clean reference lines and a strip of nine left over, which is quick to check against the board in front of you without counting from the edge every time.
Rule the board outline before you draw anything
The commonest fuse-bead failure is a design two rows wider than the board it was meant for, discovered after an hour of placing beads.
Because the grid is at true pitch, you can rule the board's footprint onto the sheet first and simply stay inside it. A square board is 29 by 29, so rule a 29-square box. For a hexagon or a circle board, count the widest row, rule that, and trim the corners by eye.
For anything spanning more than one board, mark where the boards will meet before placing a single bead, and choose a seam that falls through a plain area of colour. A join running through the middle of a face is a job to iron and a worse one to look at.
Colour planning
Print in grey. Black lines vanish under coloured pencil and a bead chart is almost always coloured in rather than written on, so grey is the setting that makes the sheet usable at all.
Work in flat blocks, one pencil per bead colour, and write the colour name or code in the margin beside a sample square. Bead colours are impossible to name from memory a week later, and the difference between two reds is obvious in the tub and invisible in a photograph.
Then count before you pour. A 29 by 29 board filled solid is 841 beads; a typical picture uses a few hundred. Counting the squares of each colour on the chart tells you whether you have enough of the one you are about to run out of, which is always the background.
Chart to board to iron
Place beads from one corner rather than from the middle, and check against the chart every ten rows. That is what the bold lines are for. An error caught ten rows back costs ten rows; the same error caught at the end costs the piece.
Keep the chart beside the board in the same orientation as the beads, and turn both together if you turn the board, because most miscounts come from reading a chart the wrong way round.
One thing a printable can say about ironing: note on the chart which side you laid, and iron that side. Any lettering will then come out the right way round. Reversed text is the commonest fuse-bead mistake and it is a charting error rather than an ironing one.
FAQs
Quick answers
Why bold every 10 lines?
Fuse-bead patterns are counted in blocks of 10. Bold rules every 10 cells make peg counts much faster, just like on a real pegboard.
How big are the cells?
5 mm square. Close to the peg spacing on a standard square pegboard so designs feel realistic.
Can I print multiple sheets?
Yes. Generate as many copies as you need and join them for larger multi-board designs.
Does each cell equal one bead?
Yes. Each square maps to one bead peg, so the design you colour is what you press onto the board.
Related tools
Cross Stitch Grid
Square grid with every 10th line highlighted for charting cross stitch patterns.
Pixel Art Grid: Small (16×16)
Compact 16×16 pixel grid with numbered axes for sprite design.
Graph Paper Generator
Create custom graph paper PDFs with square or rectangular grids, dot styles, and axis numbering.
Latch Hook & Needlepoint Grid
Square 4 mm grid with every fifth line highlighted for charting latch hook rugs and needlepoint canvas designs.
Further reading
Printable Paper
Bullet journalling with dot grid paper: a starter guide
The bullet journal was designed to be fast, not beautiful. Here is the original system, why dot grid suits it better than lines or blank, and the four pages you actually need.
5 min read
Printable Paper
Graph paper sizes: which grid for which task
What graph paper sizes and grid spacings mean, how to match a grid to maths, art or design, and how to set it all in the free graph paper generator.
7 min read
Printable Paper
The best note-taking paper for students (Cornell, grid, lined)
The paper you take notes on quietly decides how you review them. Here is what each format is actually for, and which subjects each suits.
4 min read