What this tool does
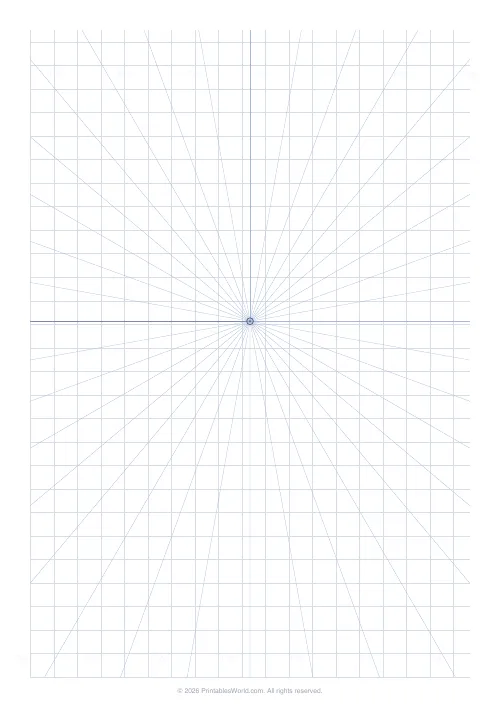
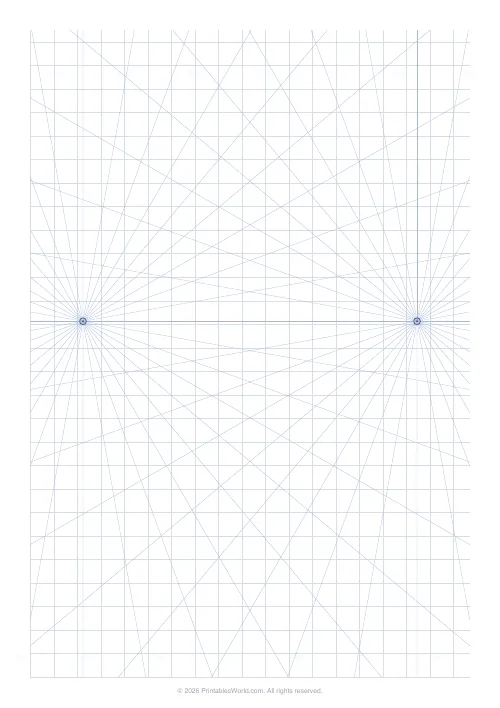
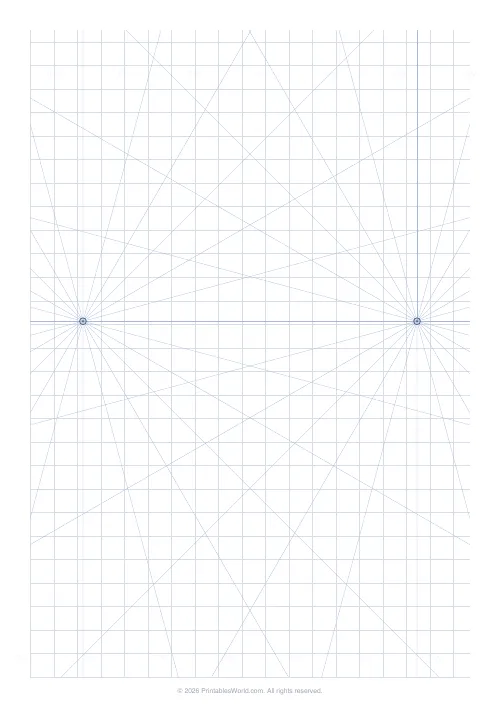
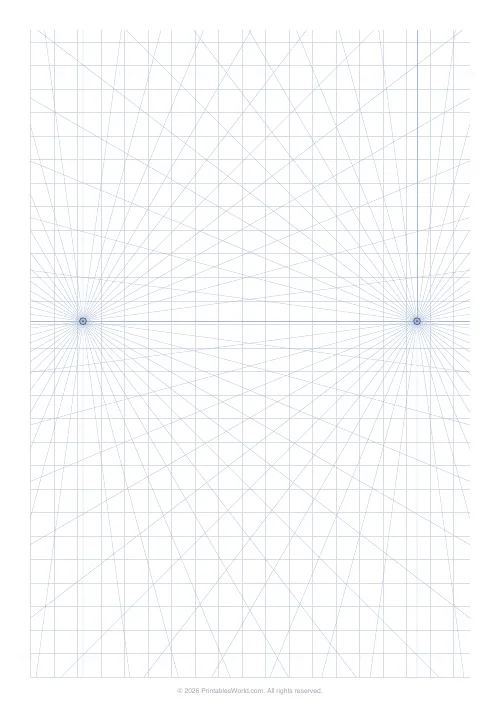
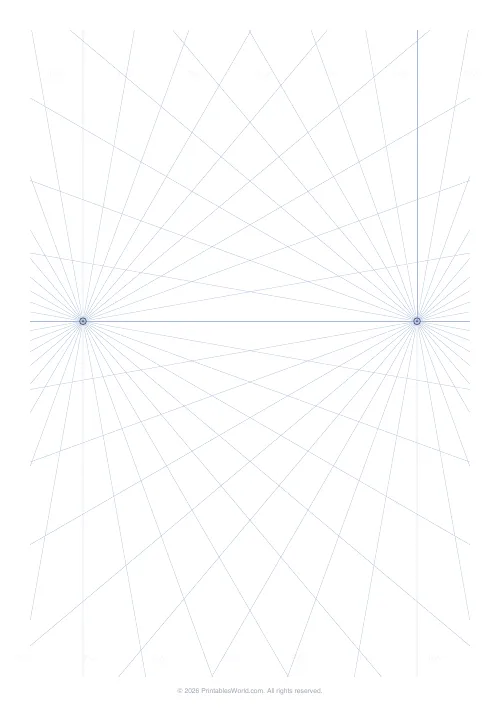
A printable perspective drawing grid. Choose one-point or two-point, and the sheet prints a horizon line, the vanishing points marked on it, and a fan of faint guide lines radiating out to the page edges, over a light measuring underlay of verticals and horizontals. Rule along any guide and the edge converges correctly.
People also used
Feedback
Spotted something off with this tool?
The bookkeeping, done for you
Perspective is not conceptually hard. What is hard is keeping every single receding edge pointing at exactly the same spot across a whole drawing, without a ruler and a great many faint construction lines that then have to be erased.
This prints those construction lines. A horizon at eye level, the vanishing points marked on it with a small ring, and a fan of pale guides running from each point out to the edges of the sheet. Lay a ruler along any one of them and the edge you draw converges correctly by construction rather than by judgement.
Underneath sits a light measuring grid. Windows along a wall, tiles across a floor, floorboards receding.
One point or two
One-point has a single vanishing point, usually near the centre. Everything running away from the viewer converges on it while horizontals stay horizontal and verticals stay vertical. This is the view straight down a corridor, a road, a pair of railway tracks, and it is the right place to start because only one thing is happening.
Two-point puts a vanishing point near each side. Verticals still stay vertical, but the two sets of receding edges each head for their own point. That is the corner of a building, a box seen from an angle, a street turning away. It looks far more three-dimensional and it is what the sheet gives you by default, because it is what most people are actually trying to draw.
Working over the guides
- Pick the mode that matches the subject.
- Block in the main masses first by ruling along whichever printed guides pass through them. Do the big shapes before any detail.
- Use the underlay to keep heights and spacings consistent. This is the step people skip, and it is why their windows get further apart as the wall recedes.
- Add the detail and the shading freehand, off the guides.
The guides print in a pale tint deliberately. Your own pencil sits clearly on top of them, and when the finished drawing is scanned or photographed at normal contrast the underlay drops out almost entirely.
Who it helps
An art teacher can hand a class identical guides, so thirty children learn the same construction and the discussion afterwards is about the same drawing rather than thirty different setups.
For a beginner it is training wheels, and unapologetically so. Convincing depth on the first attempt is worth a great deal more to somebody learning than a wobbly attempt built from scratch, because they can see what correct looks like before they have to produce it.
Illustrators and storyboard artists use them to rough a scene fast before committing to a clean drawing. Same reason, arrived at from the other end.
FAQs
Quick answers
What is the difference between one-point and two-point perspective?
One-point perspective uses a single vanishing point on the horizon, so only the edges running away from you converge while horizontals and verticals stay straight. Two-point perspective uses two vanishing points near the sides of the horizon, so two sets of receding edges each converge on their own point, which is ideal for drawing the corner of a building or a box.
Will the printed guide lines show in my finished drawing?
The horizon, radiating guides, and underlay are printed in a pale tint so your own pencil or ink lines sit clearly on top. At normal scanning or photo contrast the faint guides drop out, leaving your drawing clean.
Where is the horizon line placed?
The horizon sits slightly above the centre of the page, a natural eye level for most scenes. Both the vanishing points lie exactly on this line, which is the reference every receding edge converges towards.
What paper sizes can I print on?
You can generate the sheet on A4 or US Letter. The horizon line, vanishing points, and guides scale to fill the page, so you get the full drawing area on either format.
Related tools
Graph Paper Generator
Create custom graph paper PDFs with square or rectangular grids, dot styles, and axis numbering.
Isometric Grid Paper
Triangular line grid at 30°/60° for isometric drawing.
Storyboard Template
Six 16:9 frames in a 2×3 grid with caption strips for film and animation.
Calligraphy Practice Guide
Slanted lettering guide rows with baseline, x-height, ascender and descender lines.
Further reading
Printable Paper
Bullet journalling with dot grid paper: a starter guide
The bullet journal was designed to be fast, not beautiful. Here is the original system, why dot grid suits it better than lines or blank, and the four pages you actually need.
5 min read
Printable Paper
Graph paper sizes: which grid for which task
What graph paper sizes and grid spacings mean, how to match a grid to maths, art or design, and how to set it all in the free graph paper generator.
7 min read
Printable Paper
The best note-taking paper for students (Cornell, grid, lined)
The paper you take notes on quietly decides how you review them. Here is what each format is actually for, and which subjects each suits.
4 min read