Printable Paper
Calligraphy Practice Guide
Slanted lettering guide rows with baseline, x-height, ascender and descender lines.
Last updated:
What this tool does
A customizable calligraphy and hand-lettering practice sheet. Each writing row gives you a dark baseline, a waistline that fixes your x-height, and faint ascender and descender lines, plus evenly spaced slanted guide lines at the angle you choose. Set the x-height, slant angle and row gap, then download a clean single-page PDF for A4 or US Letter.
Free downloads
Ready-made Calligraphy Practice Guide Sheet printables — free PDF downloads
No setup needed — download these print-ready calligraphy practice guide sheets as free PDFs. Each one was made with the generator above, so you can recreate or fully customize any of them.

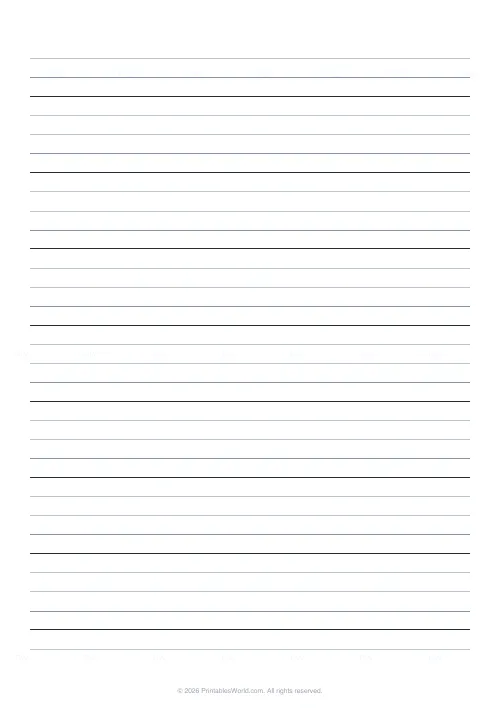
Calligraphy Practice Guide Sheet — Upright (0°)
Print-ready calligraphy practice guide sheet (Upright (0°)) as a free PDF — made with the generator above so you can tweak and reprint.
↓ Download PDF
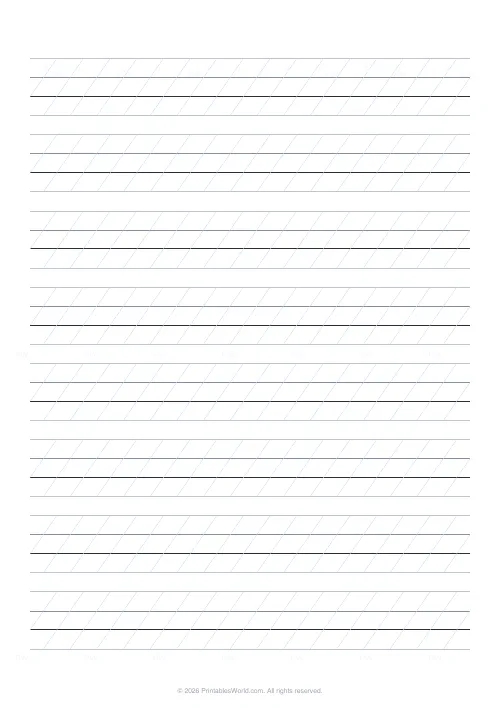
Calligraphy Practice Guide Sheet — Italic (55°)
Print-ready calligraphy practice guide sheet (Italic (55°)) as a free PDF — made with the generator above so you can tweak and reprint.
↓ Download PDF
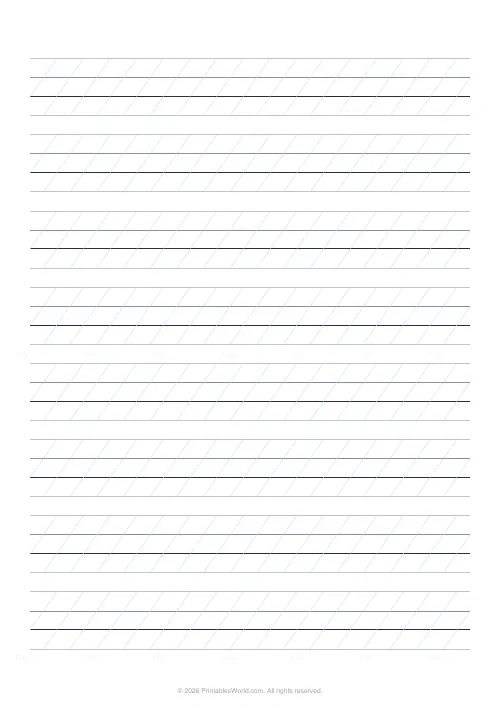
Calligraphy Practice Guide Sheet — 8 mm
Print-ready calligraphy practice guide sheet (8 mm) as a free PDF — made with the generator above so you can tweak and reprint.
↓ Download PDF
Calligraphy Practice Guide Sheet — 12 mm
Print-ready calligraphy practice guide sheet (12 mm) as a free PDF — made with the generator above so you can tweak and reprint.
↓ Download PDF
Settings
Customize your calligraphy guide
8mm x-height · 55° slant · A4
Paper size
Preview
Live PDF preview
The actual PDF, updated as you change settings.
People also used
Lined Paper Generator
Generate custom ruled paper PDFs with adjustable line spacing, colours, margins, and primary ruling styles.
Graph Paper Generator
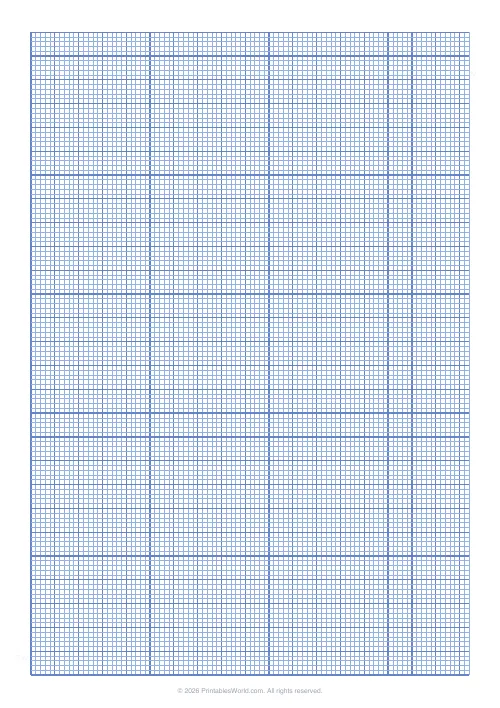
Create custom graph paper PDFs with square or rectangular grids, dot styles, and axis numbering.
Music Staff Paper
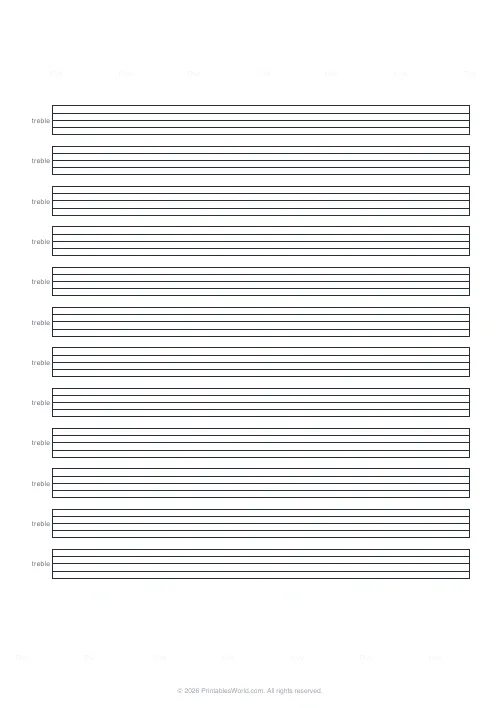
Five-line stave manuscript paper with selectable staves and clef label.
Feedback
Spotted something off with this tool?
Printable Calligraphy Practice Guide Sheets
This generator builds a proper lettering guide sheet: repeated writing rows running down the page, each with a firm baseline to sit your letters on, a waistline that locks in a consistent x-height, and faint ascender and descender lines so tall and low strokes stay even. Add evenly spaced slanted guide lines at any angle from 0 to 60 degrees and you have a complete italic or modern-calligraphy practice grid.
Everything is drawn as crisp vector output and printed at true size, so an 8 mm x-height on screen is exactly 8 mm on paper. Print at 100% scale and the guide behaves predictably with any nib, brush pen or pointed pen you bring to it.
Why practice on a slant grid?
Consistency is the single hardest thing in hand lettering, and it comes down to three habits: keeping every letter the same height, keeping the spacing even, and keeping the slant identical from the first stroke to the last. A guide sheet trains all three at once. The baseline and waistline fix your height, the row rhythm fixes your vertical spacing, and the slant lines give your eye and hand a rail to follow so your letters lean the same way every time.
Common uses include:
- italic and Foundational hand drills
- modern brush-lettering warm-ups
- pointed-pen Copperplate and Spencerian practice
- wedding and envelope addressing rehearsal
- lettering an alphabet over and over to build muscle memory
- teaching a class a single consistent slant angle
What you can customise
- x-height (5–15 mm): the distance from the baseline to the waistline — the body height of your lowercase letters. Smaller values pack more rows on the page for compact scripts; larger values give beginners and broad-nib work room to breathe.
- Slant angle (0–60°): the angle of the guide lines measured from the horizontal baseline. Around 55° gives the classic forward italic lean; higher values stand more upright; set it low or turn slants off for vertical scripts.
- Slant guides on/off: hide the slant lines entirely for upright hands or once you no longer need the training rail.
- Row gap (4–12 mm): the blank space between one writing row and the next, so ascenders and descenders never crash into neighbouring rows.
- Paper size: A4 or US Letter.
Anatomy of a guide row
Each row is built from four horizontal lines and a set of diagonals, and reading them correctly is half the skill:
- Baseline (dark): the line your letters sit on. It is drawn heaviest because it is the reference you return to constantly.
- Waistline (medium): sits one x-height above the baseline and caps the body of your lowercase letters such as a, e, o and n.
- Ascender line (faint): the ceiling for tall strokes on letters like b, d, h, k and l.
- Descender line (faint): the floor for tails that drop below the baseline on g, j, p, q and y.
- Slant guides (faint diagonals): the rail your down-strokes follow so the whole alphabet leans at one angle.
The ascender and descender extents each equal the x-height, giving the familiar 1:1:1 proportion that suits most practice hands.
How to use the sheet
- Choose your x-height — 8 mm is a comfortable all-round starting point.
- Set the slant angle. Try 55° for italic, or turn slant guides off for an upright hand.
- Adjust the row gap so tall and low strokes have breathing room.
- Pick A4 or US Letter and click Generate.
- Check the live preview, then download the PDF.
- Print at 100% scale with "fit to page" turned off so the measurements stay true.
- Warm up with a few slanted strokes following the diagonals, then work through your alphabet row by row.
Worked example: a 55° italic sheet
Say you are learning a broad-nib italic hand. Set the x-height to 8 mm, the slant angle to 55°, keep slant guides on, and set the row gap to 8 mm. The generator fits as many rows as the page allows and centres them vertically. Each row now shows a dark baseline, a waistline 8 mm above it, faint ascender and descender lines a further 8 mm out, and diagonal rails leaning at 55°. Ink a row of slanted parallel strokes first to calibrate your pen angle, then letter minimum and handwriting a dozen times, checking that every down-stroke hugs the same diagonal.
Choosing your slant angle
There is no single correct slant — it depends on the hand you are studying — but these ranges are a useful map. A steeper number here means a more upright letter, because the angle is measured up from the baseline.
- 0–15°: almost lying flat — rarely used; better to turn slants off for truly upright work.
- 45–55°: the classic forward lean of chancery italic and many modern scripts.
- 55–60°: a gentler, more upright lean that suits Foundational and semi-upright hands.
- Slants off: ideal for vertical monoline lettering, print alphabets and children's letter formation.
If you are copying an exemplar, lay it beside a printed sheet and match the sheet's angle to the model before you commit to a long practice session.
Tips for cleaner practice
- Use a smooth, bleed-resistant paper for pointed pen and brush work; laser or inkjet printer paper of 90–120 gsm handles most fountain and brush inks well.
- Do a full row of slanted strokes as a warm-up before lettering — it calibrates your hand to the day's angle.
- Rotate the whole sheet slightly if your natural writing angle differs from the printed slant; the guide should serve you, not fight you.
- Keep a larger x-height while learning, then shrink it as your control improves.
- Print several identical sheets so you can practise the same drill repeatedly without changing variables.
Designed for A4 and US Letter
The sheet prints identically on A4 and US Letter: the margins adjust for each page while the x-height, slant angle and row spacing stay constant. That means a practice book bound from a mix of pages keeps the same rhythm on every sheet, and a class printing on either size all work to the same measurements.
Related printable paper templates
If you found this useful, these related printable-paper tools pair well with lettering practice:
FAQs
Quick answers
What is the x-height setting?
The x-height is the distance from the baseline to the waistline — the body height of your lowercase letters like a, e and o. Set it between 5 and 15 mm; 8 mm is a comfortable default for most hands.
How is the slant angle measured?
The angle is measured up from the horizontal baseline. A lower number lies flatter and a higher number stands more upright; around 55 degrees gives the classic forward italic lean.
Can I turn the slant lines off?
Yes. Toggle the slant guides off for upright monoline lettering, print alphabets, or once you no longer need the diagonal rail. You keep the baseline, waistline, ascender and descender lines.
How many rows fit on a page?
The generator auto-fits as many rows as the page allows based on your x-height and row gap, then centres them vertically. Smaller x-heights and gaps pack in more rows.
Which pens work best on these sheets?
Broad-nib, pointed-pen, fountain and brush pens all work. Use a smooth 90–120 gsm paper for the cleanest lines, and print at 100% scale so the measurements stay accurate.
Will it print correctly on A4 and US Letter?
Yes. Both sizes keep the same x-height, slant angle and row spacing — only the margins change — so pages from either size share the same rhythm. Always print at 100% with fit-to-page off.
Is this suitable for beginners?
Absolutely. Start with a larger x-height and slant guides on so you have plenty of room and a clear rail to follow, then reduce the x-height as your control improves.
Related tools
Lined Paper Generator
Generate custom ruled paper PDFs with adjustable line spacing, colours, margins, and primary ruling styles.
Graph Paper Generator
Create custom graph paper PDFs with square or rectangular grids, dot styles, and axis numbering.
Music Staff Paper
Five-line stave manuscript paper with selectable staves and clef label.
Cornell Notes Template
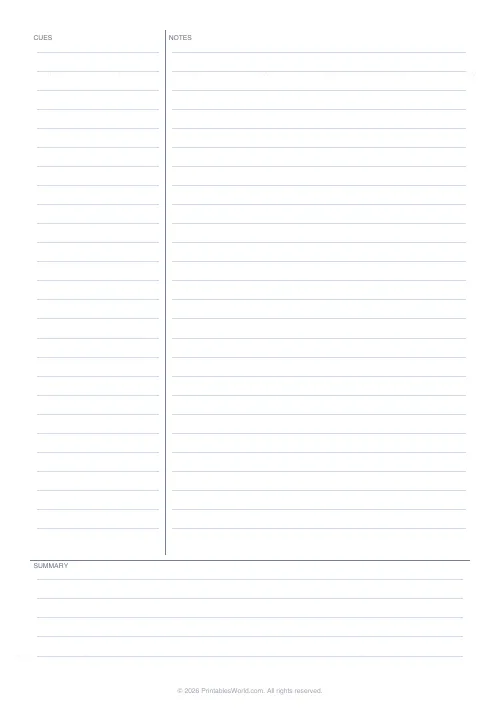
Classic Cornell note-taking layout with cue column and summary.