What this tool does
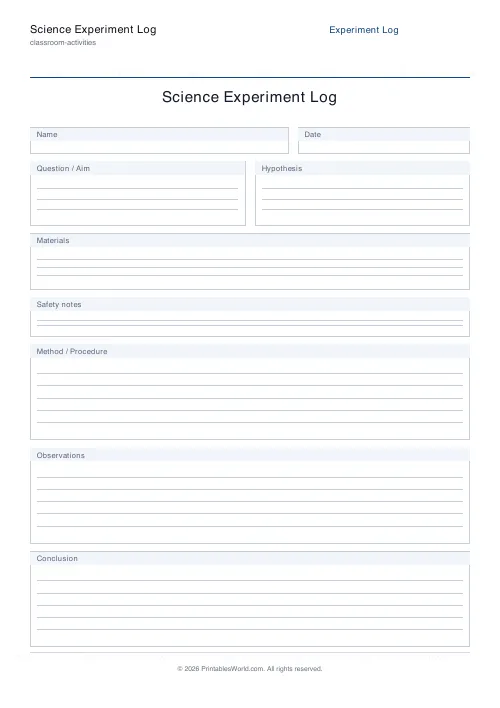
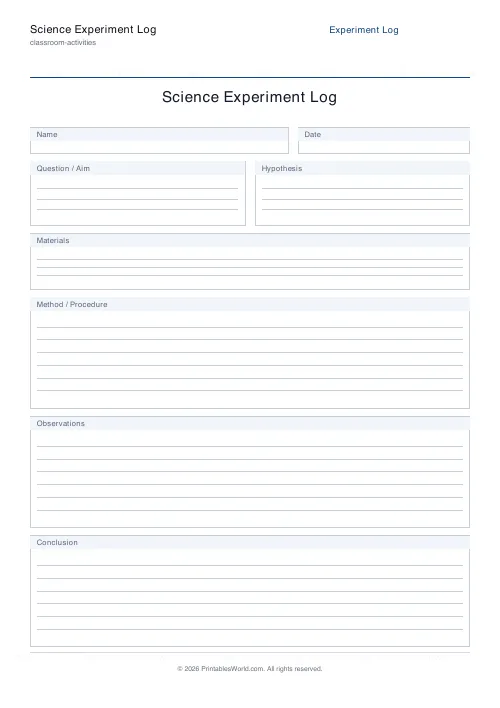
A blank lab write-up sheet with labelled boxes for the aim, the hypothesis, the materials, the method, the observations and the conclusion. The safety-notes box and the date field can each be switched off.
People also used
Feedback
Spotted something off with this tool?
A lab write-up sheet with the boxes already drawn
Six labelled areas in the order an investigation actually happens: the question or aim, the hypothesis, the materials, the method, the observations, and the conclusion. A safety-notes box sits alongside them and can be turned off.
Nothing is filled in. The sheet is scaffolding, and it works for a Year 3 experiment with a magnet and for a GCSE titration without changing anything but the handwriting.
Why the boxes are in that order
Because the hypothesis has to be written before the observations, and a blank page does not enforce that.
Left to themselves, a good number of children write the results first and then a hypothesis that matches, which is a completely reasonable thing to do if nobody has explained why it defeats the point. A printed box above the results, filled in before the experiment starts, makes the sequence visible — and a hypothesis that turns out wrong, still written down, is the most useful thing on the page.
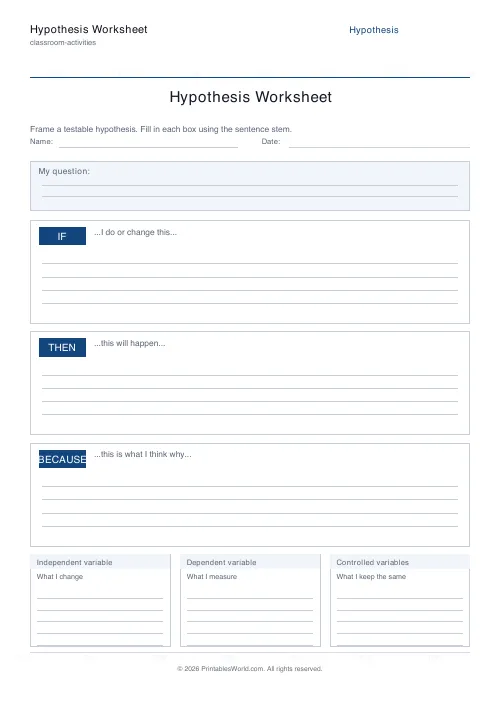
The hypothesis box is where the teaching happens
"I think the plant will grow" is not a hypothesis. "I think the plant in the cupboard will grow less than the one on the windowsill, because plants need light" is.
The difference is a prediction plus a reason, and that reason is the bit that can be wrong in an interesting way. A useful rule to give a class: your hypothesis must be a sentence with because in it.
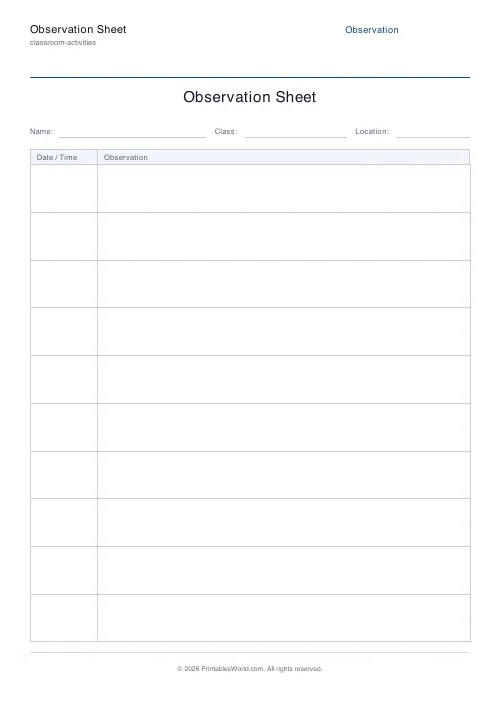
Observations, not conclusions
The commonest confusion on these sheets is writing the conclusion in the observations box. Whatever was measured or counted or simply seen goes in observations. What it means goes in the conclusion.
Keeping them apart matters more than it looks, because it is the point at which a child learns that data and interpretation are different things — which is the actual transferable skill, and it outlasts every experiment they will ever do at school.
The safety box
On by default. It is a small box and it is worth filling in even for an experiment that carries no risk at all, because the habit of asking the question before starting is what you are building.
Turn it off for a paper-only investigation where a blank safety box would just teach the class that the box is decorative.
What the form offers
A title, the date field on or off, and the safety box on or off. Paper size A4 or US Letter.
Print at 100%. One sheet per experiment; a long method carries on over the page more comfortably than a shrunken layout does.
FAQs
Quick answers
What age group is this designed for?
Upper primary through secondary. Younger students may need a teacher to talk through each box; older students can fill it in independently during any practical.
Can I remove the safety notes box?
Yes. Toggle "Include safety notes" off and the safety row is removed, giving the Method, Observations and Conclusion sections more space.
Does it include an equipment or materials list?
Yes. One of the labelled boxes is reserved for Materials. Students write each item they used, one per line.
Can I print several at once?
Yes. Just generate the PDF and print multiple copies. The template is the same for every experiment, so students can build up a lab book.
Related tools