Classroom Activities
Timeline Template
Horizontal or vertical timeline with evenly-spaced event markers and write-on lines.
Last updated:
What this tool does
A printable timeline with a clean central line and equally-spaced tick markers. Each marker has a small labelled box with writing lines for the date and event. Choose 3–12 events and either horizontal or vertical orientation.
Free downloads
Ready-made Blank Timeline printables — free PDF downloads
No setup needed — download these print-ready blank timelines as free PDFs. Each one was made with the generator above, so you can recreate or fully customize any of them.

Blank Timeline — Horizontal
Print-ready blank timeline (Horizontal) as a free PDF — made with the generator above so you can tweak and reprint.
↓ Download PDF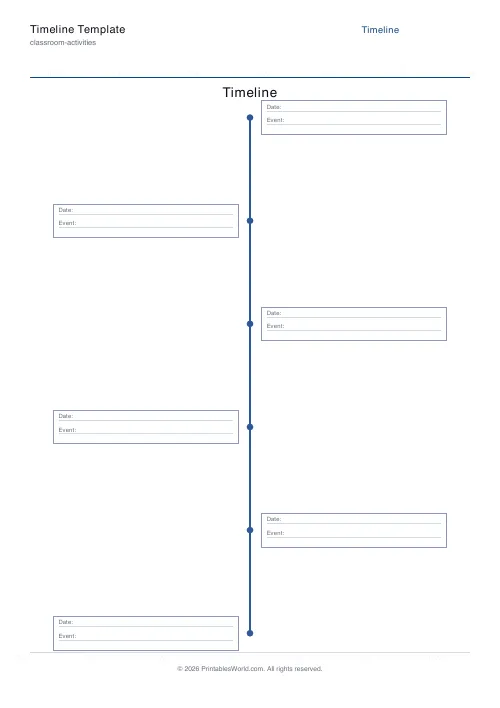
Blank Timeline — Vertical
Print-ready blank timeline (Vertical) as a free PDF — made with the generator above so you can tweak and reprint.
↓ Download PDF
Blank Timeline — 3
Print-ready blank timeline (3) as a free PDF — made with the generator above so you can tweak and reprint.
↓ Download PDF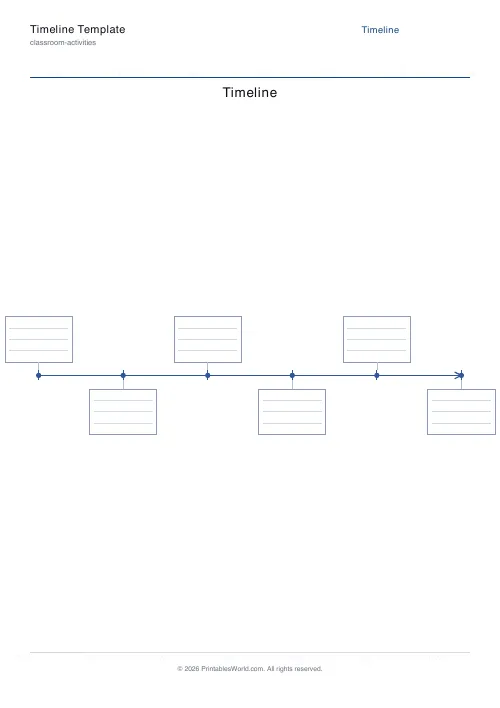
Blank Timeline — 6
Print-ready blank timeline (6) as a free PDF — made with the generator above so you can tweak and reprint.
↓ Download PDF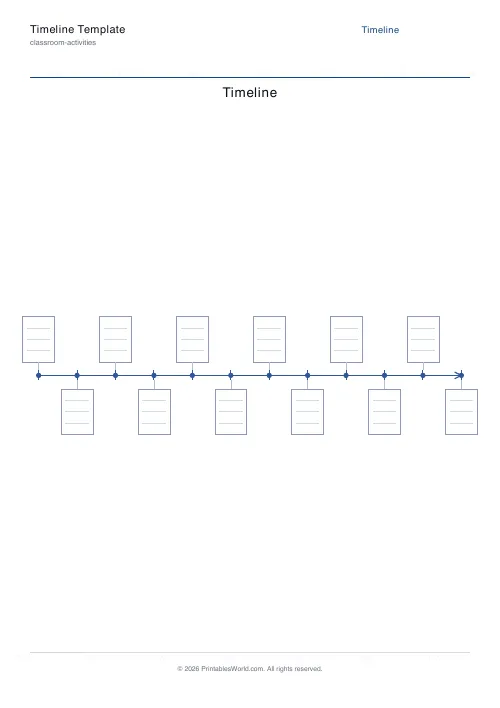
Blank Timeline — 12
Print-ready blank timeline (12) as a free PDF — made with the generator above so you can tweak and reprint.
↓ Download PDF
Settings
Customize your timeline
6 evenly-spaced event markers · horizontal
Orientation
Paper size
Preview
Live PDF preview
The actual PDF, updated as you change settings.
People also used
Story Map Template
Story elements on one page: Title, Setting, Characters, Problem, Events, Solution.
KWL Chart Template
Three-column "Know, Want to Know, Learned" graphic organiser — fillable and printable.
Character Profile
Character analysis worksheet: Name, Appearance, Traits, Motivation and a Quote.
Feedback
Spotted something off with this tool?
A Printable Timeline Template for History, Literature and Science
This timeline template prints a clean central line with evenly-spaced event markers and a small labelled box at each marker. Set between three and twelve events, pick horizontal or vertical orientation, and download a ready-to-print PDF in A4 or US Letter.
Each event box prints a "Date:" line and an "Event:" line, so pupils know exactly what to write. Horizontal timelines alternate boxes above and below the line; vertical timelines alternate left and right. Either way the sheet is uncluttered and easy to read at arm's length.
Ideal for history lessons, biography studies, science life-cycles, story sequencing and project-planning at any age.
Why use a timeline template?
Timelines make abstract chronology visible. A blank template forces pupils to prioritise events — they have to choose which six moments best tell the story. Use the sheet for:
- historical-period overviews
- biography and author studies
- science life-cycles and processes
- narrative event sequencing
- personal "My life so far" pages
- project milestones
- revision timelines
A tidy printable means pupils focus on content, not on drawing their own straight line with a ruler.
What you can customise
Three settings are all you need to shape the timeline:
- Title: Name the period or topic, for example "Tudor Monarchs" or "The Life of Marie Curie"
- Number of events: Three, four, five, six, seven, eight, nine, ten, eleven or twelve markers
- Orientation: Horizontal or vertical
- Paper size: A4 or US Letter PDF
Spacing between markers adjusts automatically so the timeline always fills the page evenly.
Notes and limitations
- Events are evenly spaced by default. The sheet shows chronological order, not true-to-scale time.
- Beyond eight events, horizontal boxes start to feel cramped. Switch to vertical if pupils need room to write.
- The boxes include writing rules for Date and Event — no room for a paragraph per event. Pair with a notebook for longer write-ups.
- Print at 100% scale so the central line stays centred on the page.
Who this timeline is for
Timelines are a staple across subjects and ages.
Parents
Help a child plan a history project or summarise a biography for homework.
Teachers
Standardise revision by issuing the same blank timeline for every historical unit across the year.
Homeschool families
Build a running history wall using one printed timeline per topic, stuck end-to-end along a corridor.
Tutors
Walk pupils through exam-ready chronology for GCSE and A-level history.
Horizontal or vertical?
Horizontal
Reads left-to-right like a normal sentence. Great for most classroom displays and traditional history timelines. Event boxes alternate above and below the line so nothing overlaps.
Vertical
Reads top-to-bottom and gives each event more horizontal room. Better when pupils need to write longer descriptions, or when you are printing onto portrait-orientation paper for a folder.
Number of events
Four to six is the most comfortable range for a single A4 page. Nine to twelve works best in vertical orientation where boxes do not have to share side-by-side space.
How to use the tool
- Type a title for the timeline.
- Pick the number of events.
- Choose horizontal or vertical orientation.
- Select A4 or US Letter paper.
- Click Generate and preview the sheet.
- Download the PDF.
- Print one copy per pupil or a larger A3 copy as a class display.
Worked example
A Year 7 history class is studying the Norman Conquest. The teacher sets the title to "From 1066 to the Domesday Book", picks five events, and chooses horizontal orientation so the timeline reads like the pages of the textbook they have been using.
Each pupil fills in dates and short event descriptions across five markers — the Battle of Hastings, William's coronation, the start of castle building, the Harrying of the North, and the compilation of the Domesday Book. Completed timelines go into folders for the upcoming assessment.
Methodology
The engine draws a central line across the printable area, then places event markers at evenly-spaced positions along it. Each marker is paired with a small rectangular event box containing two writing rules — Date and Event. Boxes alternate sides so no two overlap. Horizontal mode runs the line left-to-right; vertical mode rotates the whole layout a quarter turn.
Helpful preset ideas
- History unit — horizontal, six events
- Biography study — vertical, eight events
- Science life-cycle — horizontal, five events
- Story sequencing — horizontal, four events
- Personal "My life" — vertical, twelve events
Best ways to use the timeline
- Ask pupils to choose events before filling in — the selection is the learning.
- Colour-code each event box by type: political, cultural, scientific.
- Annotate boxes with a sentence starting "Because of this..." for cause-and-effect.
- Extend the task by asking pupils to argue which event was most significant.
- Pin completed timelines end-to-end along a corridor for a rolling history display.
Designed for A4 and US Letter printing
The timeline prints on both A4 and US Letter. Line length and marker spacing adapt to the page width so either format looks balanced. For large displays, print onto A3 or legal paper at 141% scale — the proportions hold at any scale because markers are positioned proportionally.
Related classroom activity tools
Pair the timeline with these other sequencing and narrative printables:
FAQs
Quick answers
How many events should I choose?
Four to six is comfortable on one page; more than eight gets tight on horizontal timelines. Try vertical orientation if you need lots of events with room to write.
What goes in each event box?
Each box prints a "Date:" line and an "Event:" line — add the date and a short description or cause/effect sentence.
Can I use this for historical timelines?
Absolutely. It also works for biographies, life cycles in science, and story-event timelines in literature.
What is the difference between horizontal and vertical?
Horizontal timelines read left-to-right with boxes alternating above and below; vertical timelines read top-to-bottom with boxes alternating left and right.
Related tools
Story Map Template
Story elements on one page: Title, Setting, Characters, Problem, Events, Solution.
KWL Chart Template
Three-column "Know, Want to Know, Learned" graphic organiser — fillable and printable.
Character Profile
Character analysis worksheet: Name, Appearance, Traits, Motivation and a Quote.