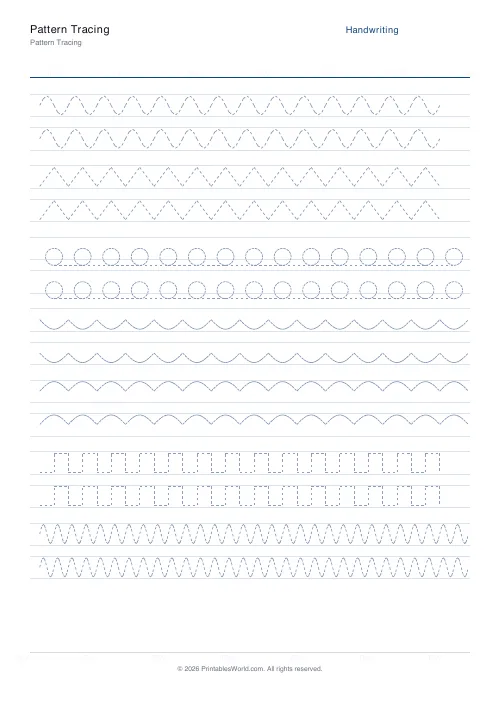
What this tool does
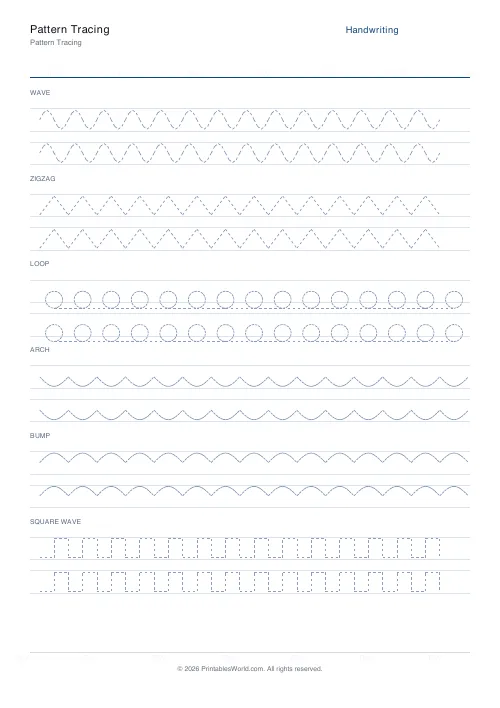
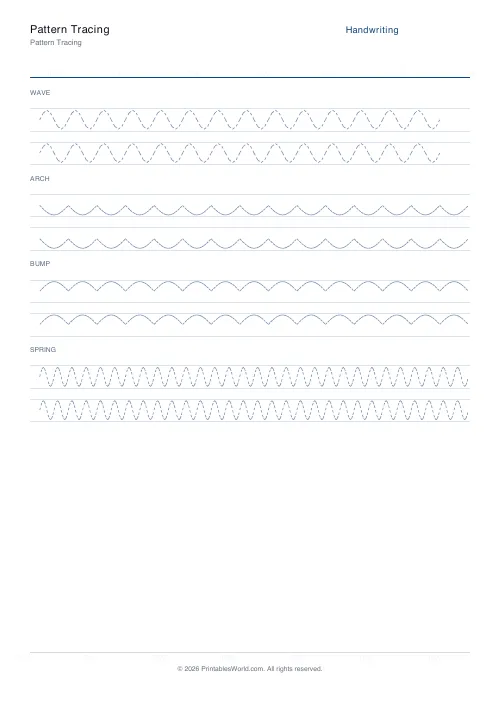
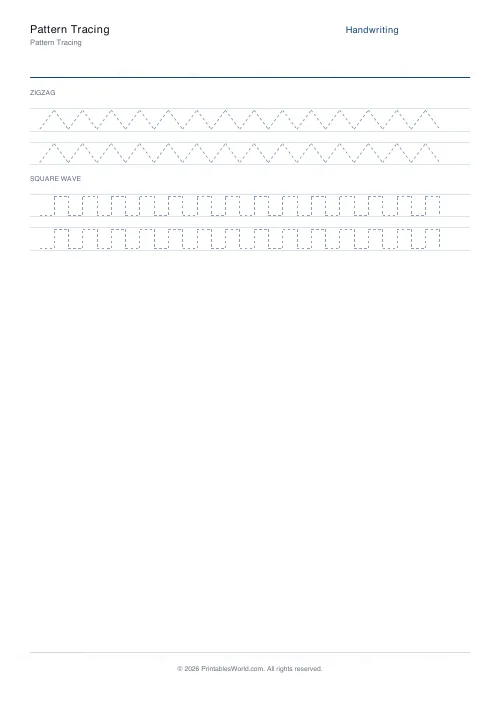
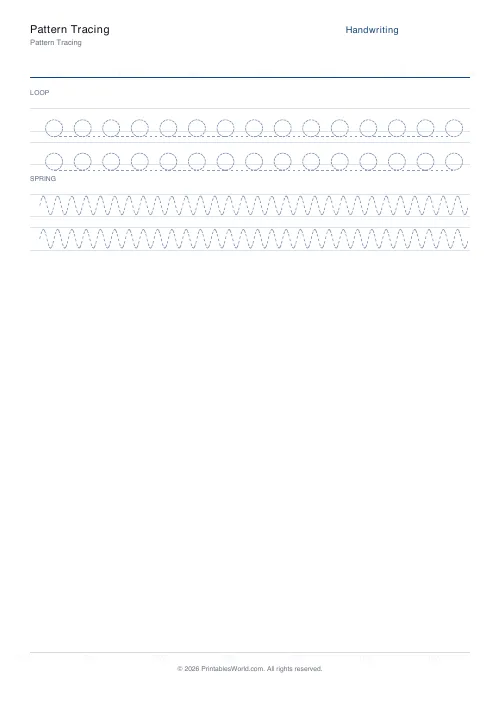
Continuous repeating patterns to trace between guide lines: wave, zigzag, loop, arch, bump, square wave and spring. One to four rows of each.
People also used
Feedback
Spotted something off with this tool?
Seven patterns, traced across the page
Each row prints one continuous repeating pattern between guide lines, for the pencil to follow without lifting. Choose which patterns and how many rows each gets.
Wave, zigzag, loop, arch, bump, square wave, spring.
What a continuous pattern trains that a letter does not
Flow. A letter is a short movement with a stop at the end; a pattern runs the width of the page without lifting the pencil, which is a different physical skill and the one that fluent handwriting is built on.
It also builds the left-to-right sweep of the whole arm. Children who write letter by letter with the fingers alone produce cramped, slow writing, and no amount of letter practice fixes it because the problem is which joints are moving.
The patterns are letters in disguise
That is why these seven and not some other set.
The arch is n, m, h and r. The bump upside down is u and y. The loop is the cursive e and l, and the beginning of every joined hand. The zigzag is v, w and the diagonals of k and z. The wave is the join itself, running along the baseline between letters.
A child who can run a smooth arch pattern across a page has the movement for four letters before meeting any of them.
Where to start
Wave and bump are the easiest, because the direction changes gradually. Zigzag and square wave are harder, since both require stopping and turning sharply — and the sharp corner is genuinely difficult for a three-year-old, who tends to round it or sail past.
Loop and spring are the hardest and the most useful, because they require a continuous rotation that keeps its size. Save them until the simpler ones are smooth.
Do it big first
Not necessarily on paper. The same patterns drawn in the air, in sand, in shaving foam or with a finger on a window are doing the same work and hold attention better.
Then move to the page. Use a thick pencil or a crayon rather than a sharp pencil — at this stage the grip matters far more than the point does, and a fine tip encourages exactly the tight finger grip you are trying to avoid.
Watch for pressing hard or stopping mid-row. Both mean the session has gone on long enough.
Before you print
Which patterns, rows per pattern (1 to 4), and labels on or off. A4 or US Letter at 100%.
Two or three patterns a sheet is plenty. When these are smooth, the pre-writing strokes break the movements into single lines and curves, and letters come after that.
FAQs
Quick answers
How does pattern tracing help handwriting?
Repeating wave and loop patterns train the smooth left-to-right wrist motion that cursive writing relies on. Children build muscle memory before writing real letters.
Which patterns are included?
Wave, zigzag, loop, arch, bump, square wave and spring. A mix of curved and angular motions covering the main stroke families used in joined-up writing.
How many rows per pattern?
Two by default. Adjust the rows-per-pattern setting to add more practice space or fit more patterns on a page.
Are there guide lines?
Yes. Each row has a faint top and base guide line so children can keep the pattern at the right size.
Related tools
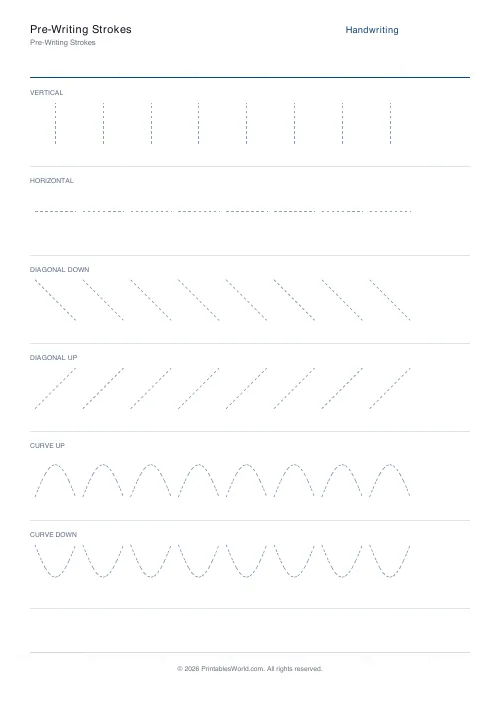
Pre-Writing Strokes
Trace vertical, horizontal, diagonal and curved strokes for pencil control.
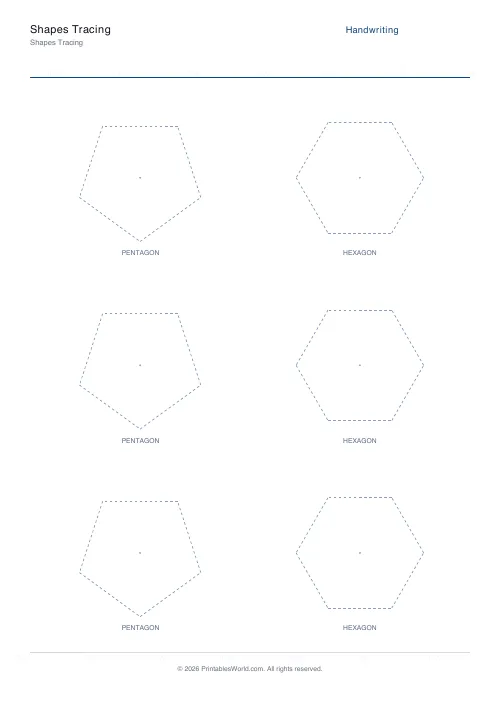
Shapes Tracing
Trace 2D shapes. Circle, square, triangle, pentagon, hexagon.
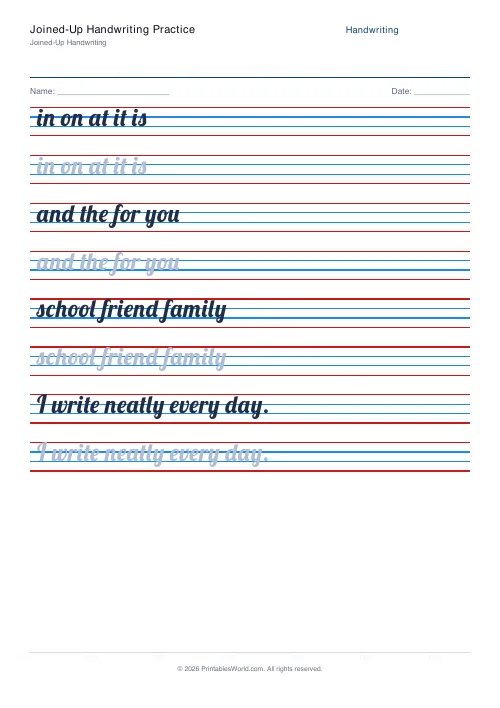
Joined-Up Handwriting Practice
Transition sheets from print into fully joined-up cursive writing.
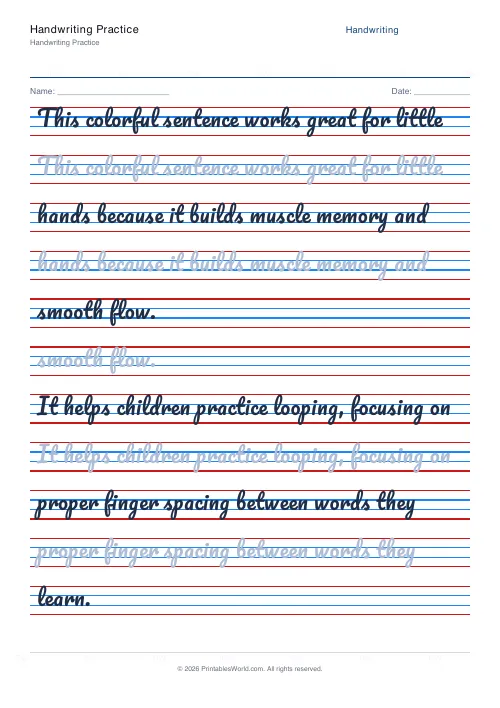
Handwriting Practice Generator
Create custom 4-line handwriting practice sheets with trace rows, adjustable guides, and your own text.
Further reading
Handwriting
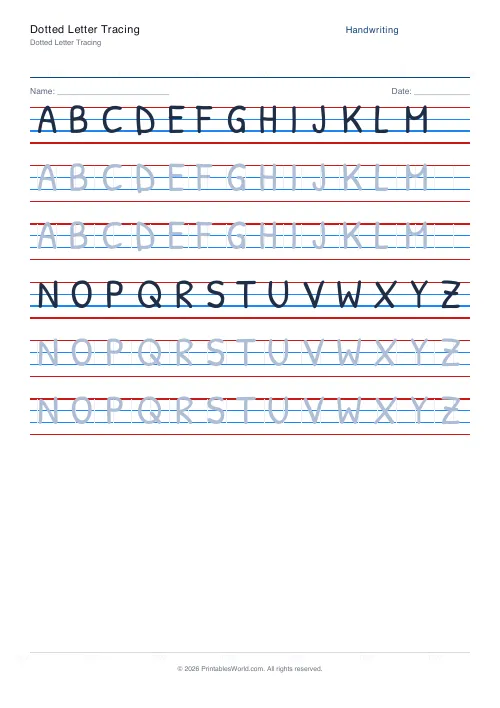
Dotted vs solid trace lines: what works best for beginners
Each trace style removes a different amount of support. The mistake is staying on one too long. Tracing feels productive and teaches less than copying.
4 min read
Handwriting
How to teach handwriting to kids: a step-by-step guide
A practical order for teaching handwriting: get the body and the pencil right first, then teach letters in stroke families rather than alphabetically, and keep sessions short enough that the hand never tires.
7 min read
More like this
- Handwriting Practice Generator
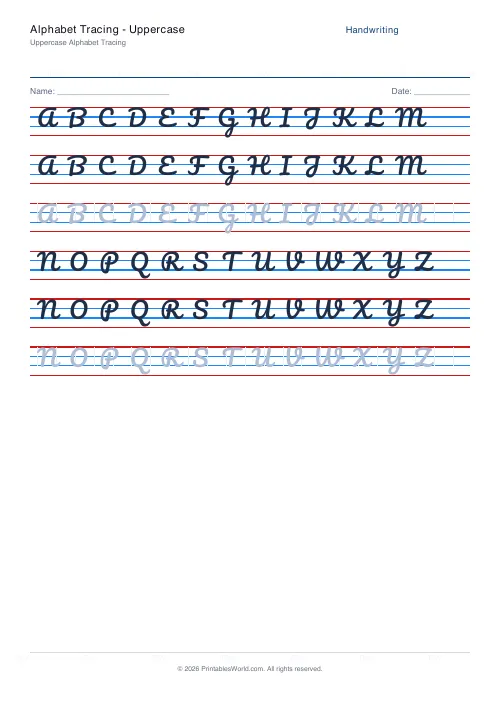 Alphabet Tracing: Uppercase
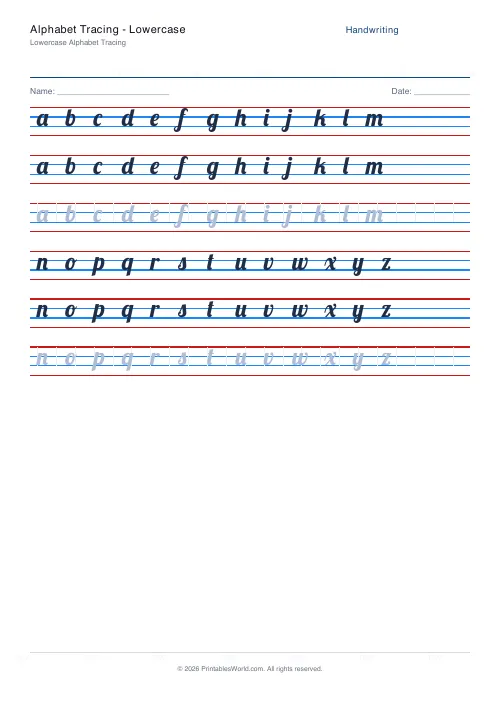 Alphabet Tracing: Lowercase
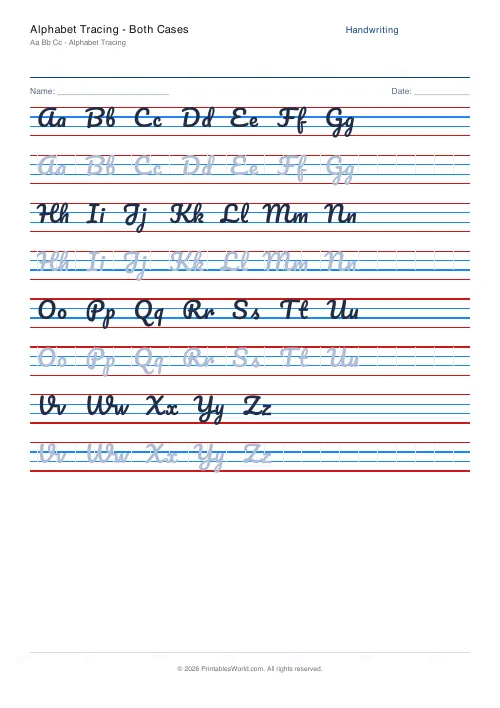 Alphabet Tracing: Both Cases
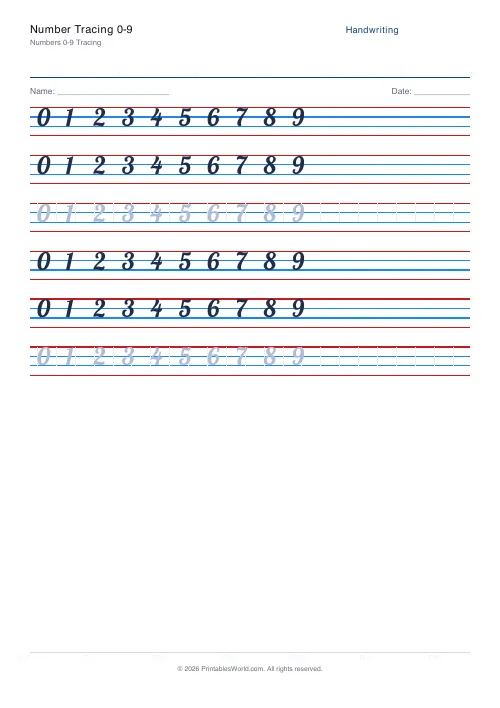 Number Tracing 0-9
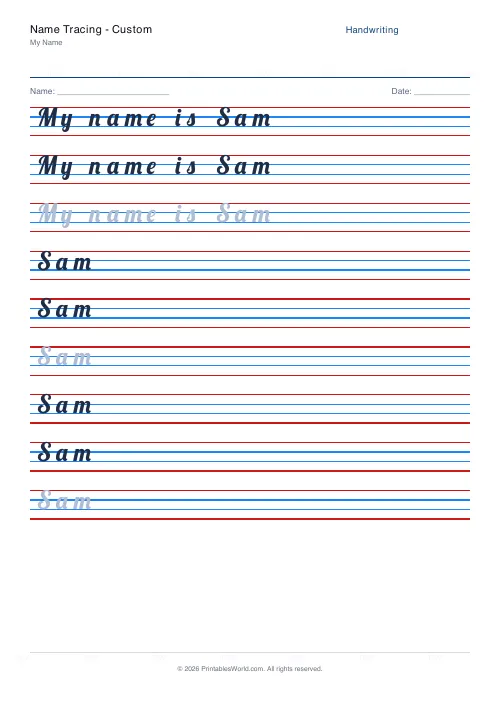 Name Tracing: Custom
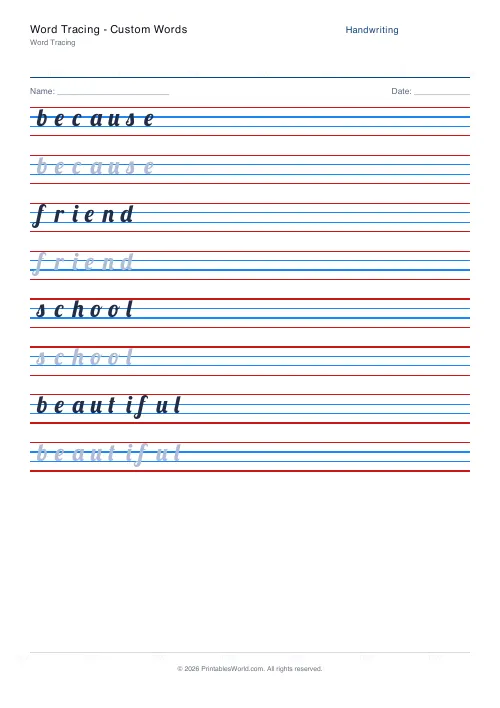 Word Tracing: Custom Words
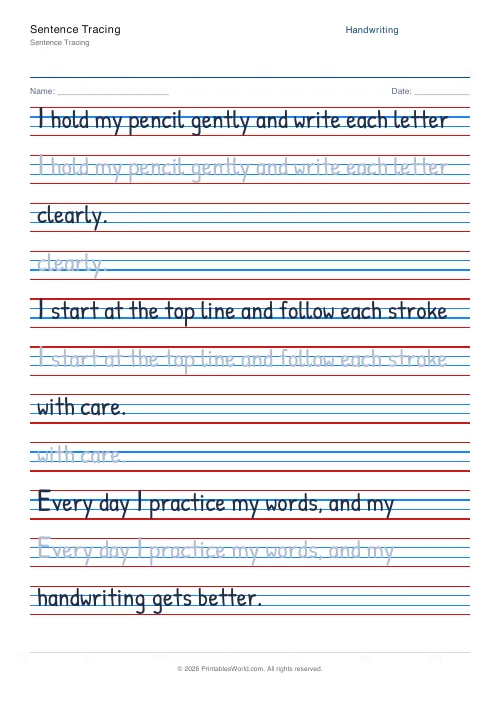 Sentence Tracing
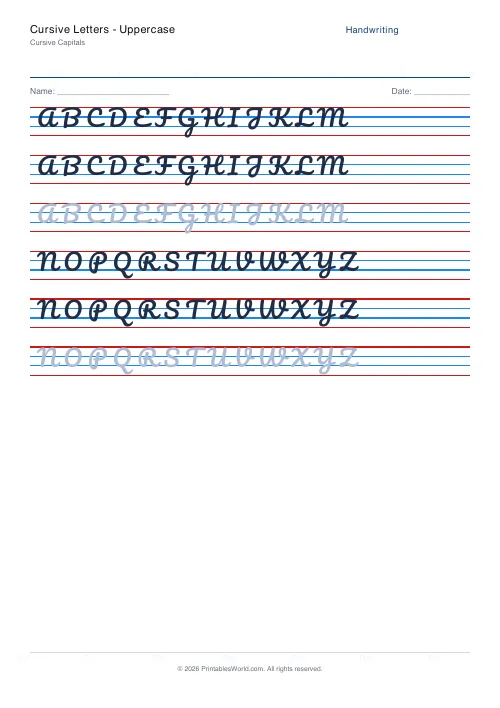 Cursive Letters: Uppercase
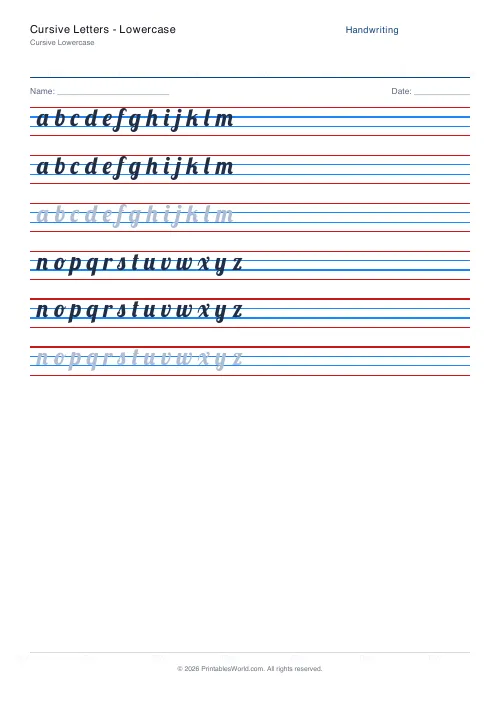 Cursive Letters: Lowercase
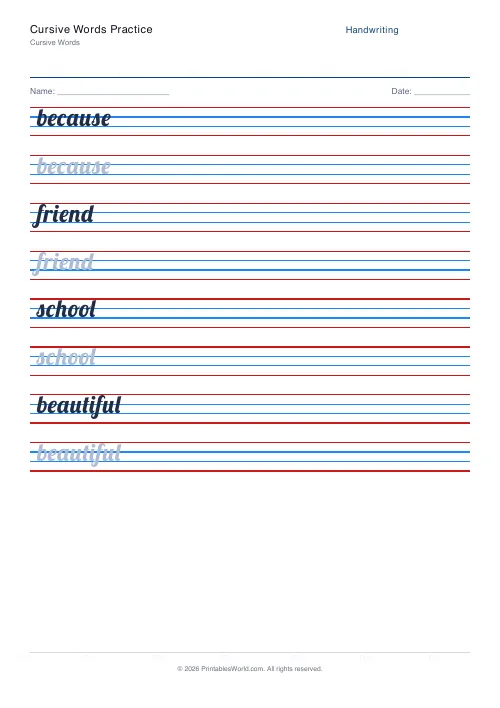 Cursive Words Practice
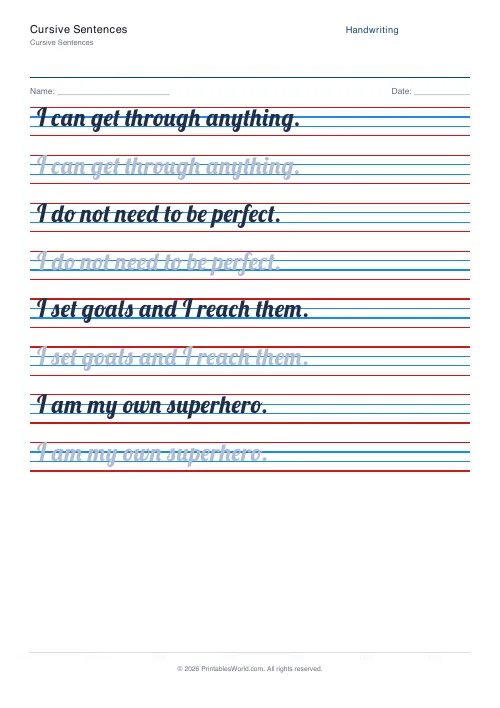 Cursive Sentences
 Dotted Letter Tracing
 Arrow Letter Tracing